Easy Plain Scones (Basic Recipe)
Say goodbye to dry, bland scones! This tried and true easy plain scone recipe is the base for all the scone flavors I make.
In this post I share my best tips and tricks for making moist, flavorful scones that are anything but boring! While they flake apart perfectly for spreading with your favorite toppings, these are good enough to eat by themselves. Enjoy the basic scone recipe on its own or follow my tips for mixing in sweet additions to create any flavor you can think of — all in just 30 minutes!

This post may contain affiliate links. That means if you click on the link and make a purchase, I will receive an affiliate commission at no extra cost to you. All opinions remain my own. As an Amazon associate, I earn from qualifying purchases.
I’m a sucker for scones with a cup of hot Earl Grey or a London Fog tea latte. It makes me feel so fancy, and definitely more like I’m at a bakery than in my kitchen.
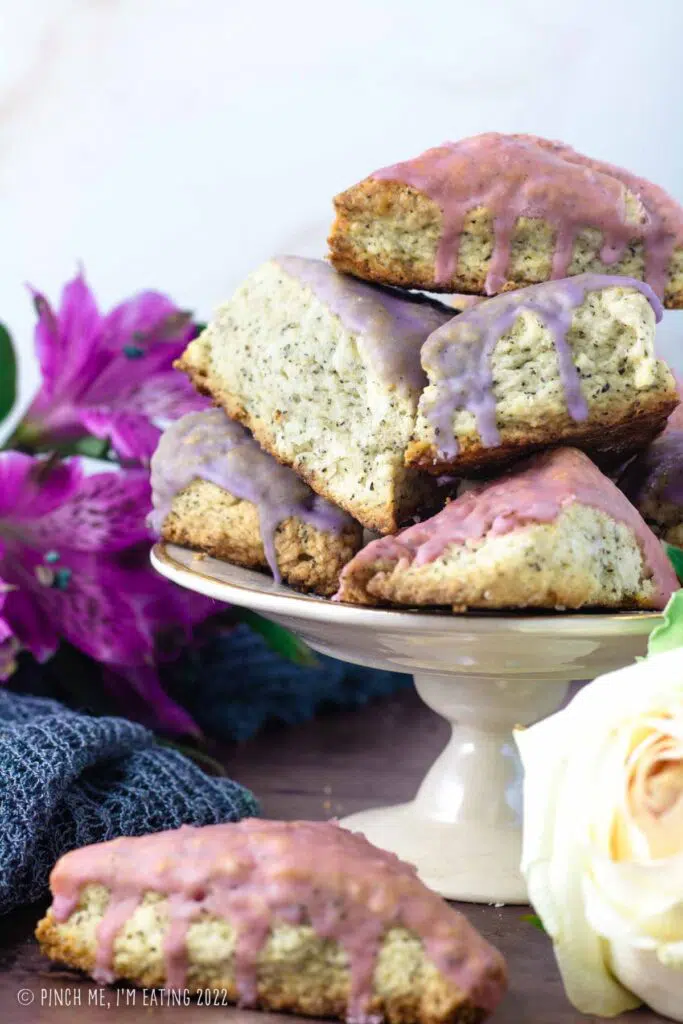
I admit I usually gravitate towards scones with exciting flavors. Earl Grey scones with lavender glaze, almond poppy seed scones, or my very favorite glazed fresh orange scones — a touch of cardamom makes them ohhhh so good!
But sometimes you really do need a more neutral, plain scone, especially if the star of the show is the topping (may I suggest homemade lemon curd?). Plain scones also make a great base for strawberry shortcake.
Plus, you can use these basic scones as a base recipe for adding in your own flavors and add-ins. It’s the recipe I use to create all my fancy flavors! I’ll go over ways you can customize this recipe later in this post.
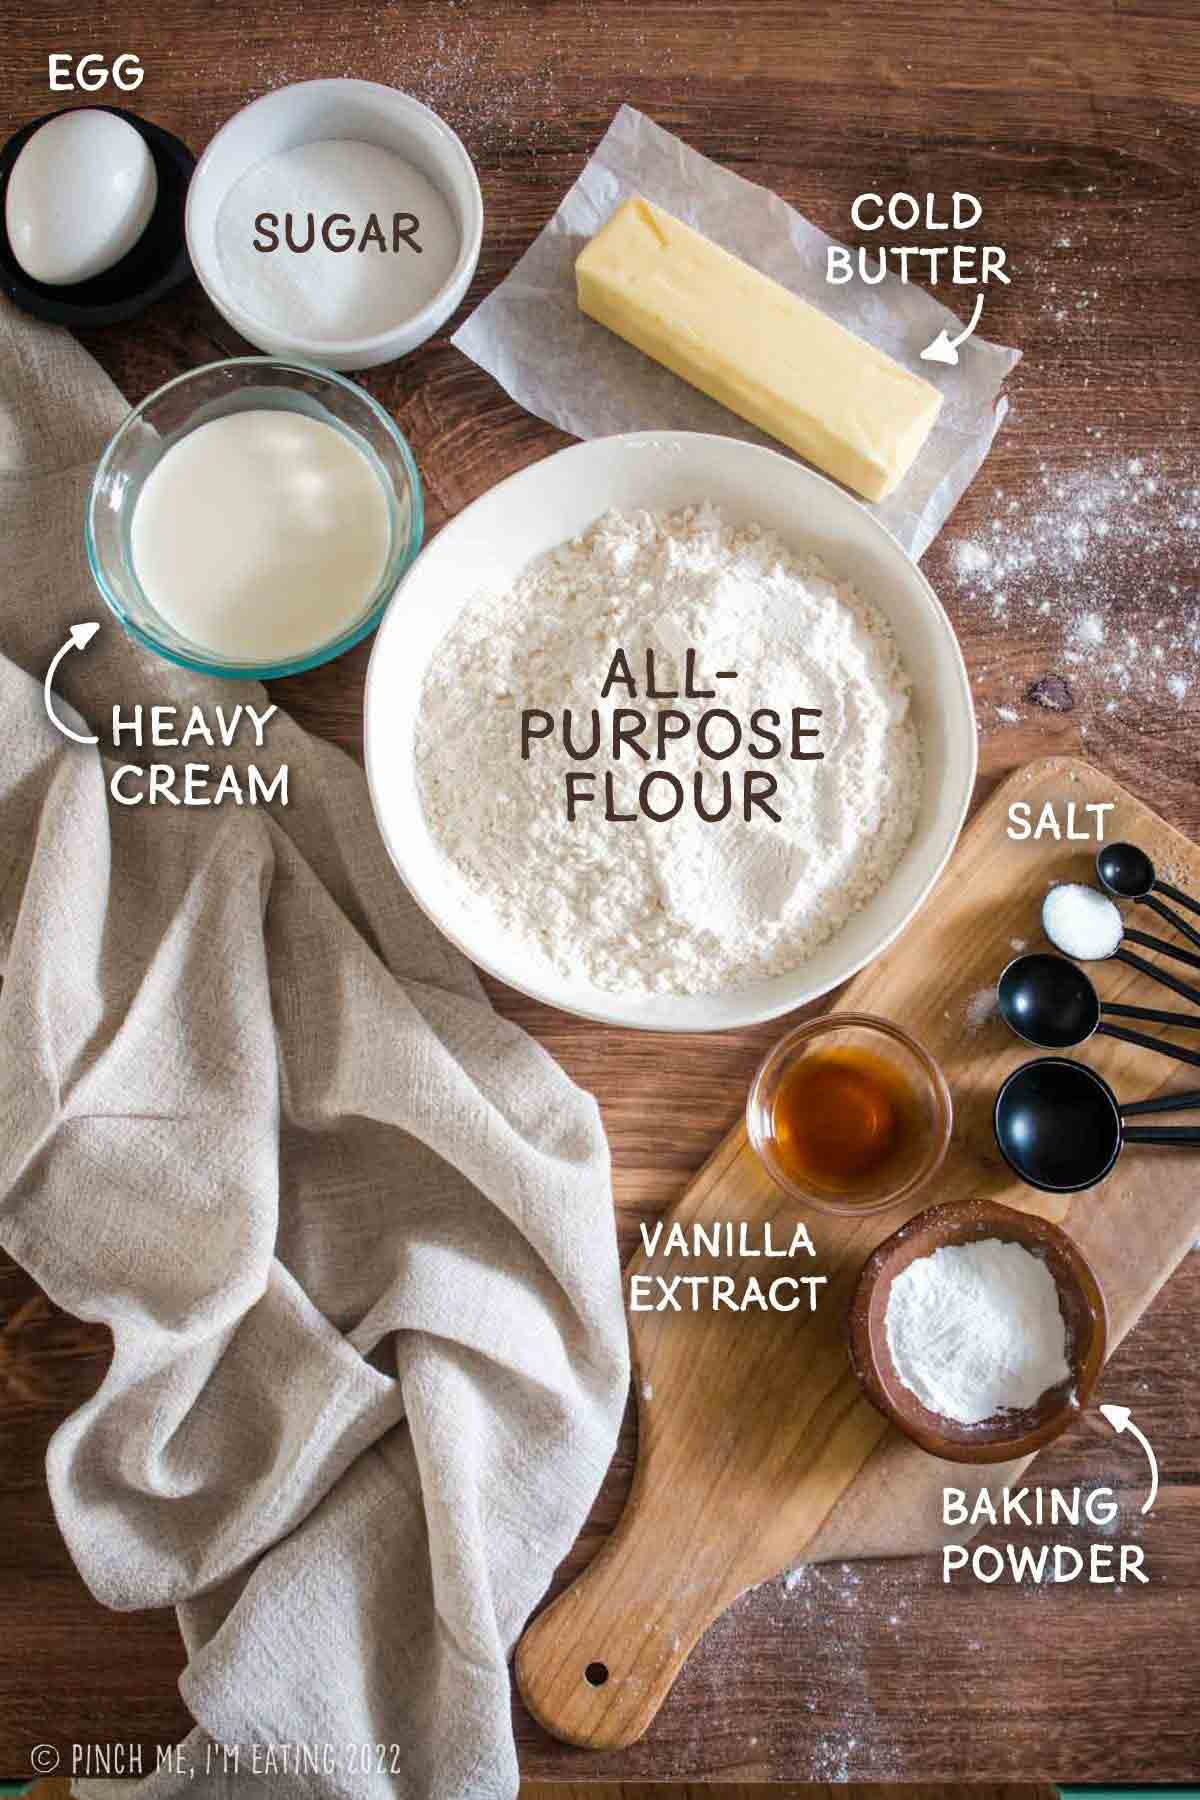
Ingredients
Many scone recipes use either cream (yielding a tender, cakier texture) or a combination of butter and milk (resulting in a more crumbly scone). My basic scone recipe uses both butter and cream, which gives these scones the best of both worlds: a flaky, crumbly scone that is extra rich, flavorful, and moist.
How to make perfect scones
Making perfect scones is easier than you’d think and has just a few simple steps! (See the recipe card at the bottom of the post for complete instructions and ingredients)
- Mix the dry ingredients.
- Mix the wet ingredients.
- Cut the butter into the dry ingredients.
- Add the wet ingredients until just combined.
- Shape, cut, brush, and bake!
Cutting in the butter
Flaky baked goods like scones and pie crusts use a technique known as “cutting in” or “rubbing in” butter. This involves starting with small cubes of cold butter and working it into the dry ingredients in a way that minimizes softening or melting. You can cut in the butter using a pastry blender, a fork, your fingertips (not the palms of your hands, as this will warm up the butter too much), or my personal easy favorite, a food processor.
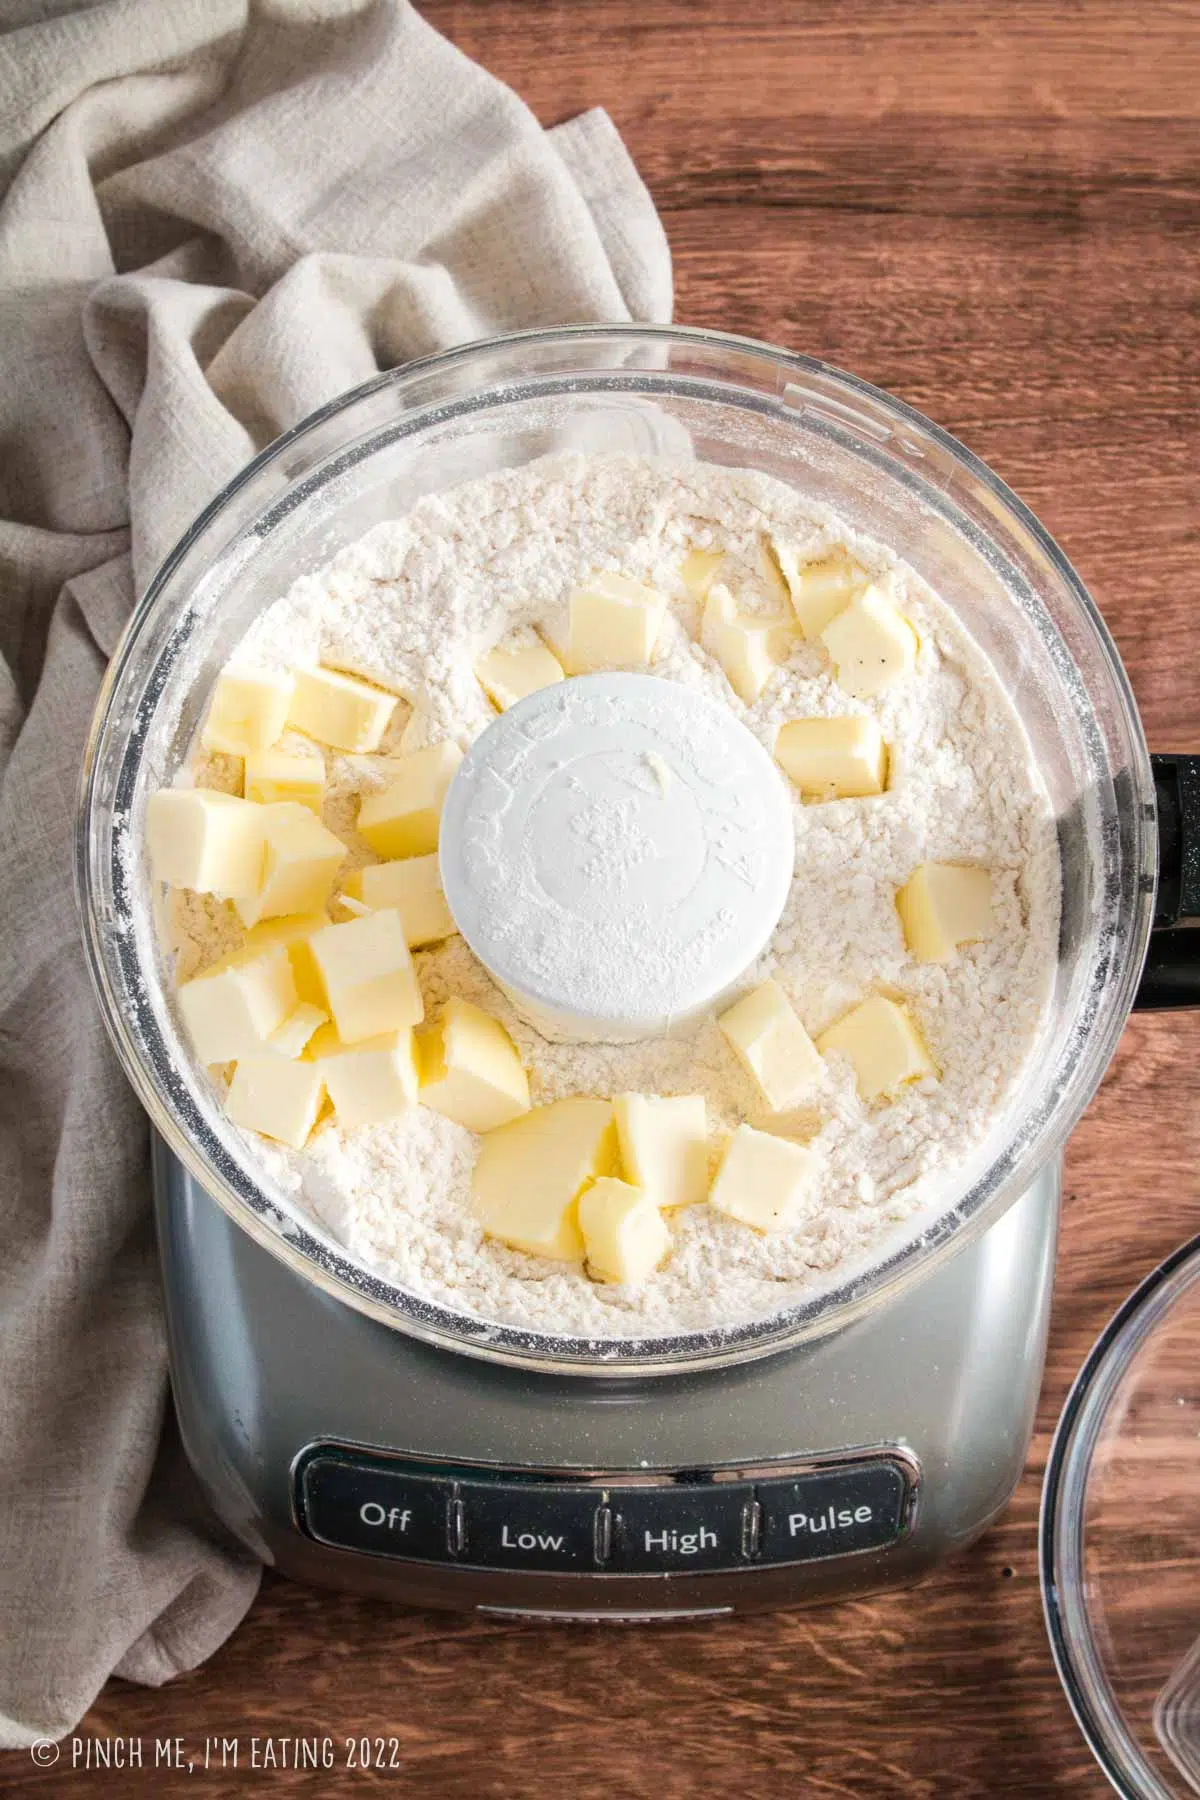
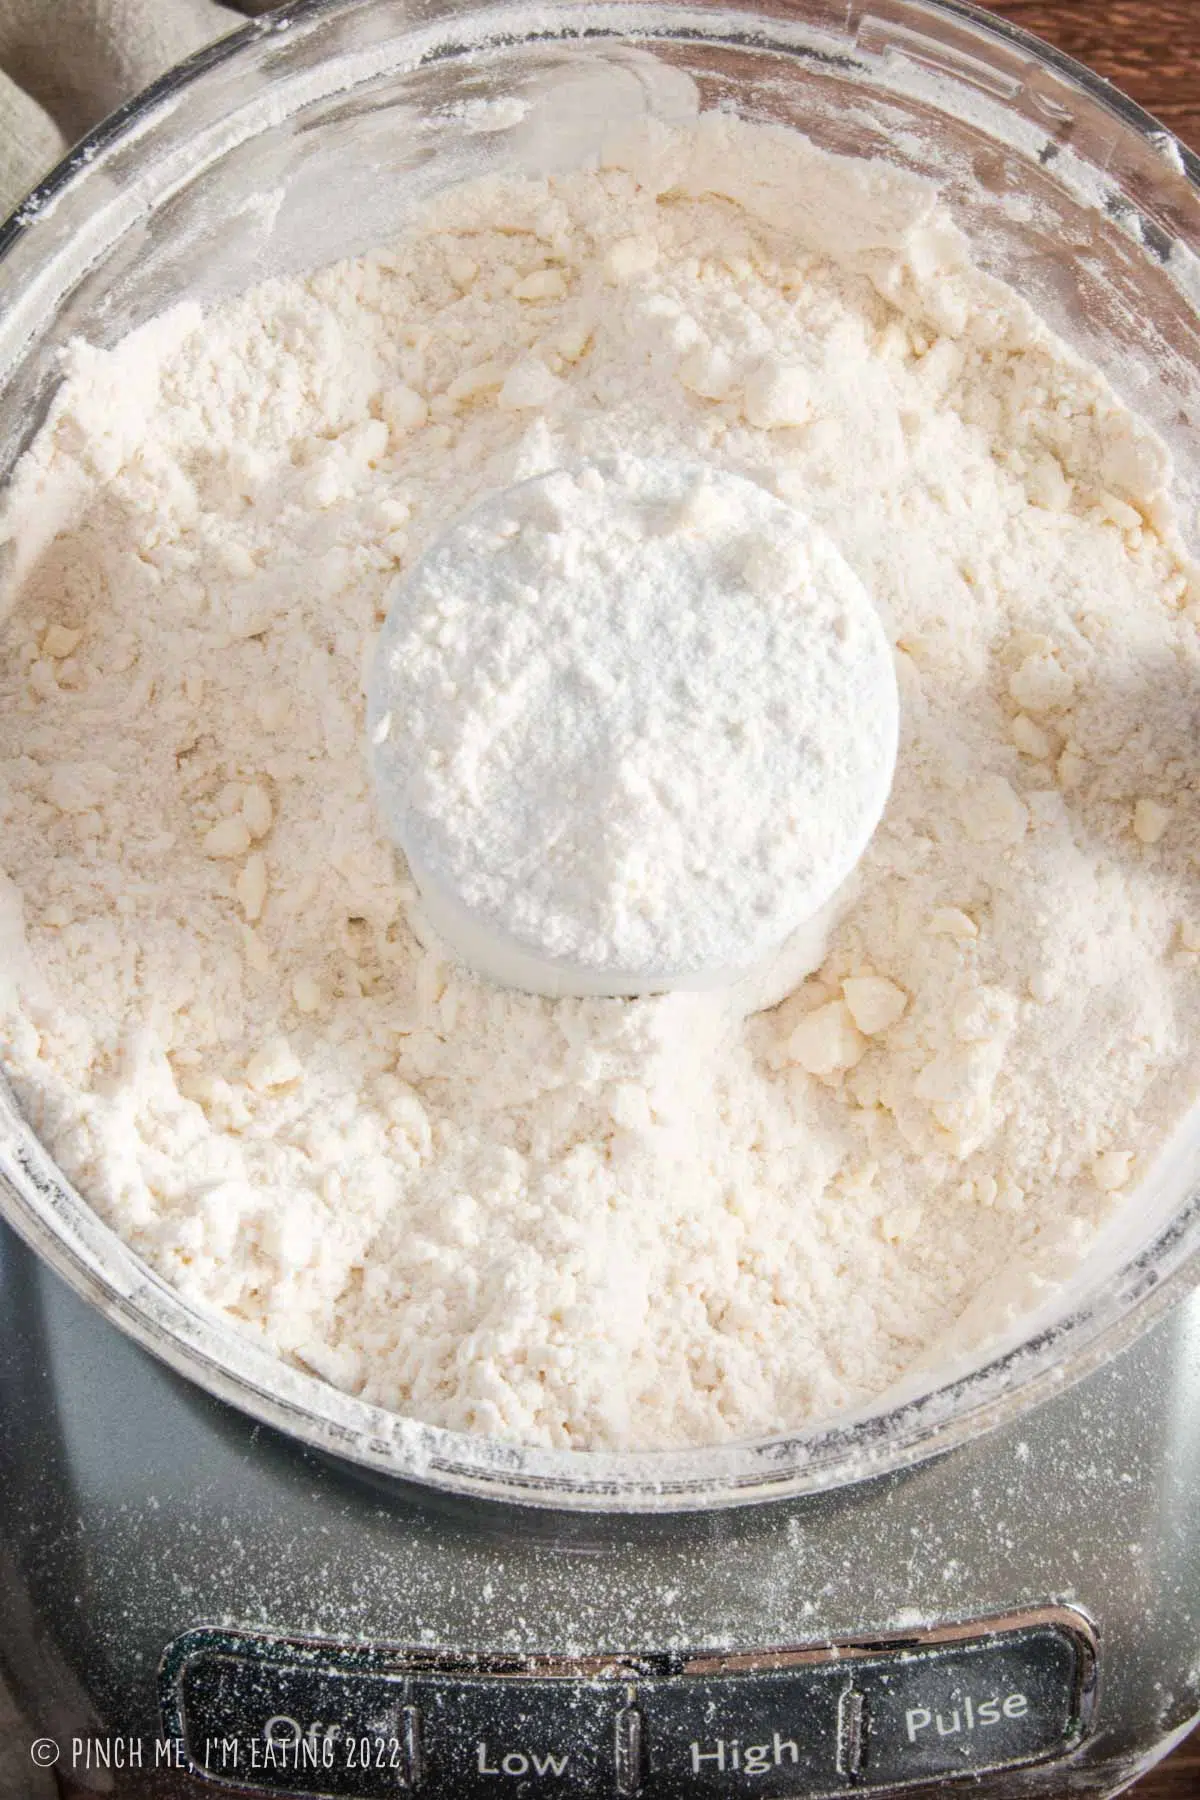
You’ll want to work in the cold butter until most of the mixture resembles damp sand, with some larger clumps of butter that are up to pea-sized. These cold little butter balls create buttery pockets of steam separating layers of your baked goods, creating that ideal flaky break-apart texture we’re going for.
Takeaways: Keep the butter in the fridge until you’re ready to add it, and work it in until it’s mostly, but not fully, incorporated. Do so in a way that minimizes the transfer of heat to the butter.
Mixing the dough
After you cut the butter into the dry ingredients, it’s time to add the wet ingredients (egg, cream, and vanilla extract if you’re using it!).
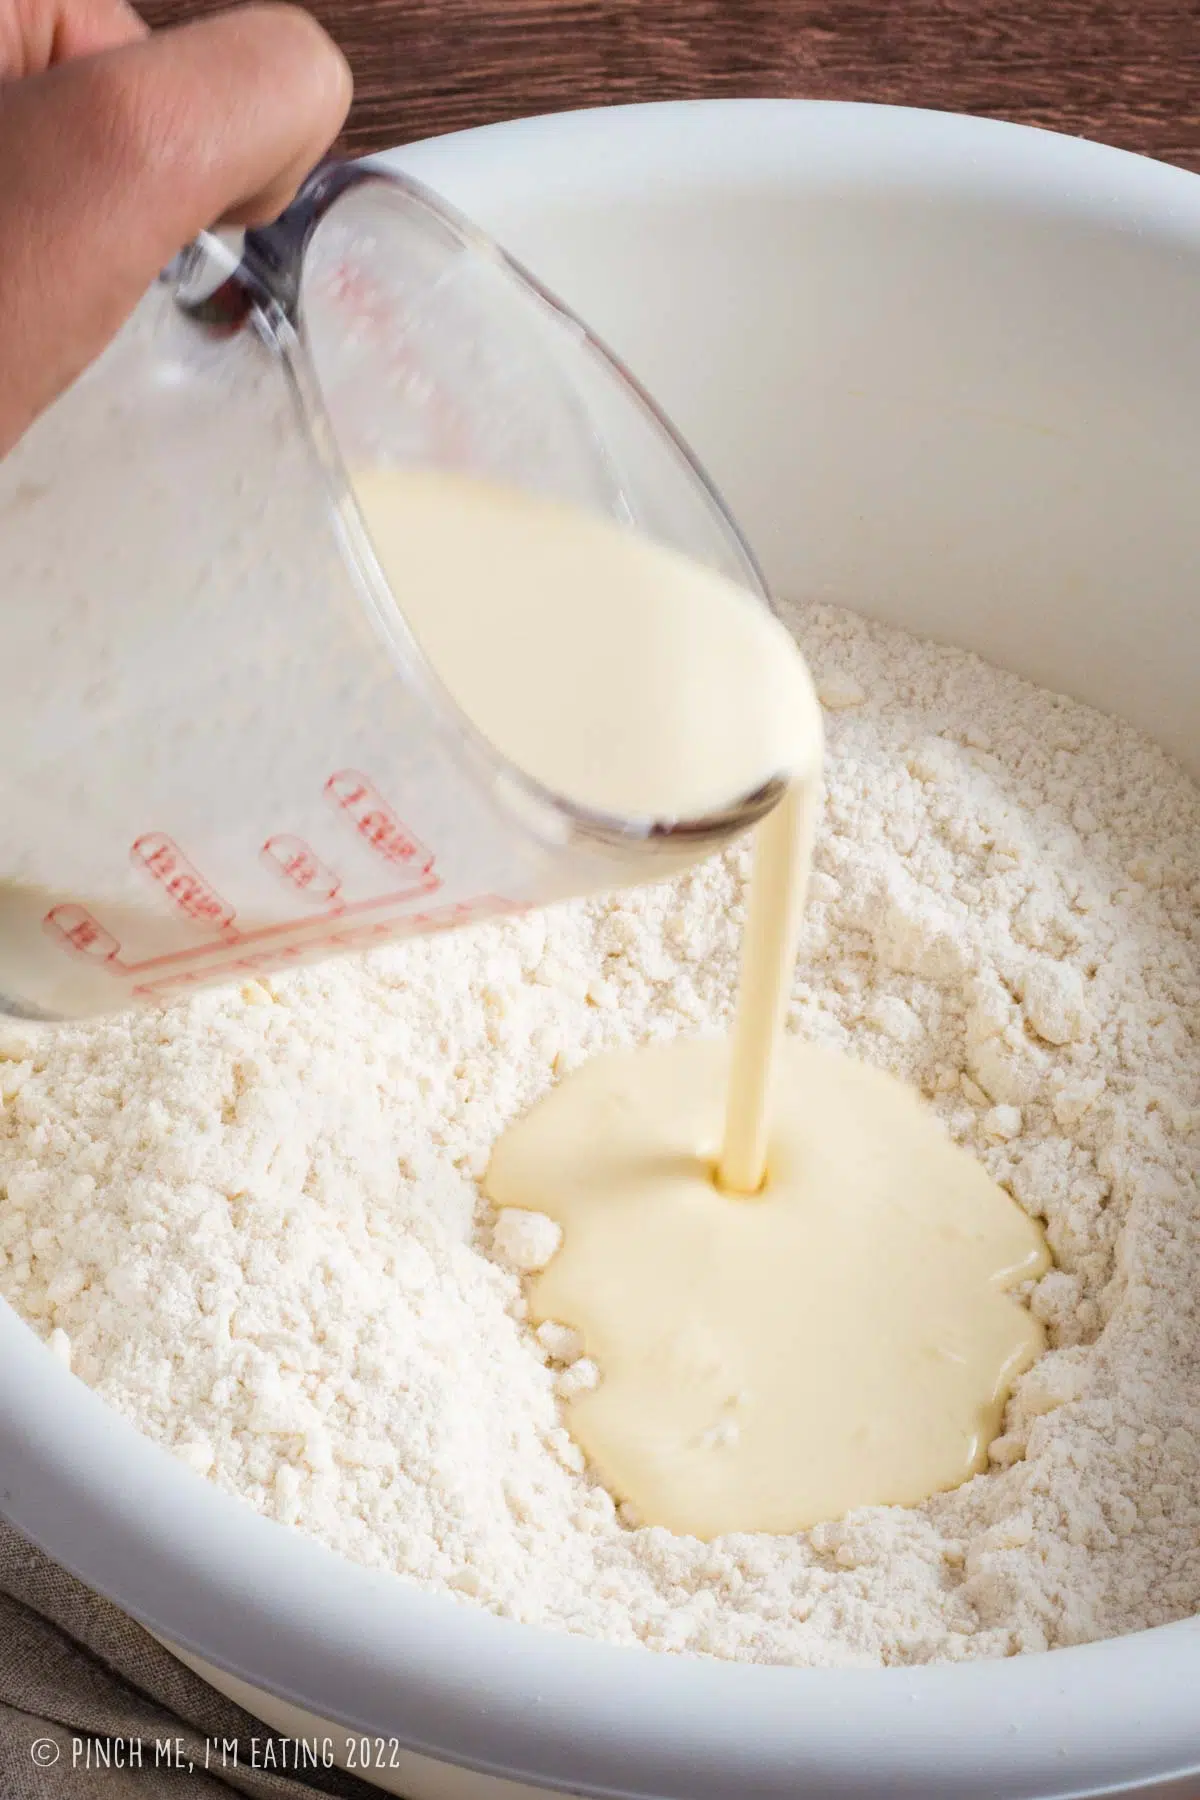
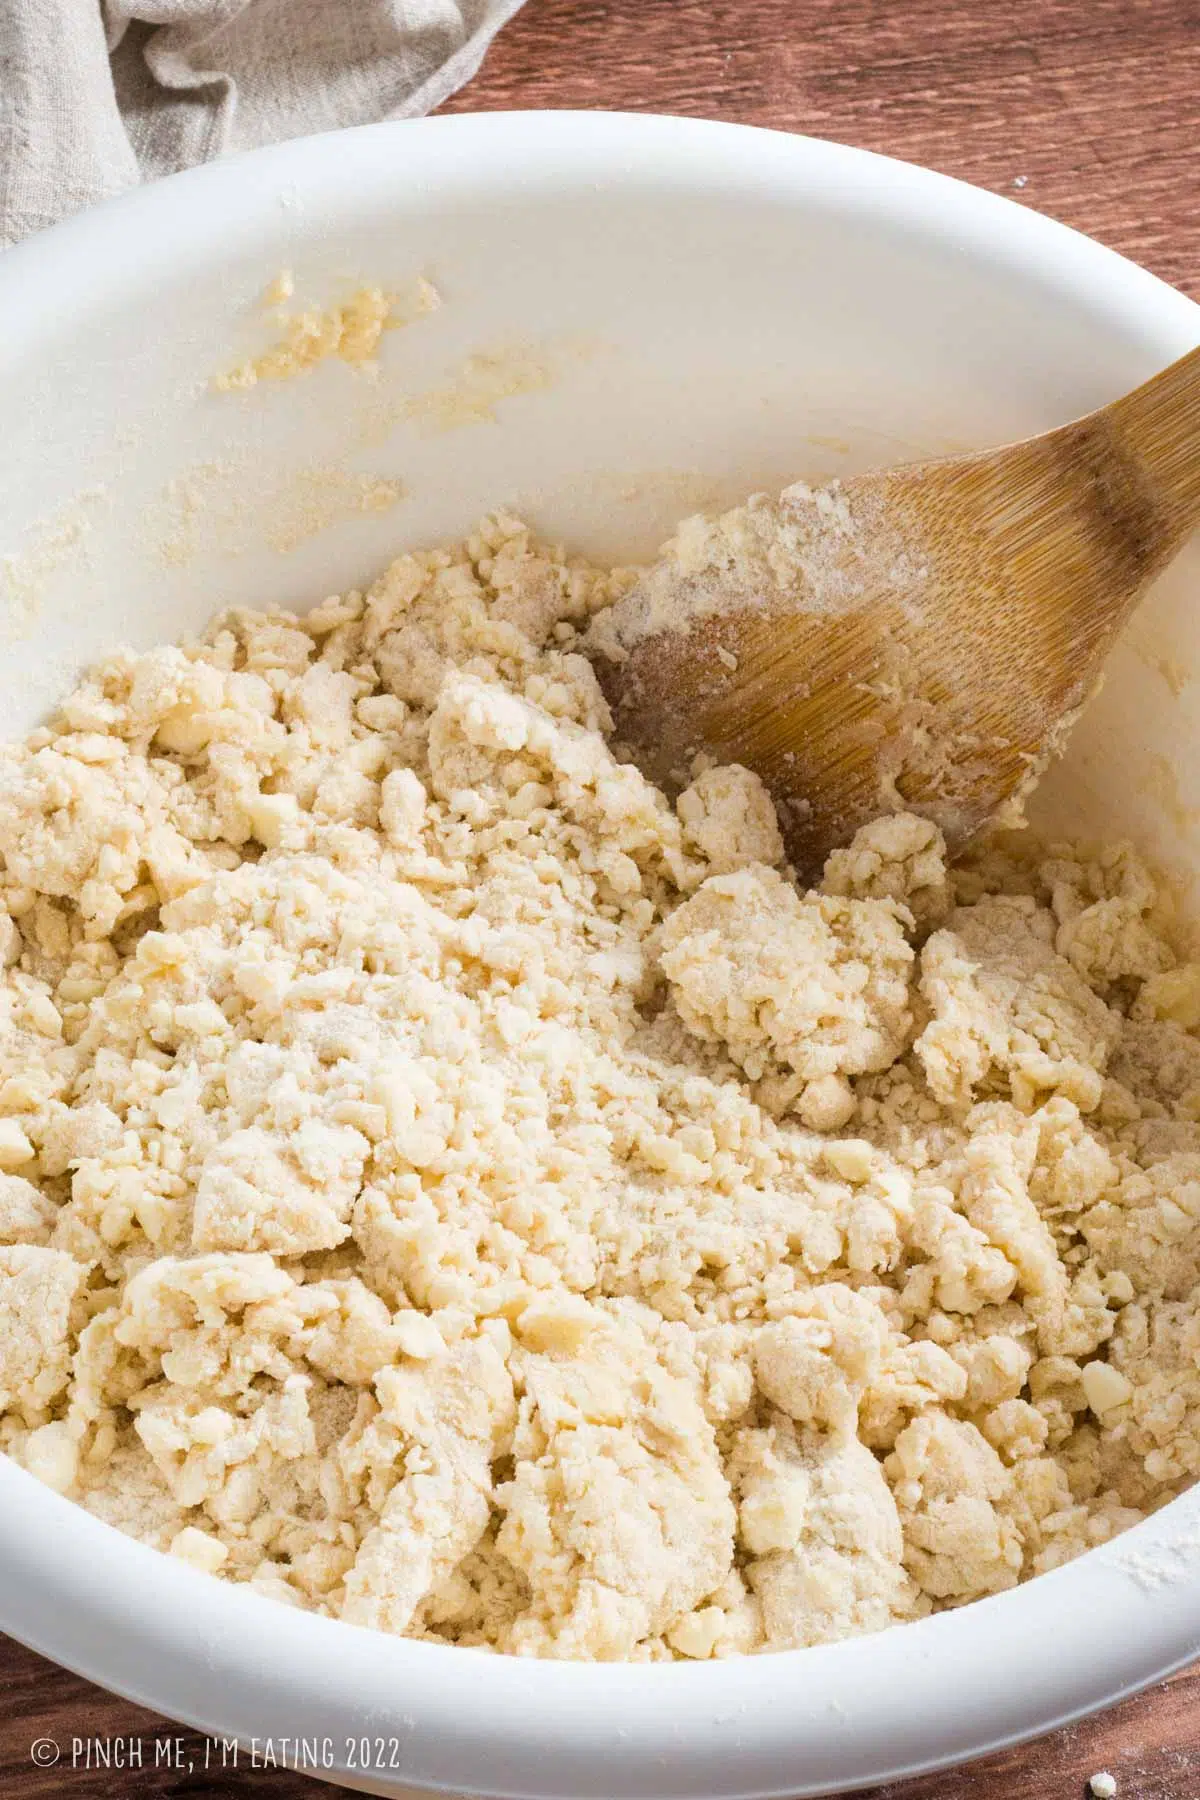
You’ll want to mix just until everything is combined enough to shape it into a circle or square for cutting. The dough will still look pretty shaggy/crumbly until you pat it together into one shape.
Resist the temptation to knead the dough together: Overworking or kneading the dough will make tough scones, and we want them tender!
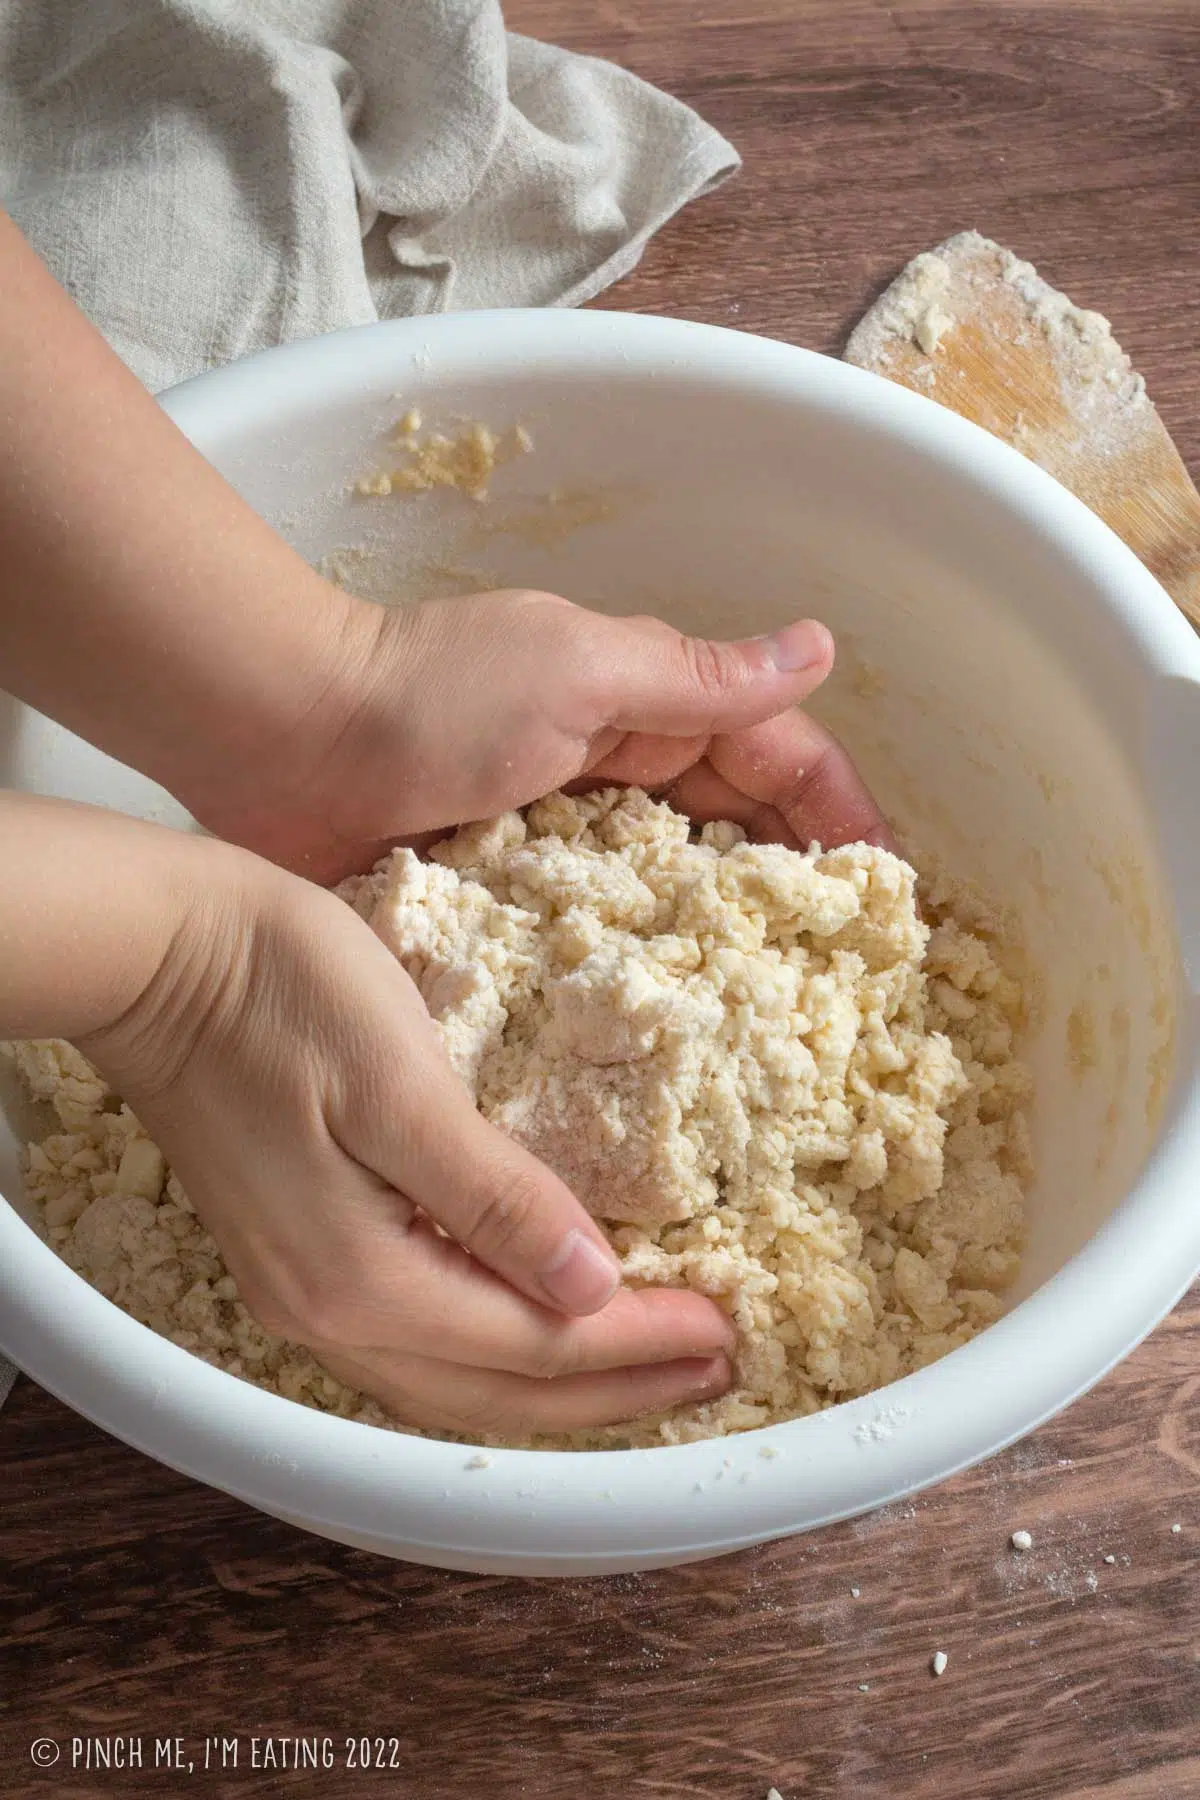
Finishing touches
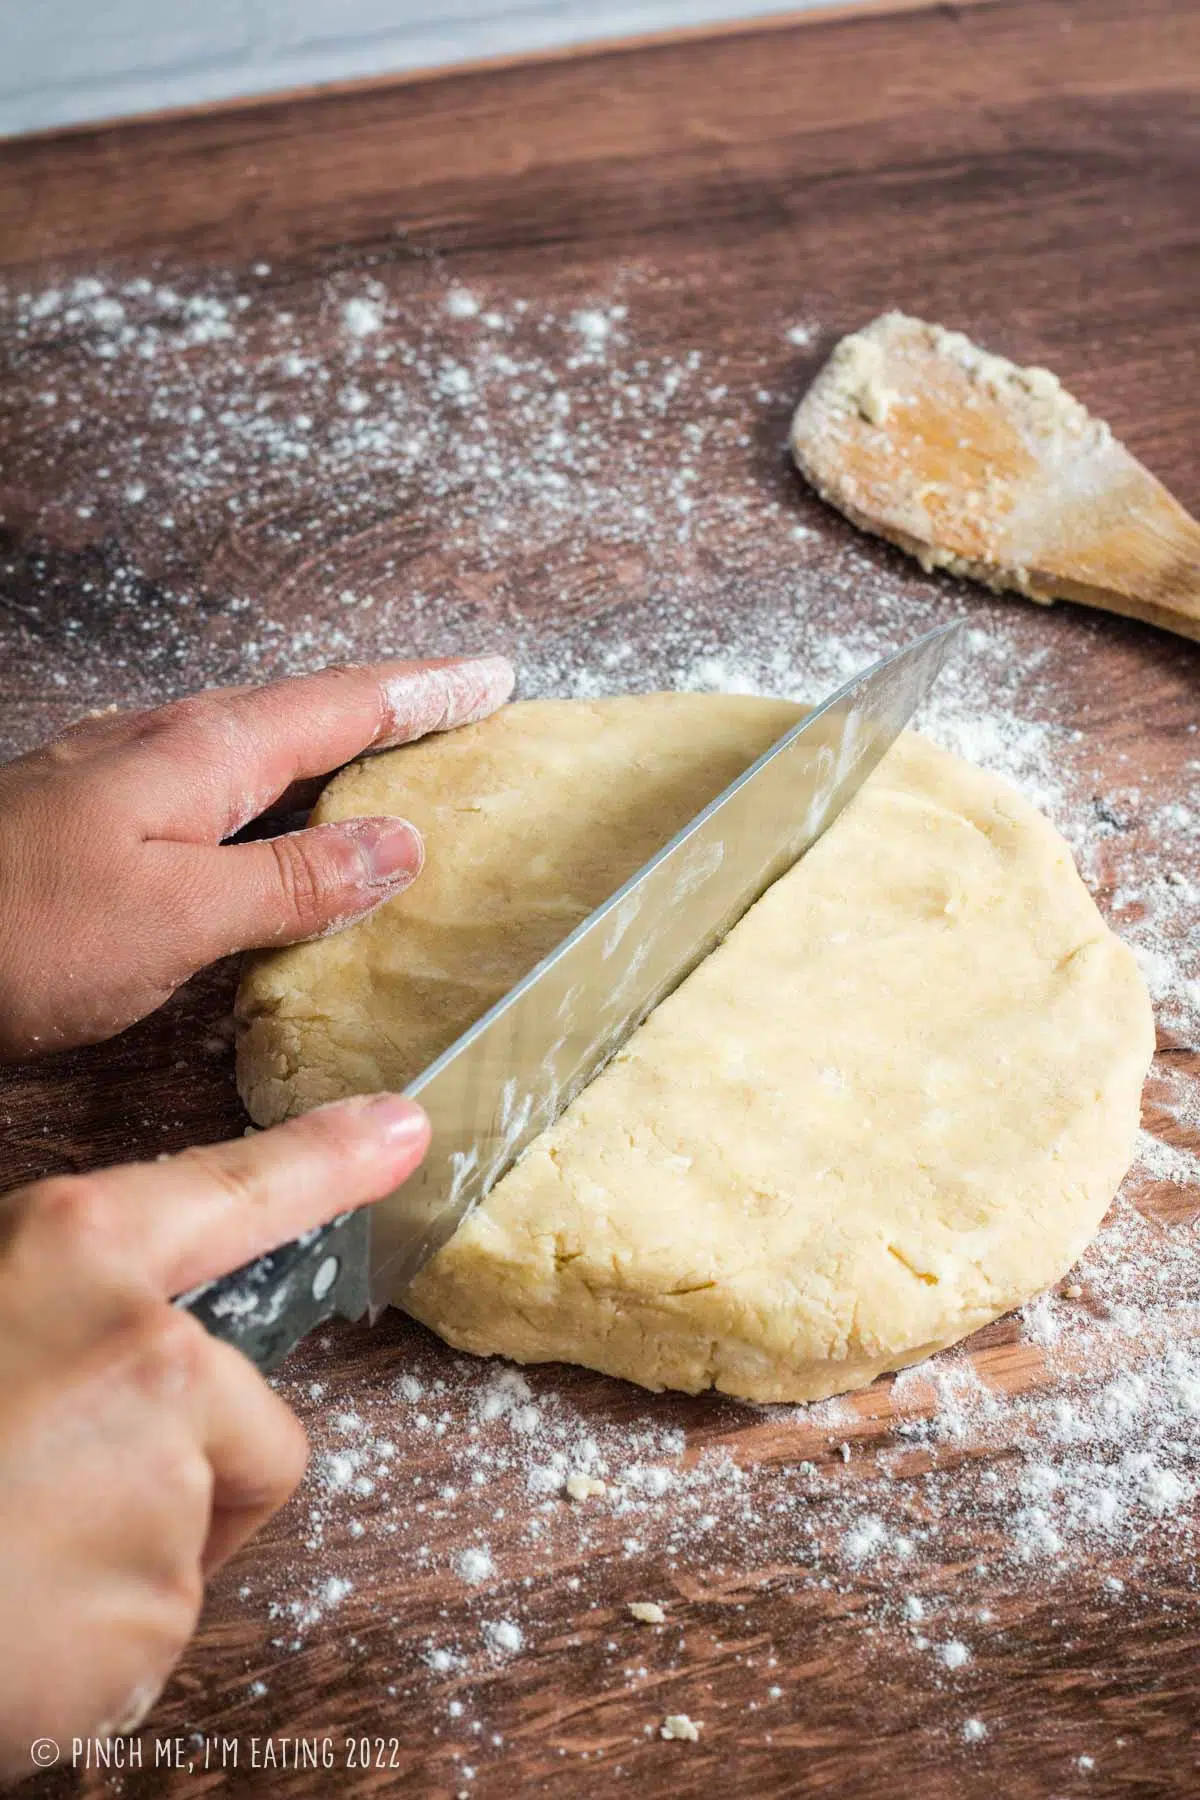
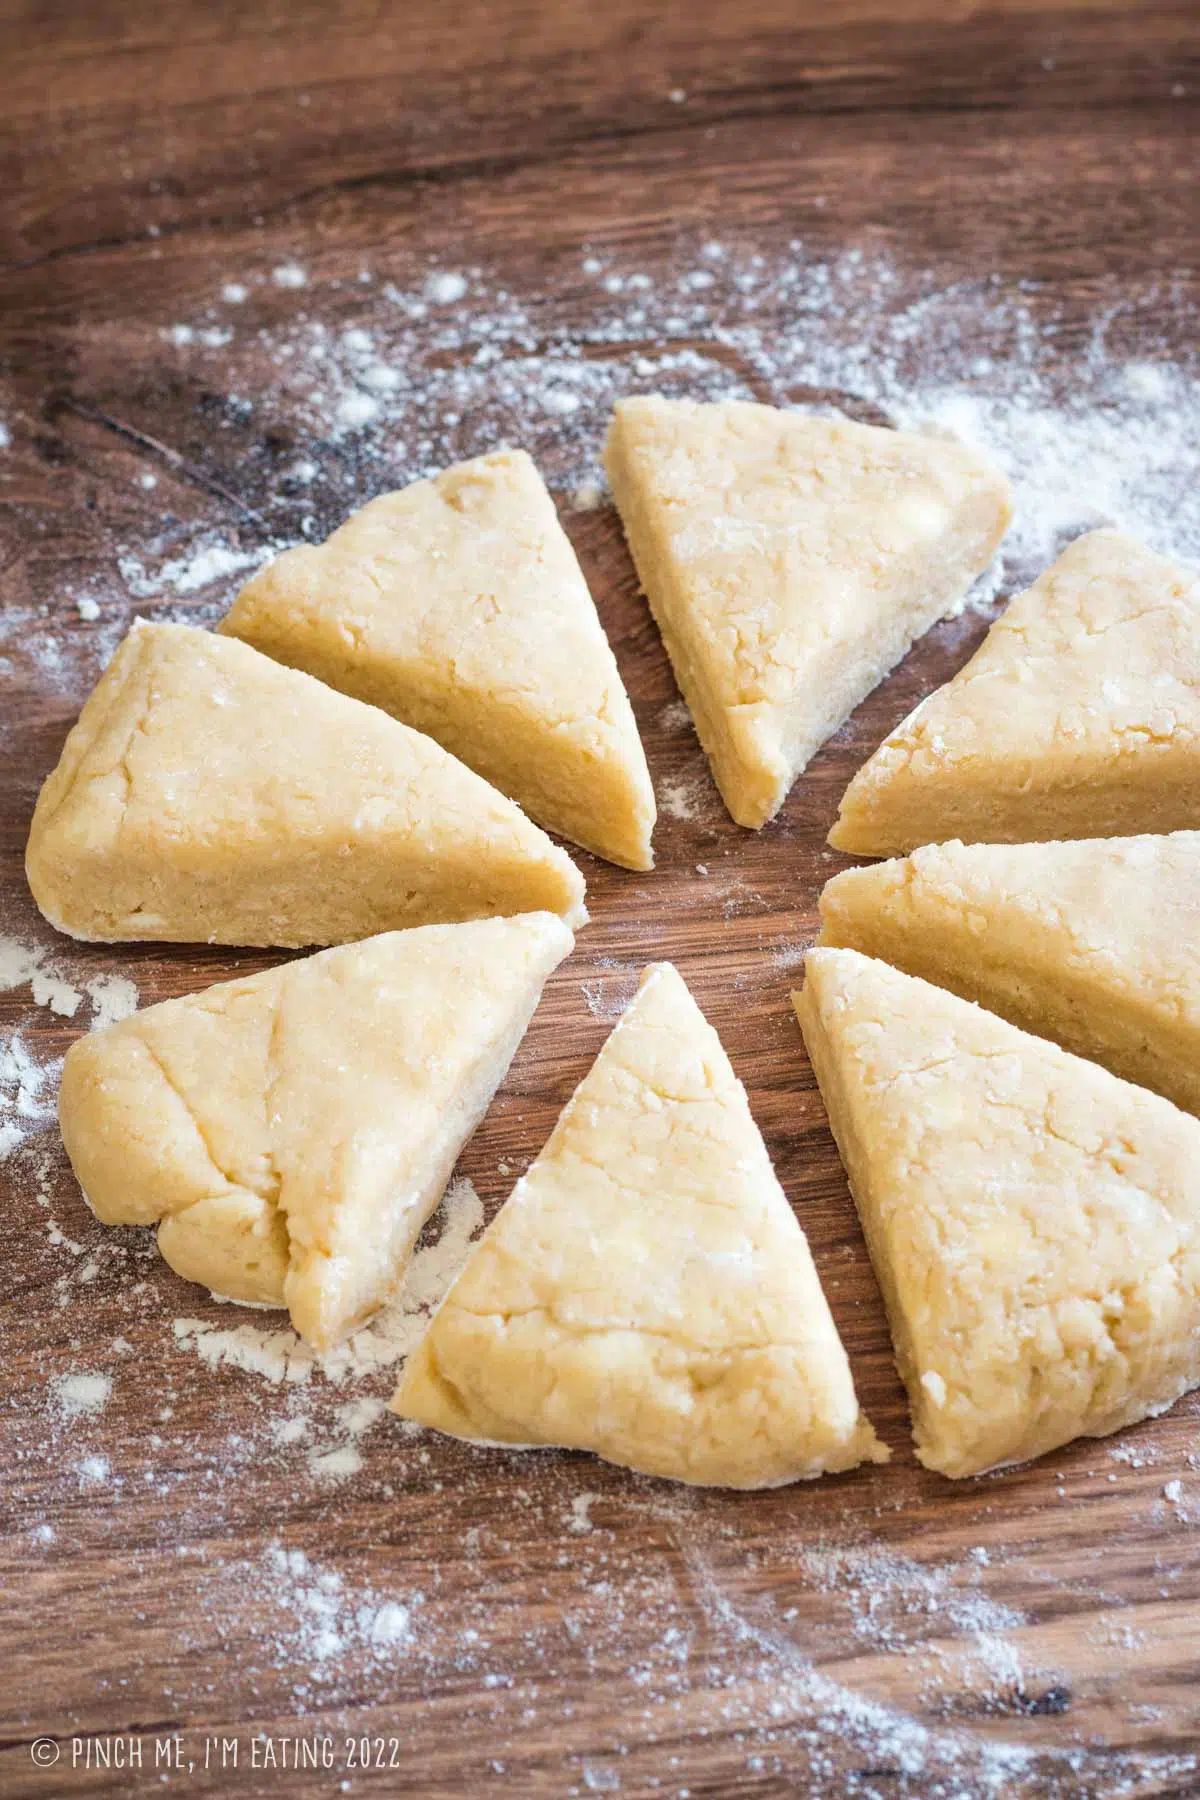
For large scones, shape the dough into a 7-inch circle and cut into 6-8 wedges.
For mini scones, shape the dough into a 7-inch square and cut into a grid of 9 smaller squares. Then cut each square into two triangles to make 18 scones.
I recommend brushing your scones with heavy cream for a nice, subtle gloss. You can brush the scones with milk, cream, melted butter, or egg. Skipping this step will result in a flat, dull scone, while egg will give you the shiniest scone.
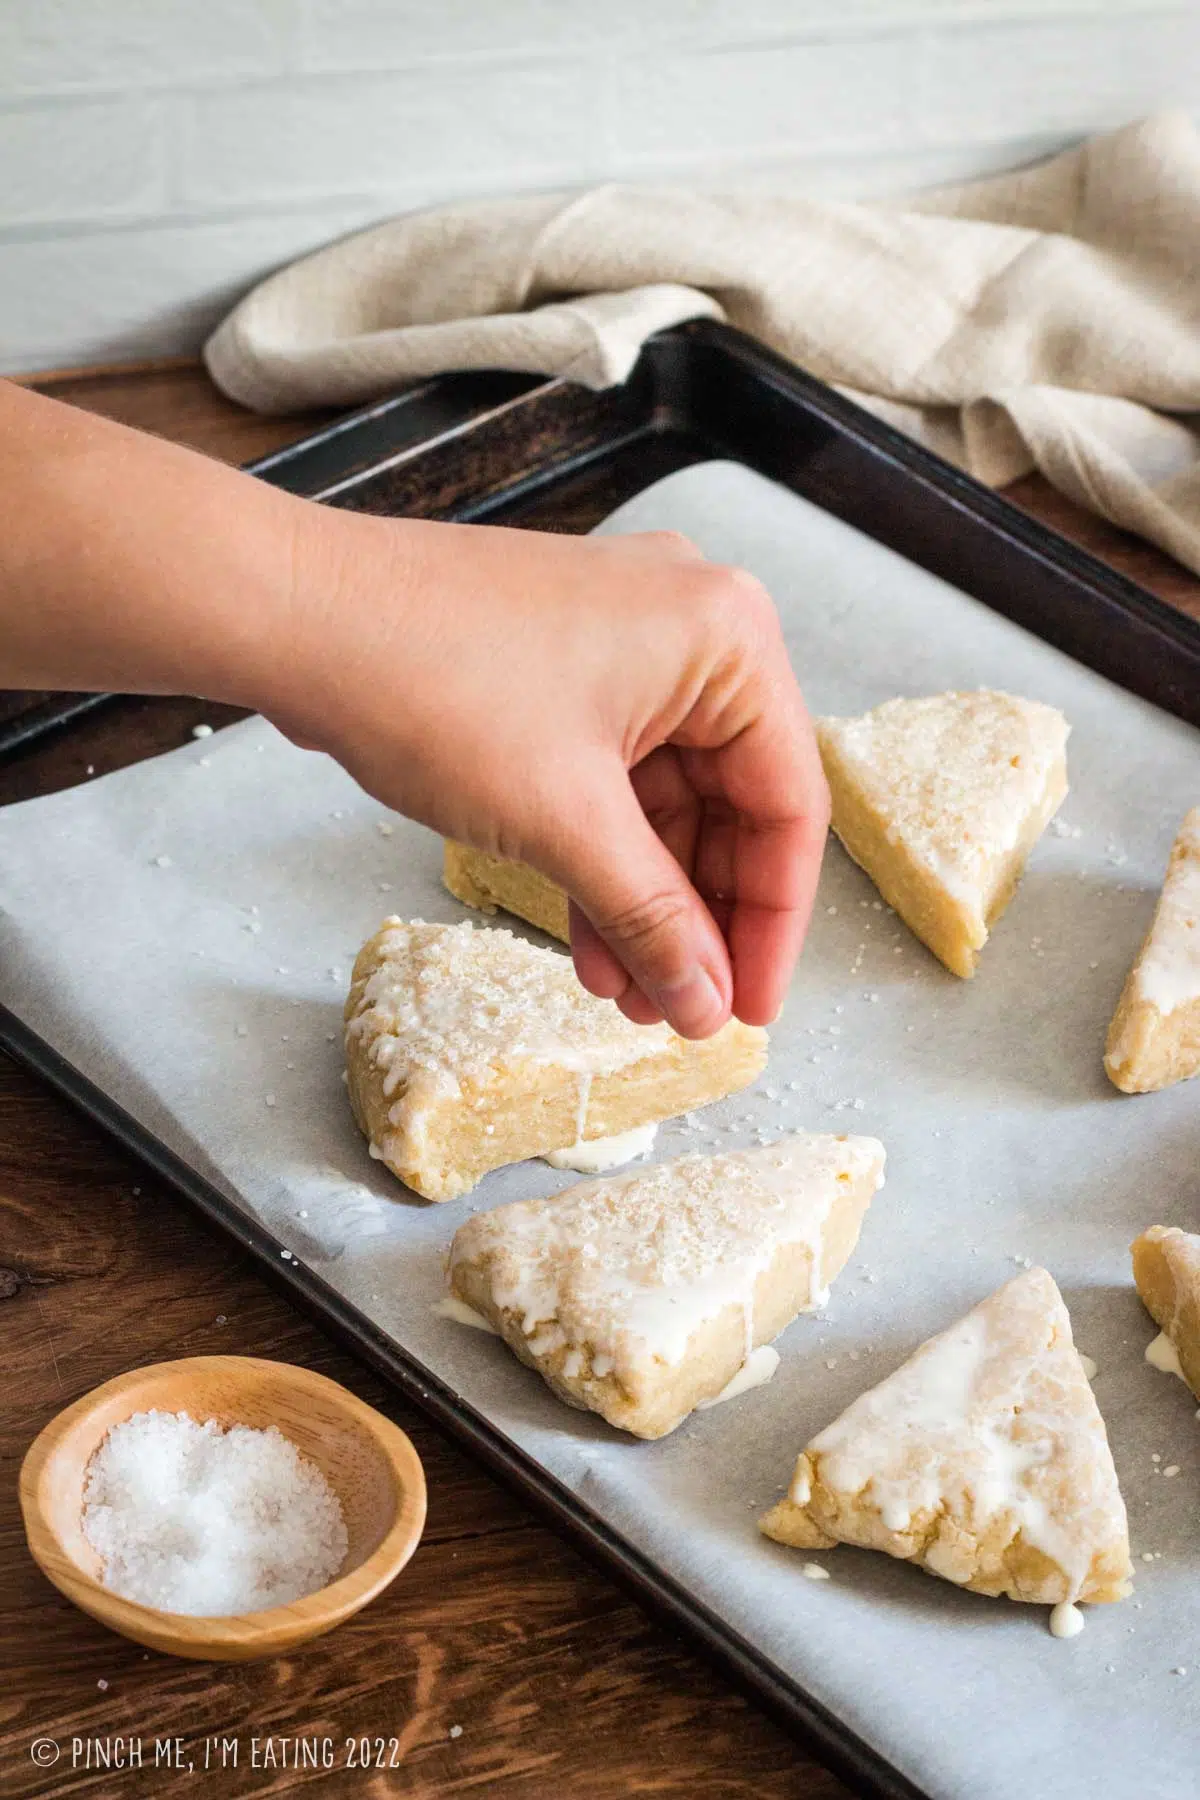
After brushing the scones I like to sprinkle them with coarse sanding sugar to give a glittery, bakery-style finish. This makes them irresistible to look at and to eat!
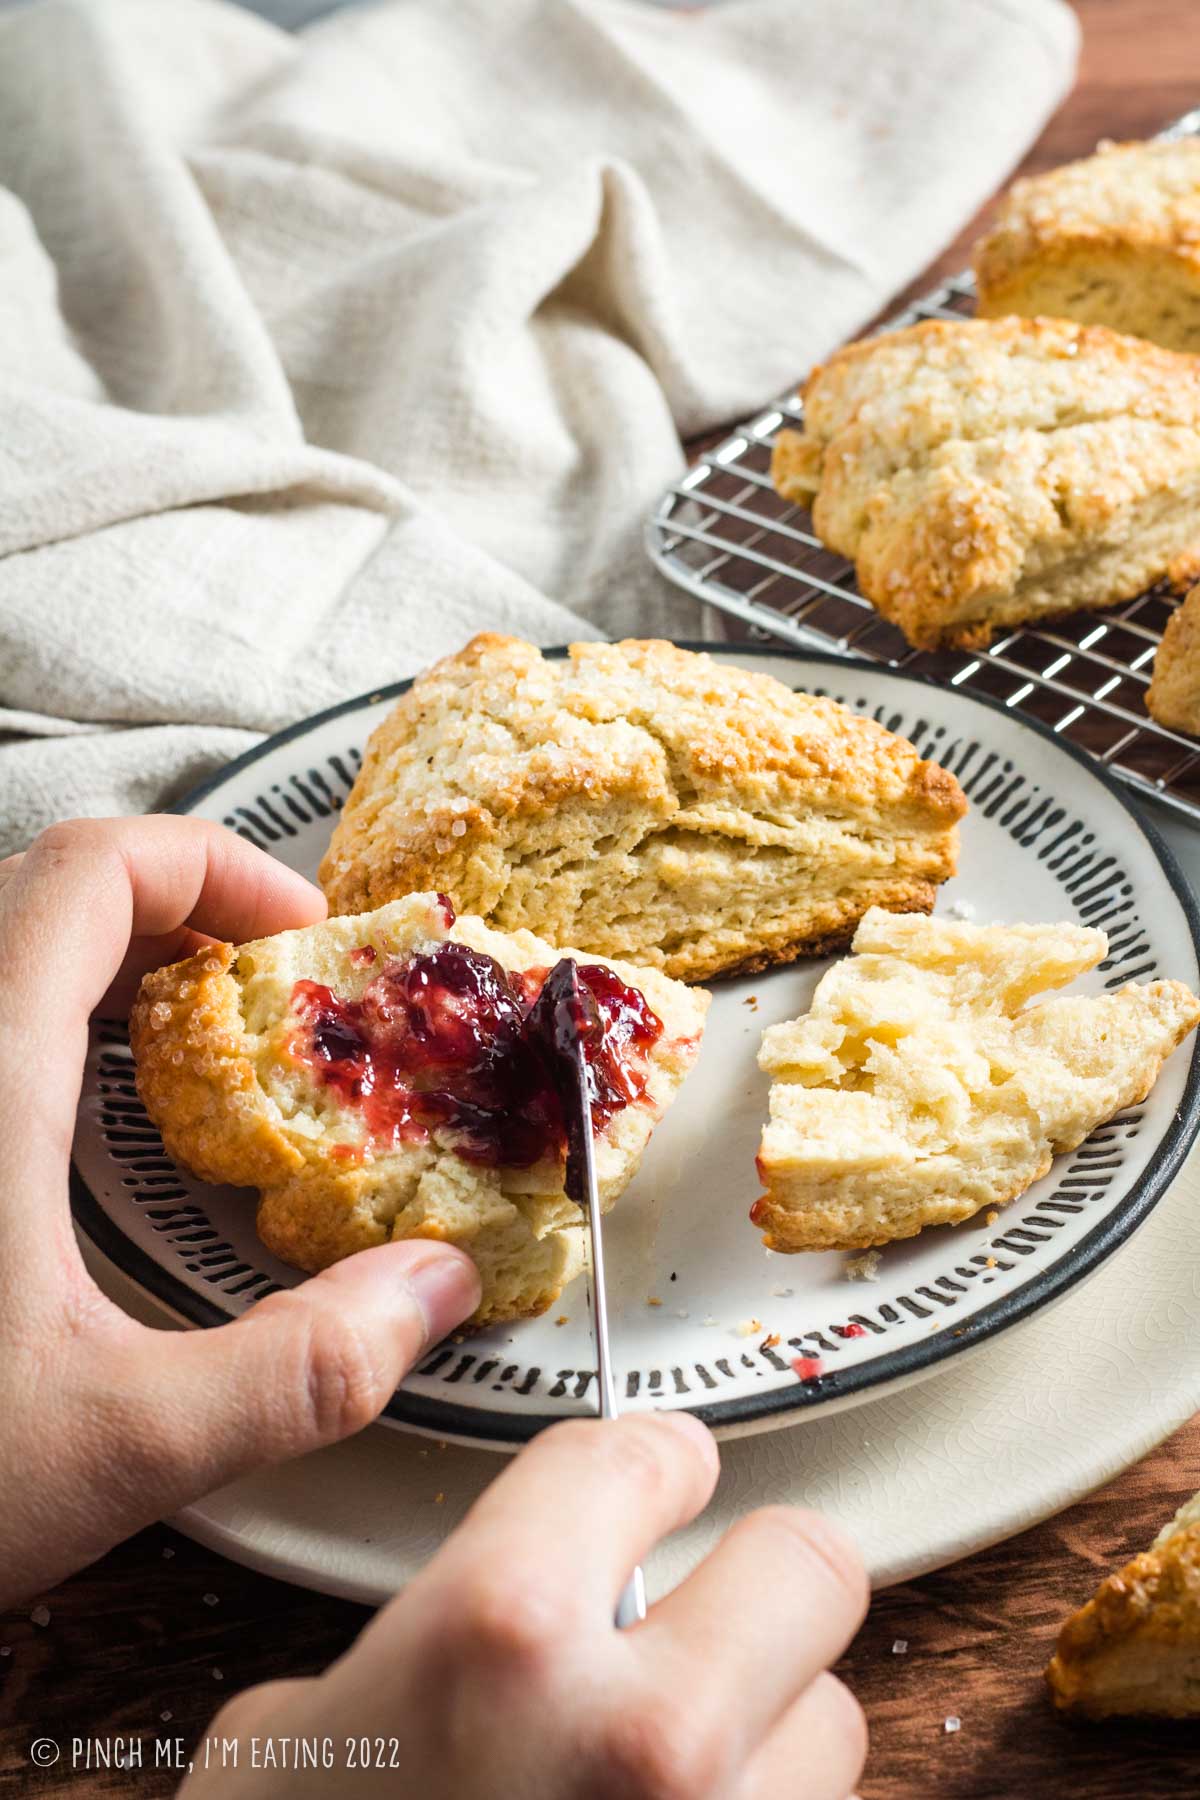
Just bake them for 18-22 minutes (15-18 minutes for mini scones) and spread with your favorite jam, curd, or clotted cream!
Customizing this recipe
Dreaming of a sweet scone flavor you can’t find a recipe for? You can use this recipe as a base for making your own custom scones!
Here’s how to add almost any flavor, mix-in, or topping you can think of.
Flavors (Extracts, zests, and spices)
What to add:
- Citrus zest from one medium piece of fruit or two small pieces of fruit.
- 1/2 to 2 teaspoons spices (cardamom, cinnamon, allspice, ginger, or other warming spices)
- Tea leaves from three tea bags, finely ground
- 1 teaspoon extract (vanilla, almond, etc).
When to add it: Mix zests or spices with the dry ingredients before cutting in the butter. Mix extracts with the wet ingredients.
Mix-ins
What to add:
- Chocolate chips or chunks, dried fruit (raisins, currants, chopped figs or apricots, etc), or nuts (1 cup total)
- 1 tablespoon poppy seeds
- 1 cup fresh berries
When to add it: Add dry mix-ins after cutting in the butter and before adding the wet ingredients.
For fresh berries, add while shaping the dough so they don’t bleed into the dough, which not only colors the dough but adds too much excess moisture. I’ve included step-by-step photos on how I add fresh raspberries to scones in this White Chocolate Raspberry scones recipe.
Toppings
What to add:
- Nuts (decorative)
- Glaze: Mix 1 cup powdered sugar, 1 tsp vanilla or other extract, 2 tsp cream, and 2 tbsp other liquid flavoring (juice, strong brewed tea). If not using liquid flavoring, add additional cream if needed.
- Chocolate drizzle
How to add it:
For nuts: Press nuts into the tops of the scones after brushing them with cream and before baking.
For glaze: After baking, dip the top of the scones into the glaze. Let any excess drip off, and set on a cooling rack to dry and harden completely before storing. A baking sheet underneath catches any more drips.
For chocolate: Melt 2 oz. chocolate in the microwave in 15-second increments until melted, stirring in between. Spoon into a plastic baggie and cut off a small corner. Drizzle tops of scones with chocolate. Let harden.
What to serve with plain scones
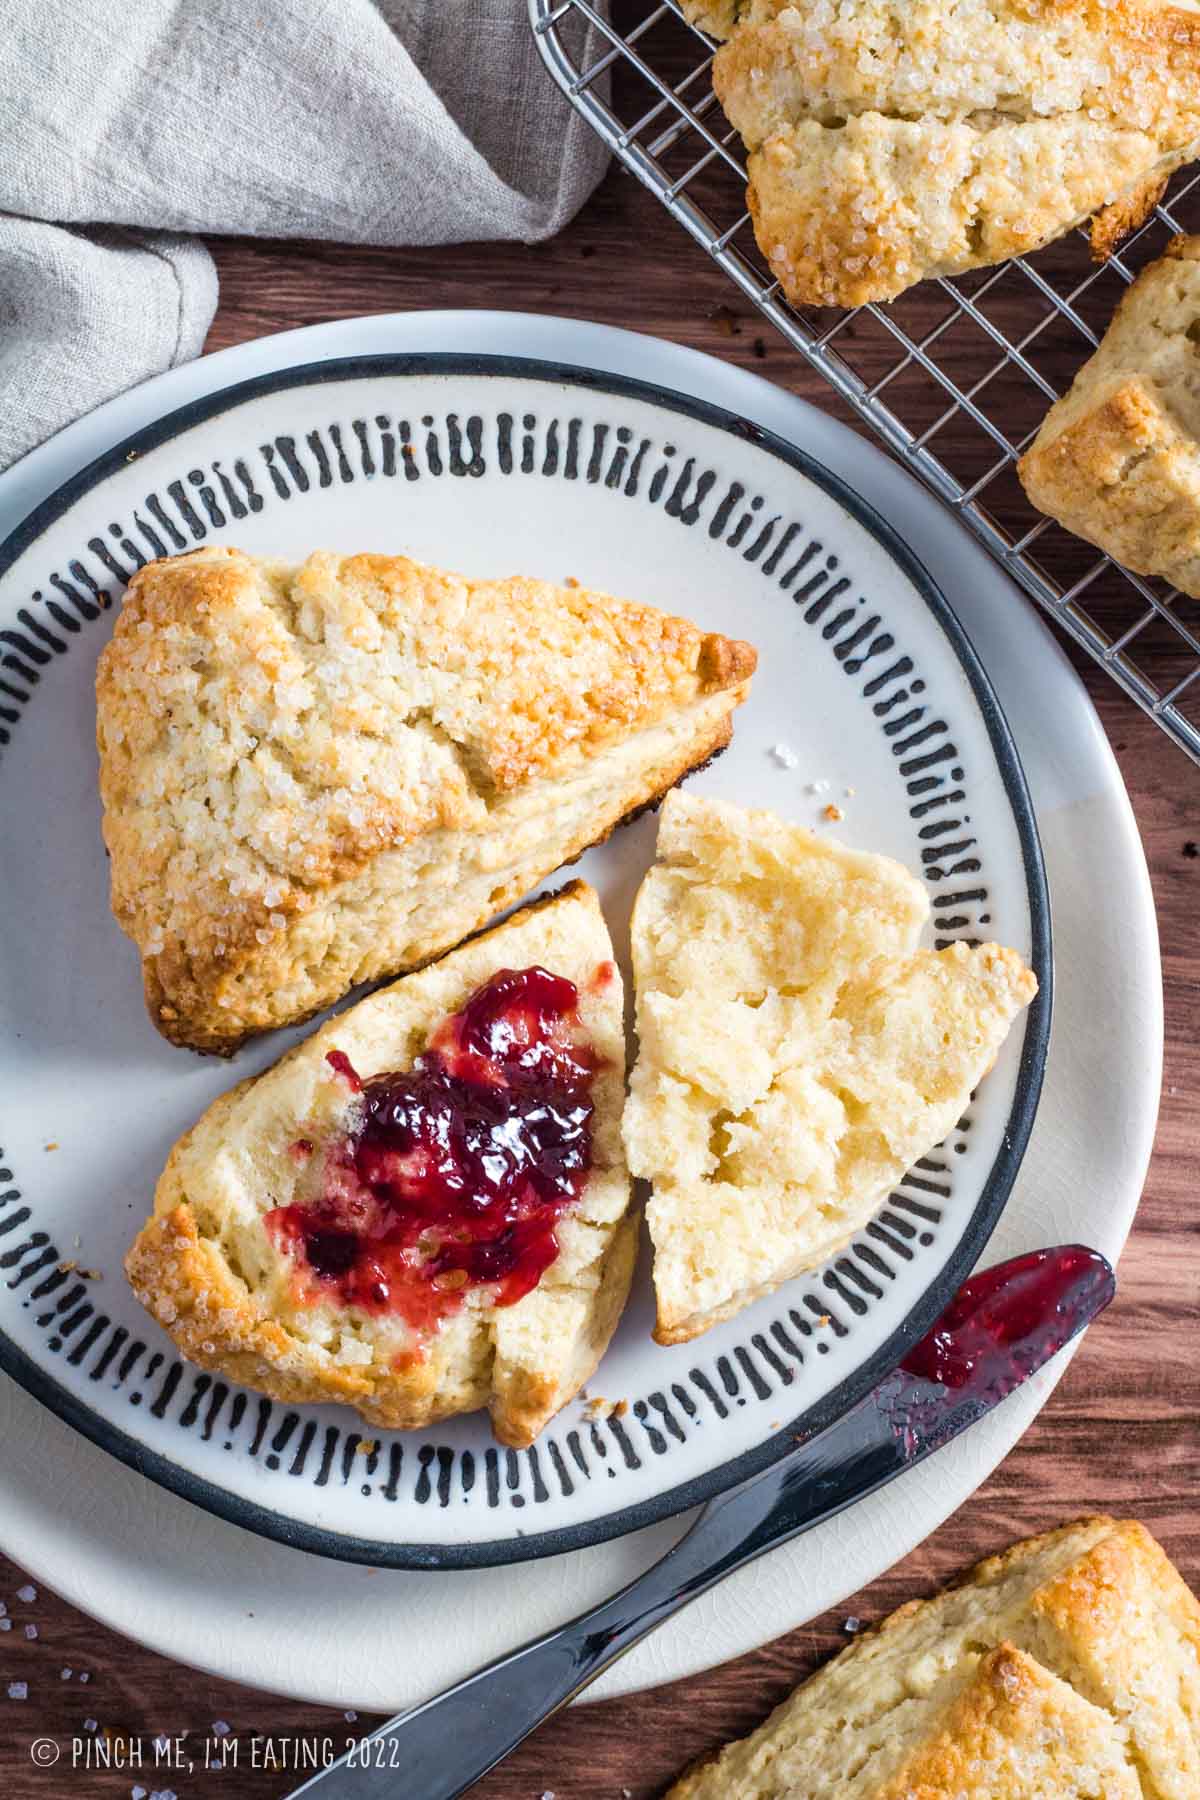
Since these are very neutral scones, pretty much any sweet flavor will go with them! The sky’s the limit when it comes to your toppings.
- Clotted cream
- Lemon curd (regular or Meyer lemon curd)
- Jam or marmalade
- Use as a base for strawberry shortcake — simply top with homemade whipped cream and macerated strawberries!

Expert Tips for Making Perfect Scones
- Make sure to use an aluminum-free baking powder like Rumford. Some popular brands like Clabber Girl contain sodium aluminum sulfate, which can make your baked goods taste bitter or metallic. Your baking powder should be free from lumps and not older than 6 months to a year.
- Keep your butter in the fridge until you’re ready to add it. Steam created during baking from the cold butter helps create the flaky layers of your scones. Leaving some larger pieces of butter up to the size of a pea when you cut it into the dry ingredients will make your scones extra flaky and delicious.
- Don’t overwork the dough after you add your wet ingredients. This will develop a gluten network, which is great for sturdier baked goods like bread or pizza dough, but will make your scones tough. The dough will be pretty dry but minimize handling it — just enough for the dough to come together into a disk.
- When cutting your dough into wedges or using a cookie cutter, use a straight down and up motion rather than sliding the knife across or twisting the cutter. Twisting or sliding will interfere with the way the scones rise on the edges.

Troubleshooting and FAQs
Be sure to FOLLOW ME on FACEBOOK, PINTEREST, INSTAGRAM, and TWITTER for more great recipe ideas! Or SIGN UP for my EMAIL NEWSLETTER to get updates and recipes straight to your inbox!

Easy Plain Scones (Basic Recipe)
Equipment
- Food processor
Ingredients
- 2 cups all-purpose flour
- 1/3 cup granulated sugar
- 2 ½ tsp baking powder
- 1/2 tsp salt
- 8 tbsp unsalted butter diced into 1/2-inch cubes (keep chilled)
- 1/2 cup heavy cream
- 1 egg
- 1 tsp vanilla extract
- 2 tbsp heavy cream to brush on top
- coarse sanding sugar to sprinkle on top
Instructions
- Line a baking pan with parchment paper and preheat your oven to 400 degrees Fahrenheit.
- Add the flour, sugar, baking powder, and salt to the bowl of a food processor and give it a quick whirl to combine.
- Add the cold, diced butter to the food processor and pulse until the mixture mostly looks like damp sand and some pea-sized pieces of butter remain. (See note 1)
- Mix the egg, cream, and vanilla extract in a separate bowl or measuring cup.
- Create a well in the dry mixture and pour in the wet ingredients. Whisk it around from the center with a fork or use a spatula or wooden spoon to mix until a dough starts to form. This will still be pretty dry looking and crumbly (see process photos in post), but that’s normal! Don’t overwork the dough trying to get it too smooth.
- Form the dough into a ball, pressing any loose crumbles into the dough until it holds together, and transfer to a lightly floured surface.
- Flatten into about a 7” circle. Using a floured knife or bench scraper, cut the circle in half, then each half into four wedges. (See note 2)
- Arrange the scones about 1 inch apart on your prepared baking pan and brush the tops with a bit of heavy cream. Sprinkle liberally with coarse sanding sugar. (You may freeze the unbaked scones at this point if you'd like to save them for later. See note.) Bake for 18-22 minutes or until golden brown around the edges of the top.
- For mini scones: Form the dough into a 7-inch square instead of a 7-inch circle. Cut into a grid of 9 squares, and cut each square in half diagonally to make 18 mini scones. Position about 1/2 inch apart on prepared baking sheet. Brush with cream and sprinkle with sugar as directed above and bake for about 15-18 minutes or until golden brown.
- Store for up to 5 days at room temperature (they may dry out over time) or refrigerate for up to a week. See notes for freezing instructions.
Notes
- Pulsing the butter with the dry ingredients in a food processor is great because it’s quick and doesn’t transfer heat to the butter. However, if you don’t have a food processor or prefer a more hands-on approach, you can rub the butter in with a handheld pastry blender or your fingertips (not the palms of your hands, as they will transfer too much heat).
- When cutting your scones, cut straight down and remove the knife straight up, rather than sliding the knife across the dough. Sliding or twisting will interfere with the nice flaky rise on the sides of the scones.





These were delicious, even though I didn’t have any sanding sugar but used granulated sugar. We ate them with some butter and my sister-in-law’s homemade strawberry jam. I took your advice and bought Rumford baking powder. However, next time, I will weigh the flour. The dough was a little crumbly and I didn’t want to overwork it. No worries, it all came out DELISH!