Rosemary Thyme No-Knead Dutch Oven Bread
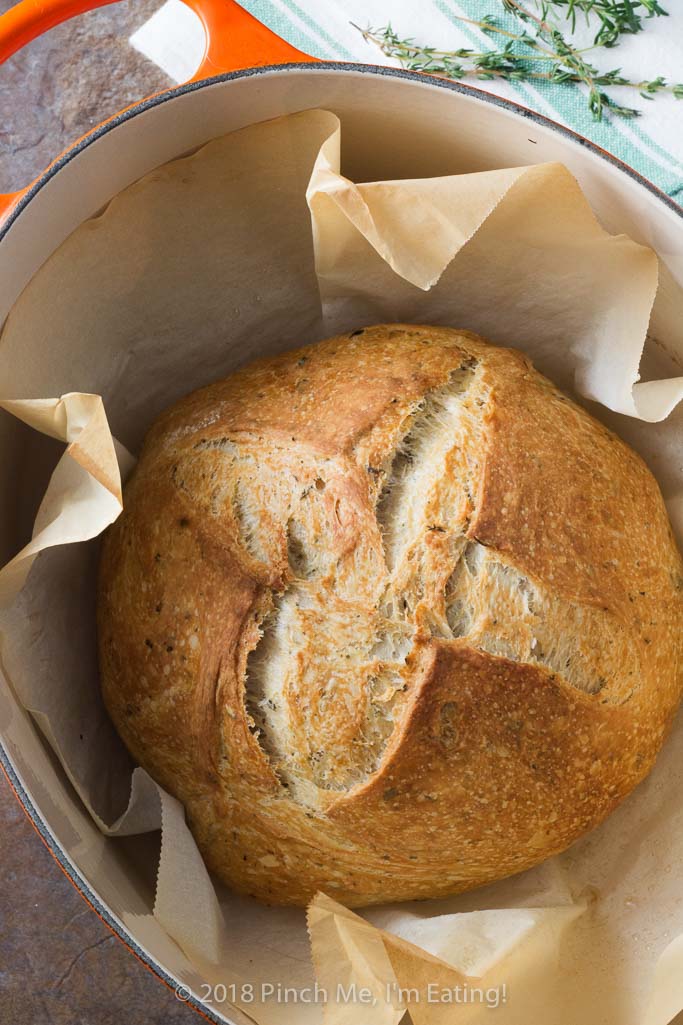
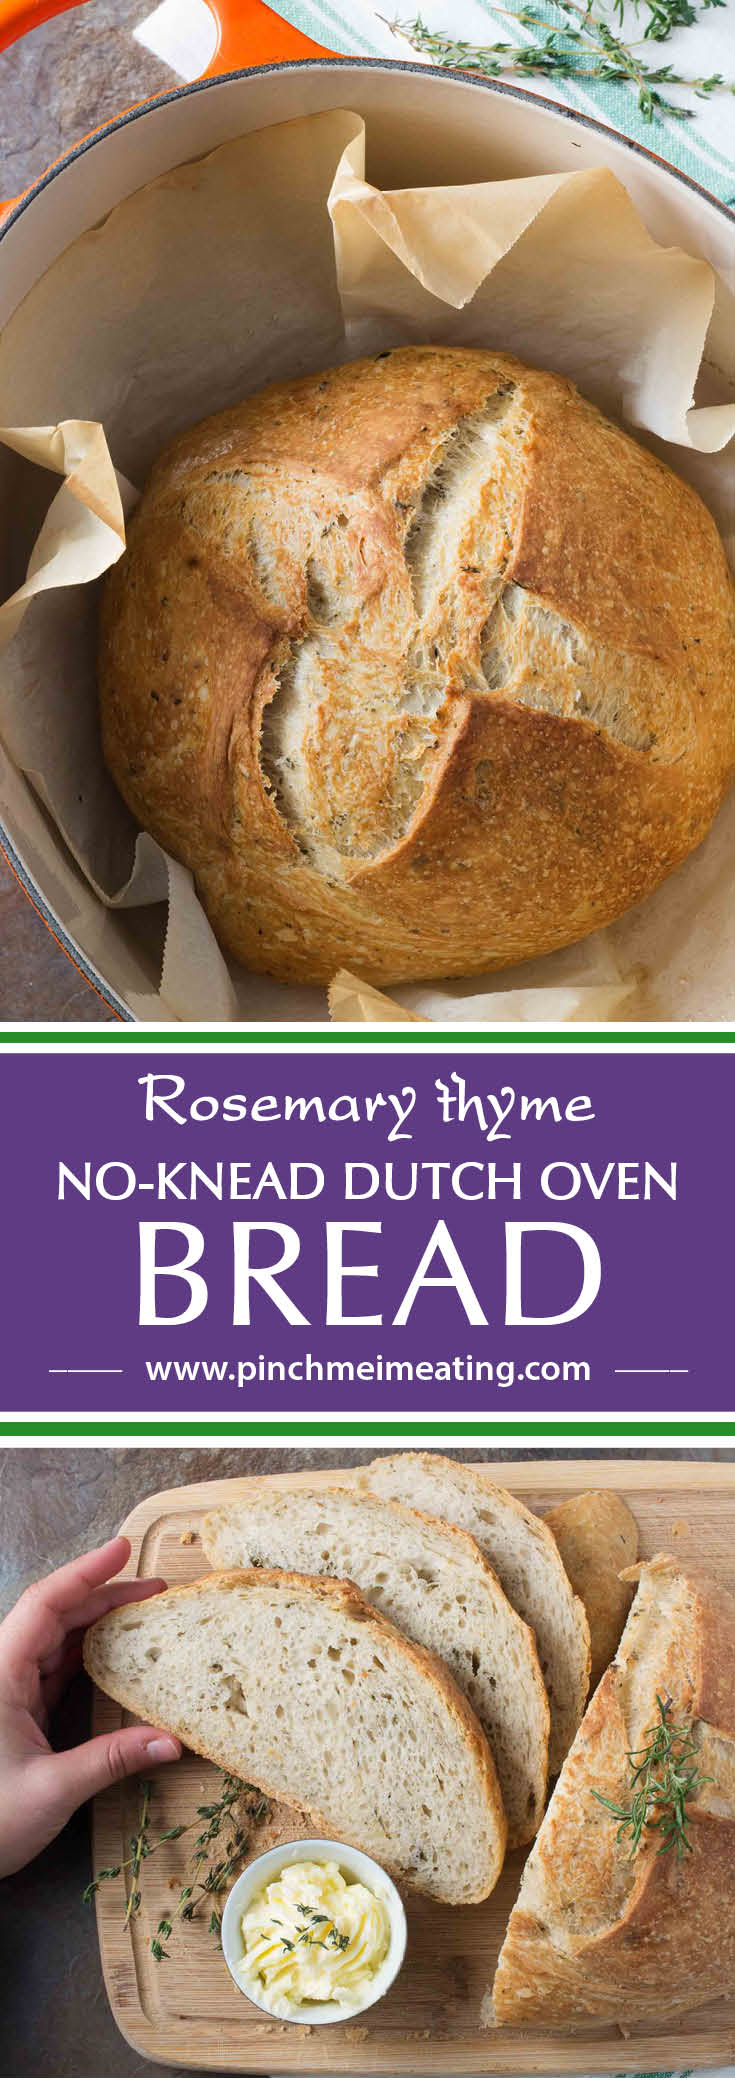
Rosemary thyme no-knead Dutch oven bread is airy and soft on the inside with a glossy crust that shatters when you cut into it – the perfect crusty bread for stew or just dipping into olive oil! Best of all, you hardly have to do anything to make it!
This post contains affiliate links.
We just experienced Snowmageddon here in Charleston, SC. It snowed FIVE INCHES here in a day earlier this week. I know that seems like nothing to a lot of you, but think about this — the last time it snowed that much here was 1989.
This was the 3rd snowiest day on record in Charleston. ON RECORD!
Roads and bridges and schools and offices are closed because our city doesn’t have any infrastructure or equipment like plows and salt to actually deal with snow and ice.
So the big joke is when there’s supposed to be even half an inch of snow everyone runs to the store for bread and milk (you know, for their… milk sandwiches?). But what if you didn’t get to the store before the whole city shut down?
MAKE YOUR OWN BREAD!
Okay, just kidding. I didn’t make this bread because of Snowmageddon. I have been wanting to try making crusty no-knead Dutch oven bread ever since my husband got me this Dutch Oven a year ago for Christmas. And I wanted to make it to go with this beef stew because it’s freaking cold and that sounded like an amazingly cozy meal.
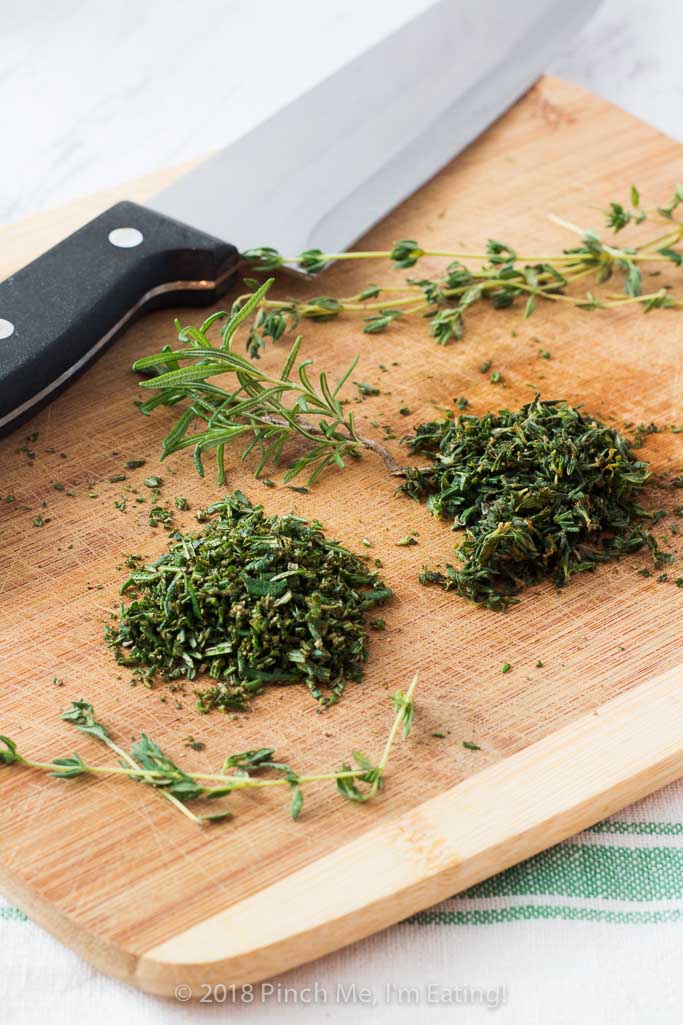
There are a lot of recipes out there for no-knead Dutch oven bread, but I used this one from Just a Little Bit of Bacon because I always want to infuse things with even more flavor, like fresh rosemary and olive oil. I also used thyme in mine because my little rosemary plant just didn’t have enough leaves and I had extra thyme from making the beef stew.
And I love that this recipe replaces some of the water in the dough for olive oil. I think it adds a great flavor to the bread, especially if you use a robustly-flavored extra virgin olive oil.
I was a little nervous about heating an empty Dutch oven at such a high temperature and setting my house on fire or something while the roads are icy and fire trucks might have trouble getting to me. Yes, I am a little crazy like that.
Full disclosure: yes, I did set off my fire alarm when I took the preheated Dutch oven out of the oven. But a little wave of a cutting board in front of the smoke detector and that was the biggest drama of the day. Totally worth it.
Just be sure you have a large, heavy pot with a lid that can withstand being heated to 500 degrees. This is the one I have but you certainly don’t need a Le Crueset one.
Why no-knead bread works
I did a double take and cross-checked like three other similar recipes when I saw that this no-knead Dutch oven bread recipe only called for half a teaspoon of yeast.
Now, I haven’t made a ton of things with yeast, but most of the ones I have made call for a whole packet of yeast, which is about 2 and 1/4 teaspoons.
But since this bread has an extremely long rise time (10-12 hours!!) it can start with a small amount of yeast and be fine! You can even let it rise for 18 hours, which I may try next time, since that would allow me to put together the dough one night and bake it for dinner the next.
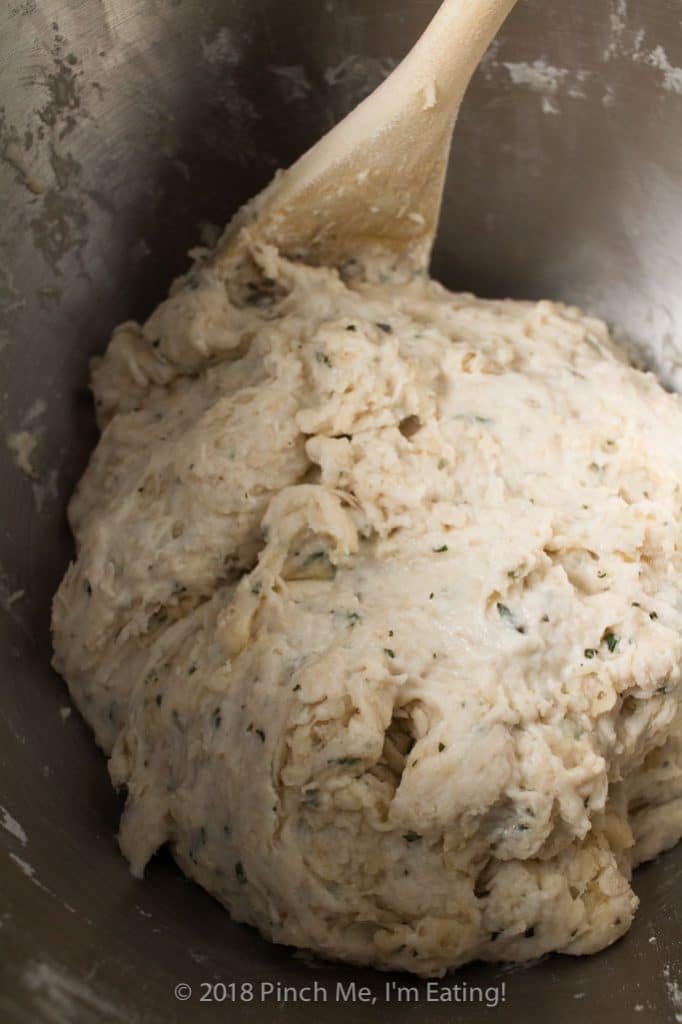
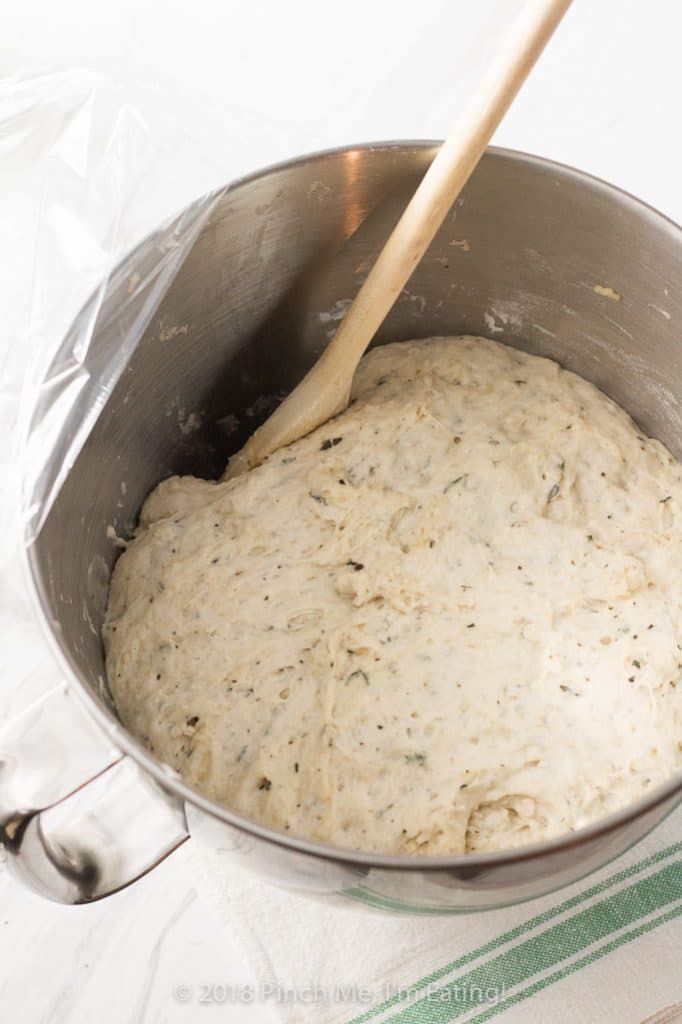
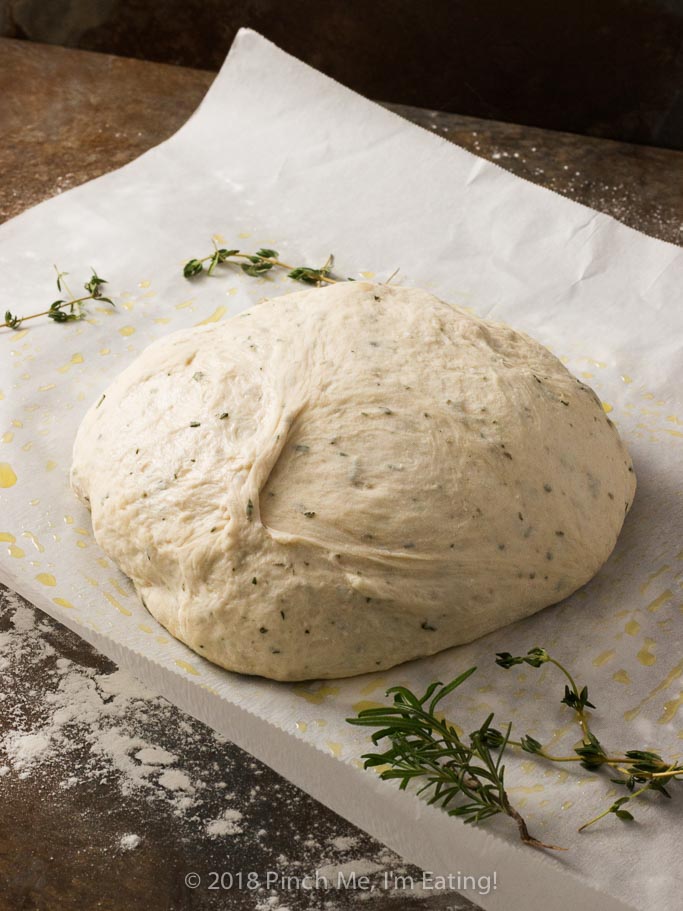
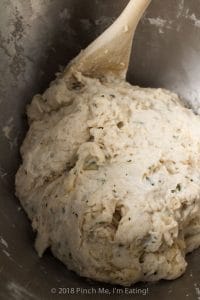
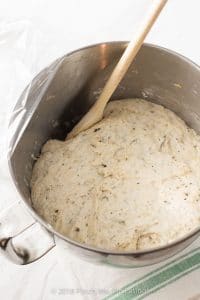
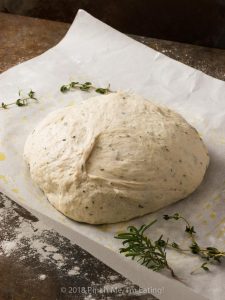
You can see here the dough before and after the long rise time.
The long fermentation time also forms the long, elastic gluten strands, typically formed by kneading, that give the bread its texture (thanks, Wikipedia!)
Why Dutch oven bread works
Now, for the Dutch oven bit. There’s a reason they call them ovens and not just big pots.
If you’ve got a cast iron Dutch oven, not only does it hold heat really well, but the temperature inside a preheated one is also very consistent throughout its small space. And your dough gets the same direct heat experience of its own tiny little bread oven.
More importantly, baking your bread dough in a tiny lidded oven prevents the steam from your dough from immediately going out into your dry oven (which vents out steam).
What does this mean for your bread?
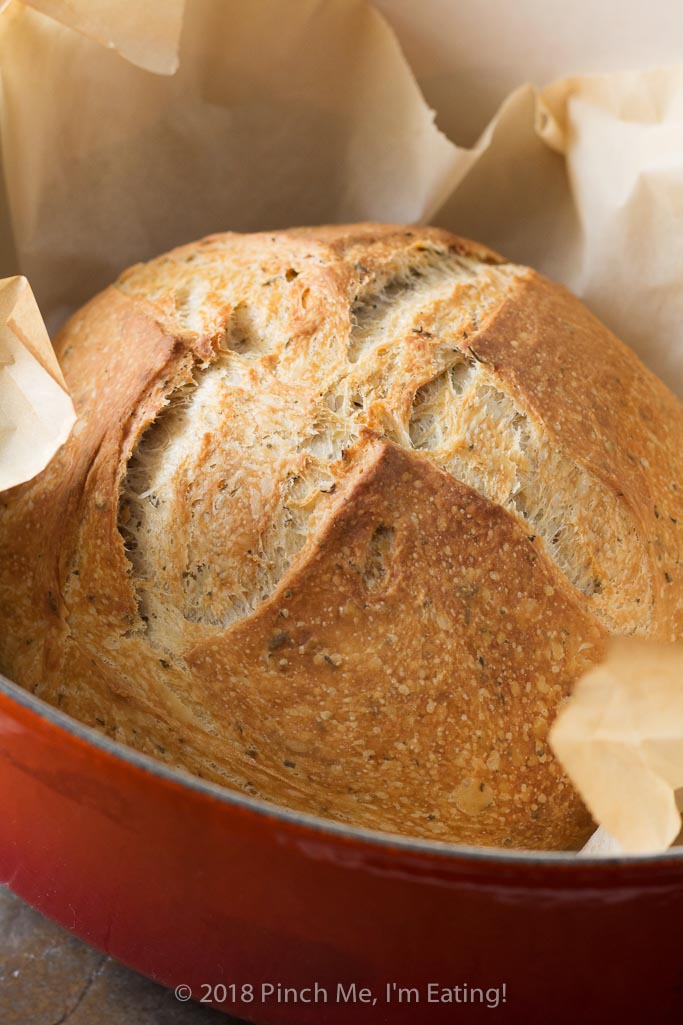
When the dough hits the heat of the oven, the yeast starts expanding rapidly, even MORE than it did during your rise time. But if the steam goes out too quickly, the crust will set before the bread has a chance to fully expand. The steam captured in the Dutch oven gives your bread more time to expand and rise beautifully, and any slashes you make in the dough before putting it in will open up to create beautiful patterns.
And after most of the steam is reabsorbed into your still-rising bread dough, it begins to create the crust, which you finish crisping up at maximum heat and evaporation by removing the lid of the Dutch oven.
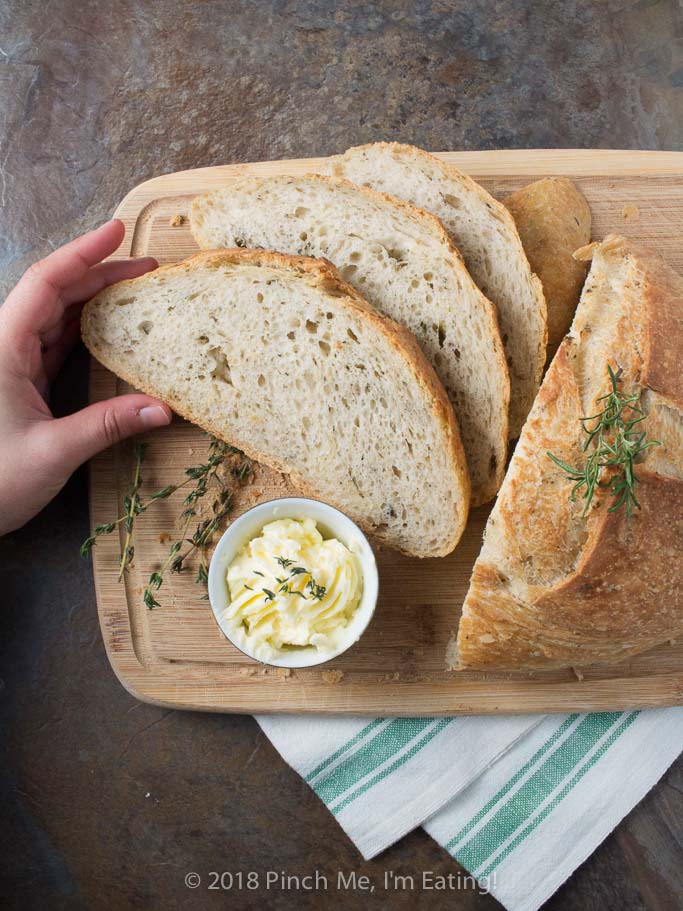
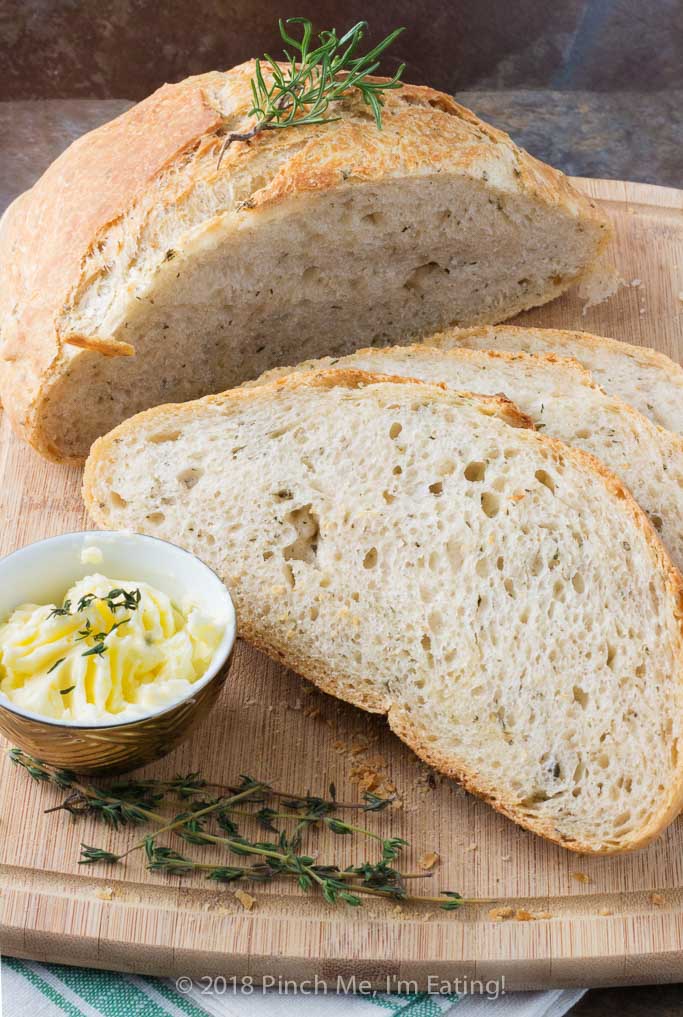
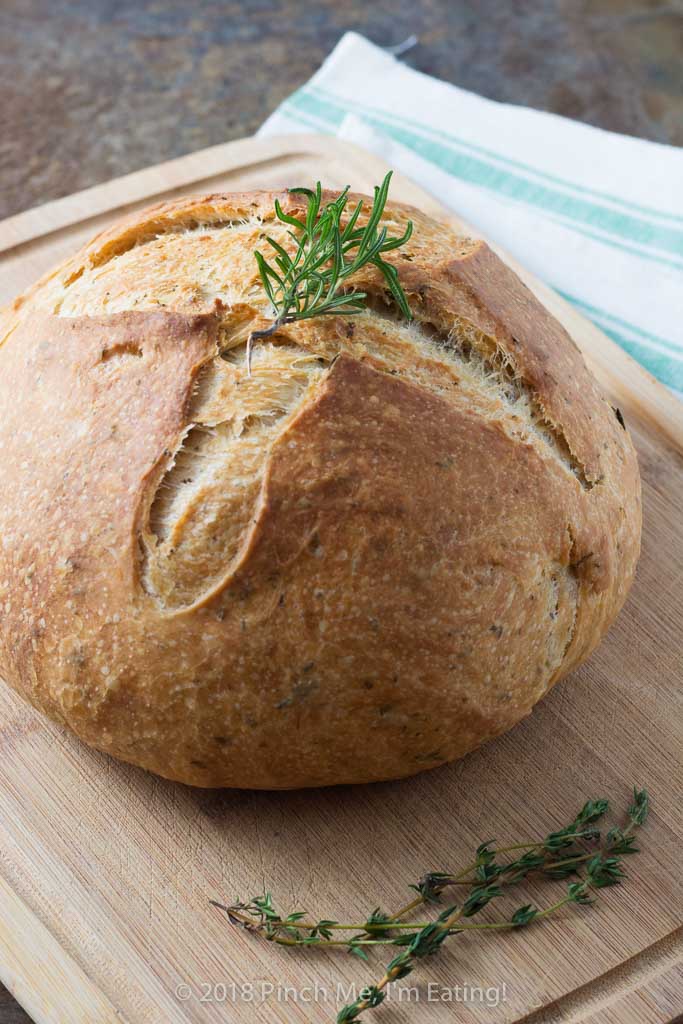
The crust is crispy and shatters into glorious little bread shards, and the inside is soft, fluffy, and airy. The perfect accompaniment for stew, or the truffle olive oil we got in Italy.
I had no idea I could make such a perfect, beautiful bakery-quality loaf of bread right in my own oven. You guys. I think I’m hooked.
What to serve with your no-knead Dutch oven bread
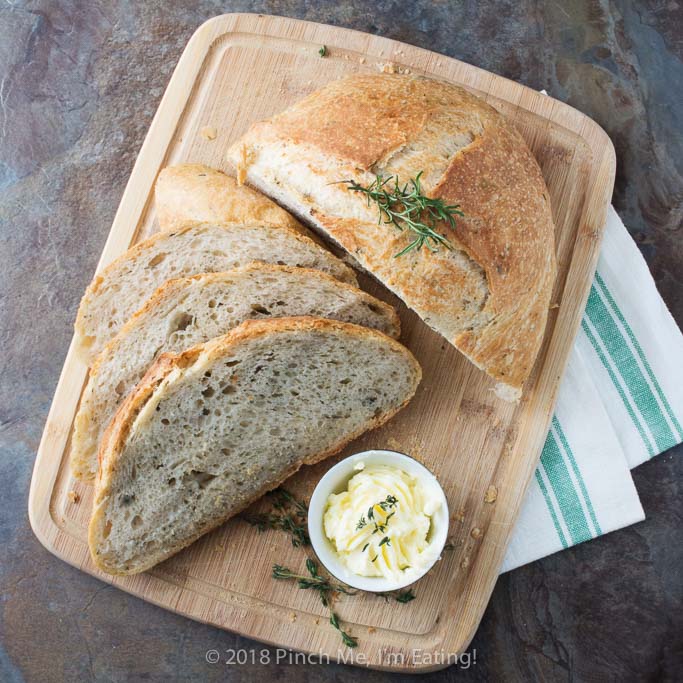
The obvious companion for a nice crusty bread is some hearty stew! Or just eat it plain or with some butter.
What are you waiting for??? (hint: your answer in about 10 minutes should be “for my dough to finish rising”)
Rosemary Thyme No-Knead Dutch Oven Bread
Ingredients
- 3 cups all-purpose flour
- 1/2 tsp instant yeast
- 1 1/2 tsp salt
- 1 1/2 tbsp fresh rosemary finely chopped
- 1 1/2 tbsp fresh thyme chopped
- 1 1/4 cups room temperature water
- 1/4 cup olive oil
Instructions
- In a large bowl, combine flour, yeast, salt, rosemary, and thyme. Stir in water and olive oil with a wooden spoon until dough is well-mixed and flour is fully incorporated. The dough will be wet and shaggy.
- Cover the bowl in plastic wrap and let it rest in a warm spot in your kitchen for 10-18 hours. Dough will double in size and be puffy.
- Dust a clean work surface with flour and dump the dough out from the bowl, using your hands or a wooden spoon if necessary to get everything out. Fold the dough over a few times so it's a bit more stable. Gather the dough into a ball by sort of gently stretching the top and pulling the ends underneath the loaf.
- Brush a piece of parchment paper with a bit of olive oil. Place your dough onto the parchment and cover with a damp kitchen towel or paper towel. Place in a warm spot in the kitchen and let rise for an additional hour to hour and a half.
- 30 minutes before you plan to bake your bread (30 minutes to an hour after you leave your dough ball to rest), place a large Dutch oven with lid or (other heavy, lidded, oven-safe pot) into your oven and preheat to 500 degrees. Make sure your pot and lid can be heated to 500 degrees. (Note: My oven takes a super long time to preheat and runs cool - it was only at 450 after half an hour according to my oven thermometer, but I went ahead and baked the bread anyway and it came out great!)
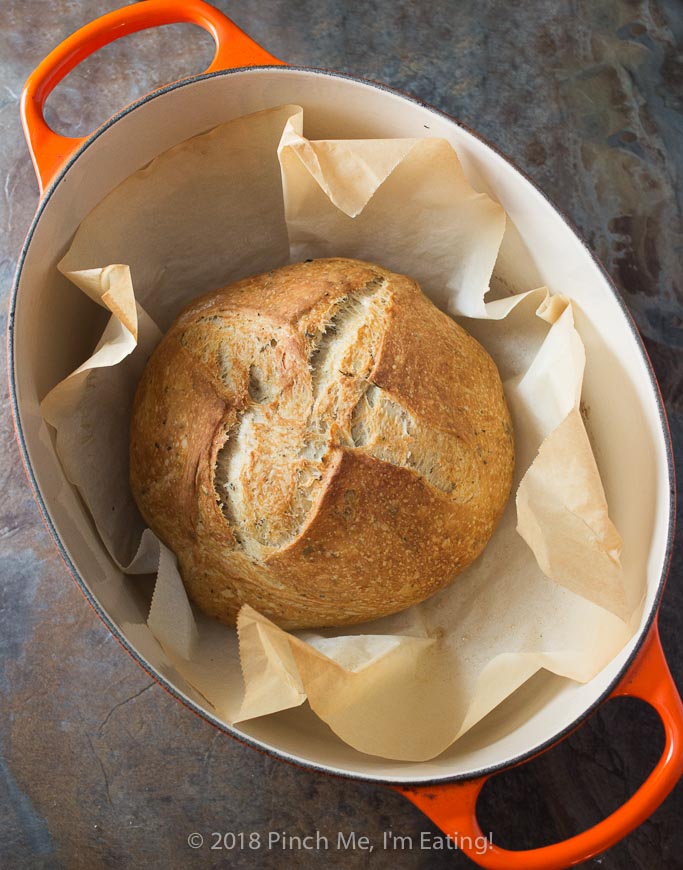
- When you're ready to bake your bread, use a serrated knife to cut one or more slits in the top of the bread dough. (You can do one right down the middle, or two in a + sign like I did, or three parallel lines, or get creative with it! Just break the "skin" of the dough ball - this allows the bread to expand when it hits the heat of the oven without cracking, makes it look beautiful, and gives you nice craggy edges along your cuts)
- Take the preheated Dutch oven out of your oven (this is when I set off the fire alarm, but it was okay) Lift the dough loaf by the corners of the parchment paper and lower the whole thing in into your Dutch oven, parchment and all. Cover with the lid and re-insert into the oven.
- Lower the heat to 425 degrees and bake, covered, for 30 minutes.
- Remove the lid and bake for an additional 15 minutes. Place the loaf on a wire rack to cool.



Hi Caroline!
My fiancé and I had this bread while visiting my Brother and SIL and we just had to have the recipe! I have made it a few times now and it’s nearly fool-proof. I was wondering if you had any other flavor or herb varieties that you have tried? We were thinking of making it with olives. Would that work?
After letting it rise and folding it a few times my dough was still sticky and didn’t look like your picture at all! Should I have added warmer water or kneaded it a few more times? The slits I made on top just melted back into the dough as soon as I cut it. It’s in the oven now so we will see. #newatbread
I had the same issue. Waiting to see what it looks like but not sure it rose much!
I don’t have a Dutch oven. Could this work in my Ninja Foodie on roast?
I am not familiar with the Ninja Foodie but this recipe is written for a dutch oven (heavy oven-proof pot with lid). I’d look up bread recipes specifically written for a pressure cooker for your best chance of success! Or, you can get an inexpensive enameled cast iron dutch oven and use it for all kinds of breads, soups, and roasts!
I’ve made you recipe several time and every time it’s perfect! Thank you so much for posting it!!
Thanks so much for your comment! Glad you like it!
I’ve made this recipe before and it’s delicious. Any suggestions for shipping this bread to friends on the other coast? I’m not sure if I should freeze the bread and ship it frozen. Thanks!
Hi Regina, so glad you like this recipe! I looked up some tips on shipping yeast-based bread and found a couple things: Yes, shipping it frozen can help it stay fresh. Also, from the article I found on Delish: “Harder, yeast-y breads can be wrapped in foil and then in plastic.” Finally, ship it very soon after baking, mark it as perishable, and pay for priority shipping. Good luck!
IM BEGINNER with bread baking- it’s my second bread recipe I’m doing( my first was from different website), but this bread turns very good out:) Everybody’s likes IT so much:)!
Oh yay! So glad it worked out for you!
I’d love to make this, but I don’t own a Dutch oven (and my kitchen storage space is sadly limited in my little NYC apartment 😔). Is there an alternative to a Dutch oven that I could try?
You can still make it without a Dutch oven — do you have a cast iron skillet? It won’t rise as high without the lid since the moisture will evaporate and form the crust sooner than if it’s enclosed but it should still taste great!
Hi Caroline, Just came across your site while looking for a nice “Herby Bread”. I made your bread this morning, but added a few cloves of crushed garlic with the rosemary and thyme and I must tell you that my kitchen smelt wonderful and bread tasted even better. I’ll be keeping this in my files as “that” special bread. Thank you for your recipe.
Yum, garlic is great in just about anything! Happy to have made it into your permanent files!
Can you split the dough and make rolls?
I haven’t tried that but it sounds like a great idea! I’m not sure how it would affect the rising and baking time though.
trying to make a bread with no or low salt for a friend on very restricted sodium diet. Can salt be left out or reduced? thanks
I definitely wouldn’t eliminate the salt completely – also remember the total amount of salt in the recipe is divided up between all the slices, so there’s not really much salt per slice. You can try reducing it but it may affect the flavor and texture a bit – here is some good info I found about the importance of salt in baking bread: https://bakingbites.com/2010/08/does-my-bread-need-salt/ Good luck!
I did some kalamata olives and rosemary in this loaf. Great technique and so easy. Bread is really good!
That sounds like a delicious combo! So glad you liked it!
Can you add the rosemary after the initial rising time? I didn’t add it at first, but would still like to fold it in before I form the ball of dough. What do you think?
Seems like it would work to me, although it may not be incorporated quite as well as if you add it when you make the dough initially! It’ll still be delicious 🙂
Looks good. I can’t wait to try it.
Thanks! Hope you like it!
Made this last night and it came out perfectly. Simple, beautiful and delicious. I may be making once a week for a while! Thanks.
Thanks, Paula! I’m so glad you liked it!
I love herby breads! I need to make this, just to enjoy with butter!
We love no-knead bread and your herb variation is perfect for us and our garden. We have fun with the recipe, but usually combining different flours. Happy New Year to you and Mike!
You are certainly the herb king! Can’t wait to hear about the exciting herb combinations you use with your bread! Happy New Year to you and Mark too! <3
Hi Caroline!
I am one person that you write for, and I was thinking when you were talking about finding your niche, “Why do I like to read Caroline’s blog?” I think you have a niche already. I like to read your blog because you do recipes that I might be intimidated by, such as baking bread, and you make them seem like something that I could really handle. I like that you use the best in ingredients. You try things out that I may not have heard of such as how you used saffron with your rice or a Dutch oven. I always learn something new. You seem to start from the very beginning with your recipes you choose, from scratch. You choose elegant, often upscale, sometimes delicate, food and recipes, but your writing style is more humble, down-to-earth, authentic, not intimidating, and friendly. I am glad that you do not do just one “type” of food. It allows your personality to come out with the food you choose to try.
Keep going!
De’Anna S.
De’Anna, thanks so much for your in-depth response! It means a lot to me and your feedback will be very valuable – you’ve put into words a lot of how I feel about my own recipes. Hopefully with the help of the brand consulting I can refine that down into a tagline that’s easy to say when people ask me what I blog about! But yes, I think my desired route is to define my style rather than narrowing down what kinds of foods I make. I can’t imagine not putting something like homemade pasta on the blog because I’m only doing Southern food or 30 minute dinners! I value your readership and your friendship! 🙂
I value your friendship too! 😍