
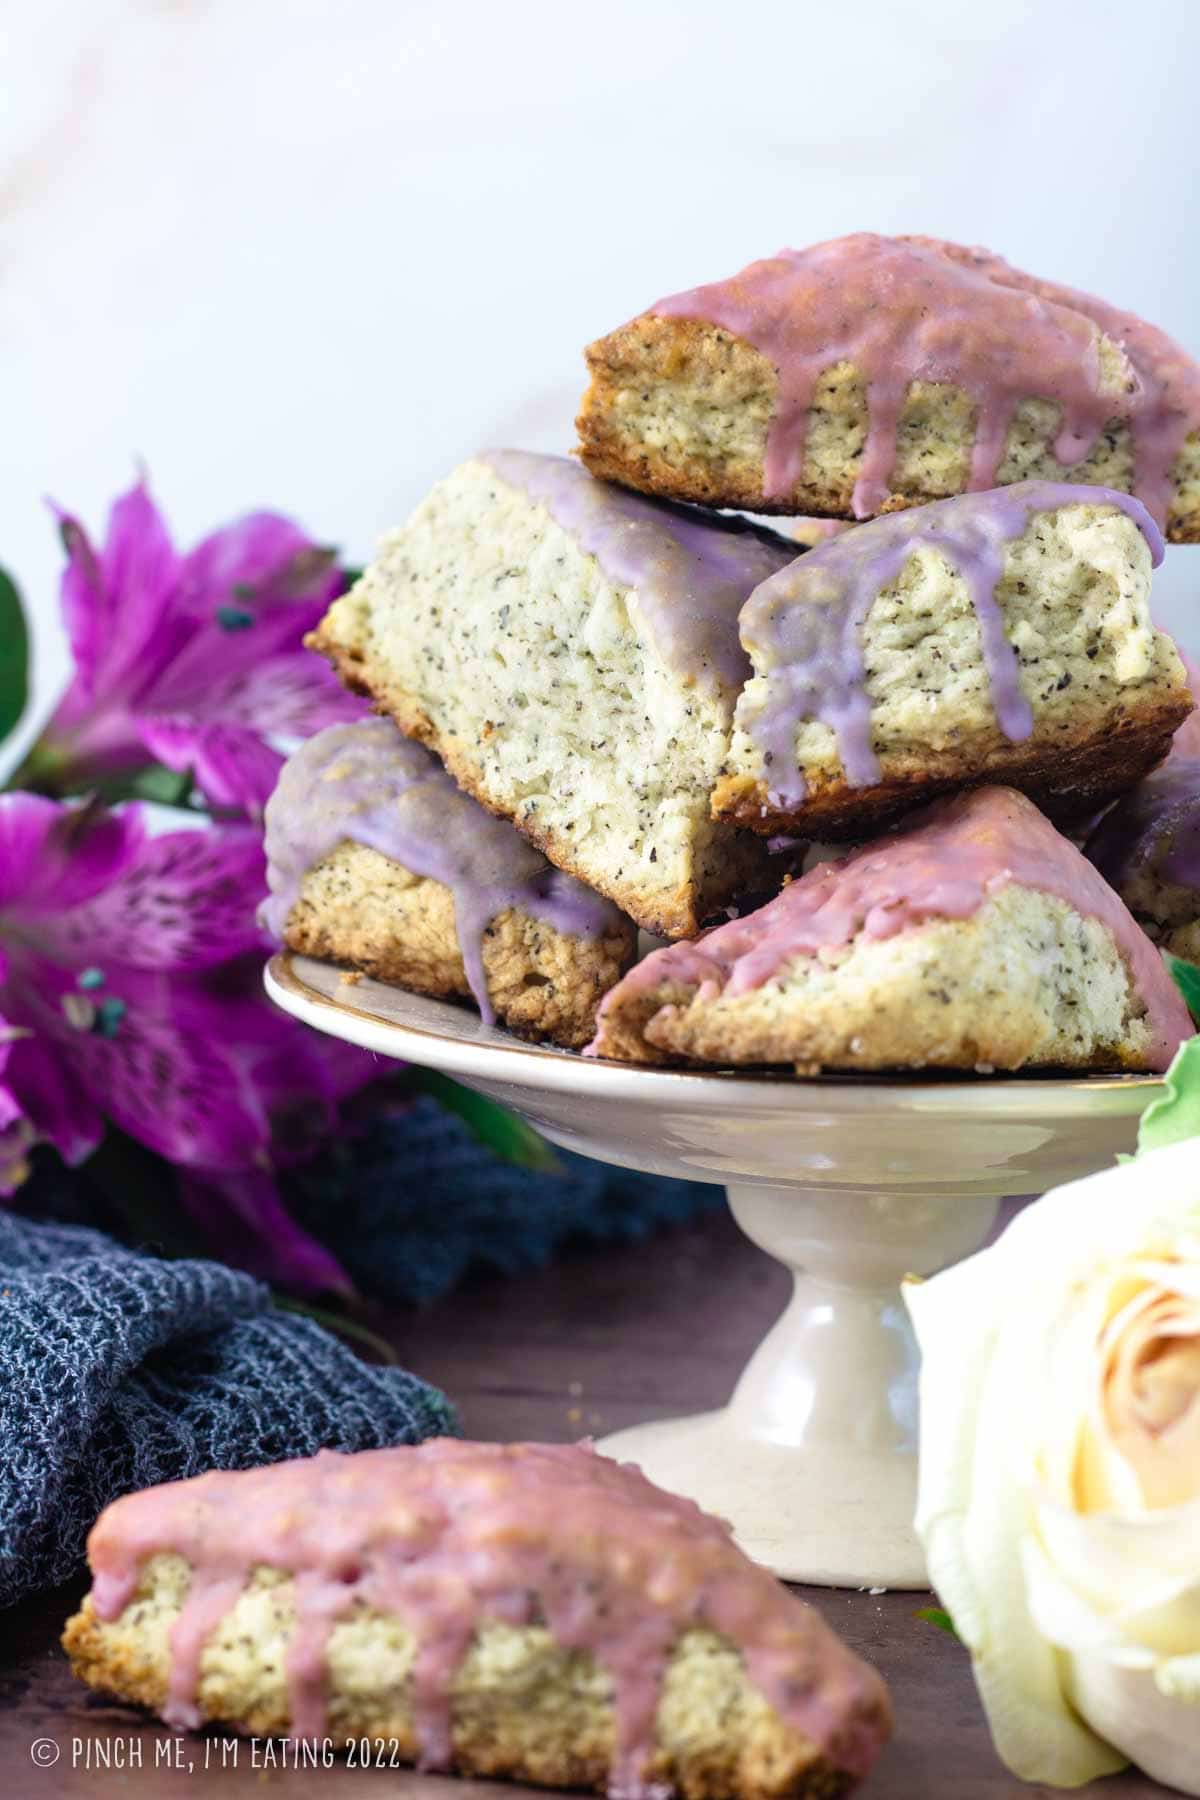
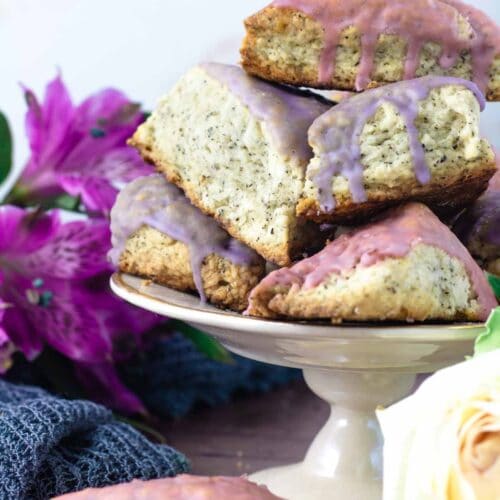
Earl Grey Scones with Lavender Glaze
For a unique and memorable scone recipe, look no further than these flaky, buttery Earl Grey scones with a fragrant lavender glaze. Delicious on their own with a nice cup of hot tea, they’re not too sweet to spread with clotted cream or homemade lemon curd! You can make these start to finish in about 30 minutes.
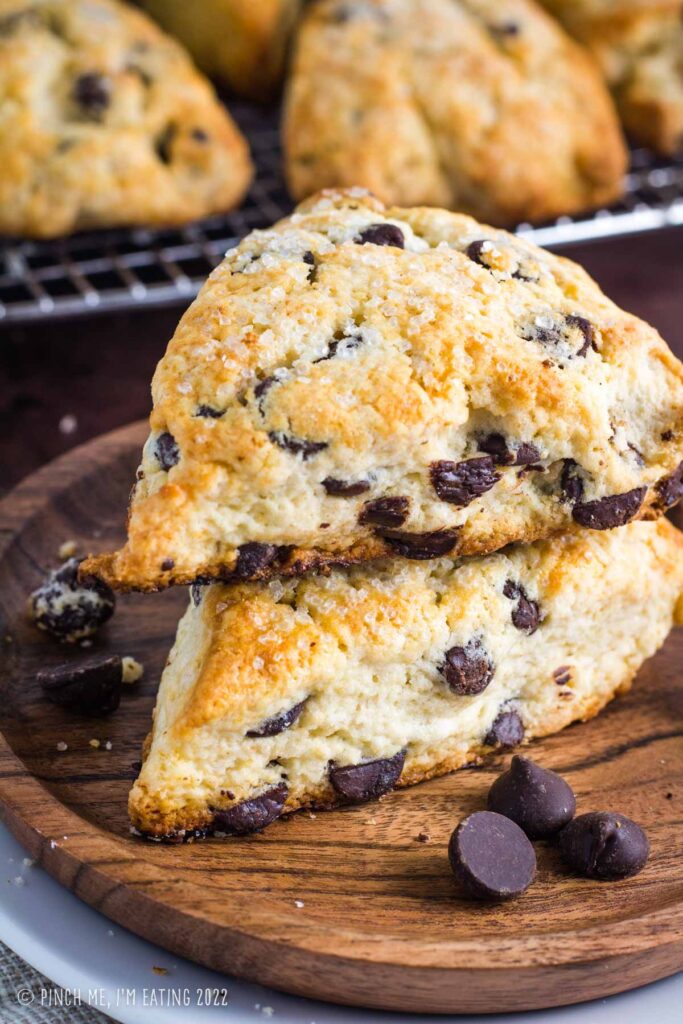
These scones use my Easy Plain Scones recipe as a base: perfectly flaky and crumbly while remaining moist and flavorful!
This post was first published on November 22, 2015 | Updated on April 29, 2022
This post may contain affiliate links. That means if you click on the link and make a purchase, I will receive an affiliate commission at no extra cost to you. All opinions remain my own. As an Amazon associate, I earn from qualifying purchases.
Tea and scones are a classic combination. So why not tea IN scones?
These Earl Grey scones are the first of many scone recipes I developed many years ago, and it remains a favorite (right up there with these glazed fresh orange scones!). At the time, I was drinking a steamy cup of Earl Grey tea every morning with a splash of cream, and couldn’t get enough of that flavor!
In fact, I’ve since developed many more recipes that include the bergamot-infused black tea, including Earl Grey marshmallows, a lavender Earl Grey Frappuccino, and a classic London Fog tea latte (Earl Grey and vanilla)
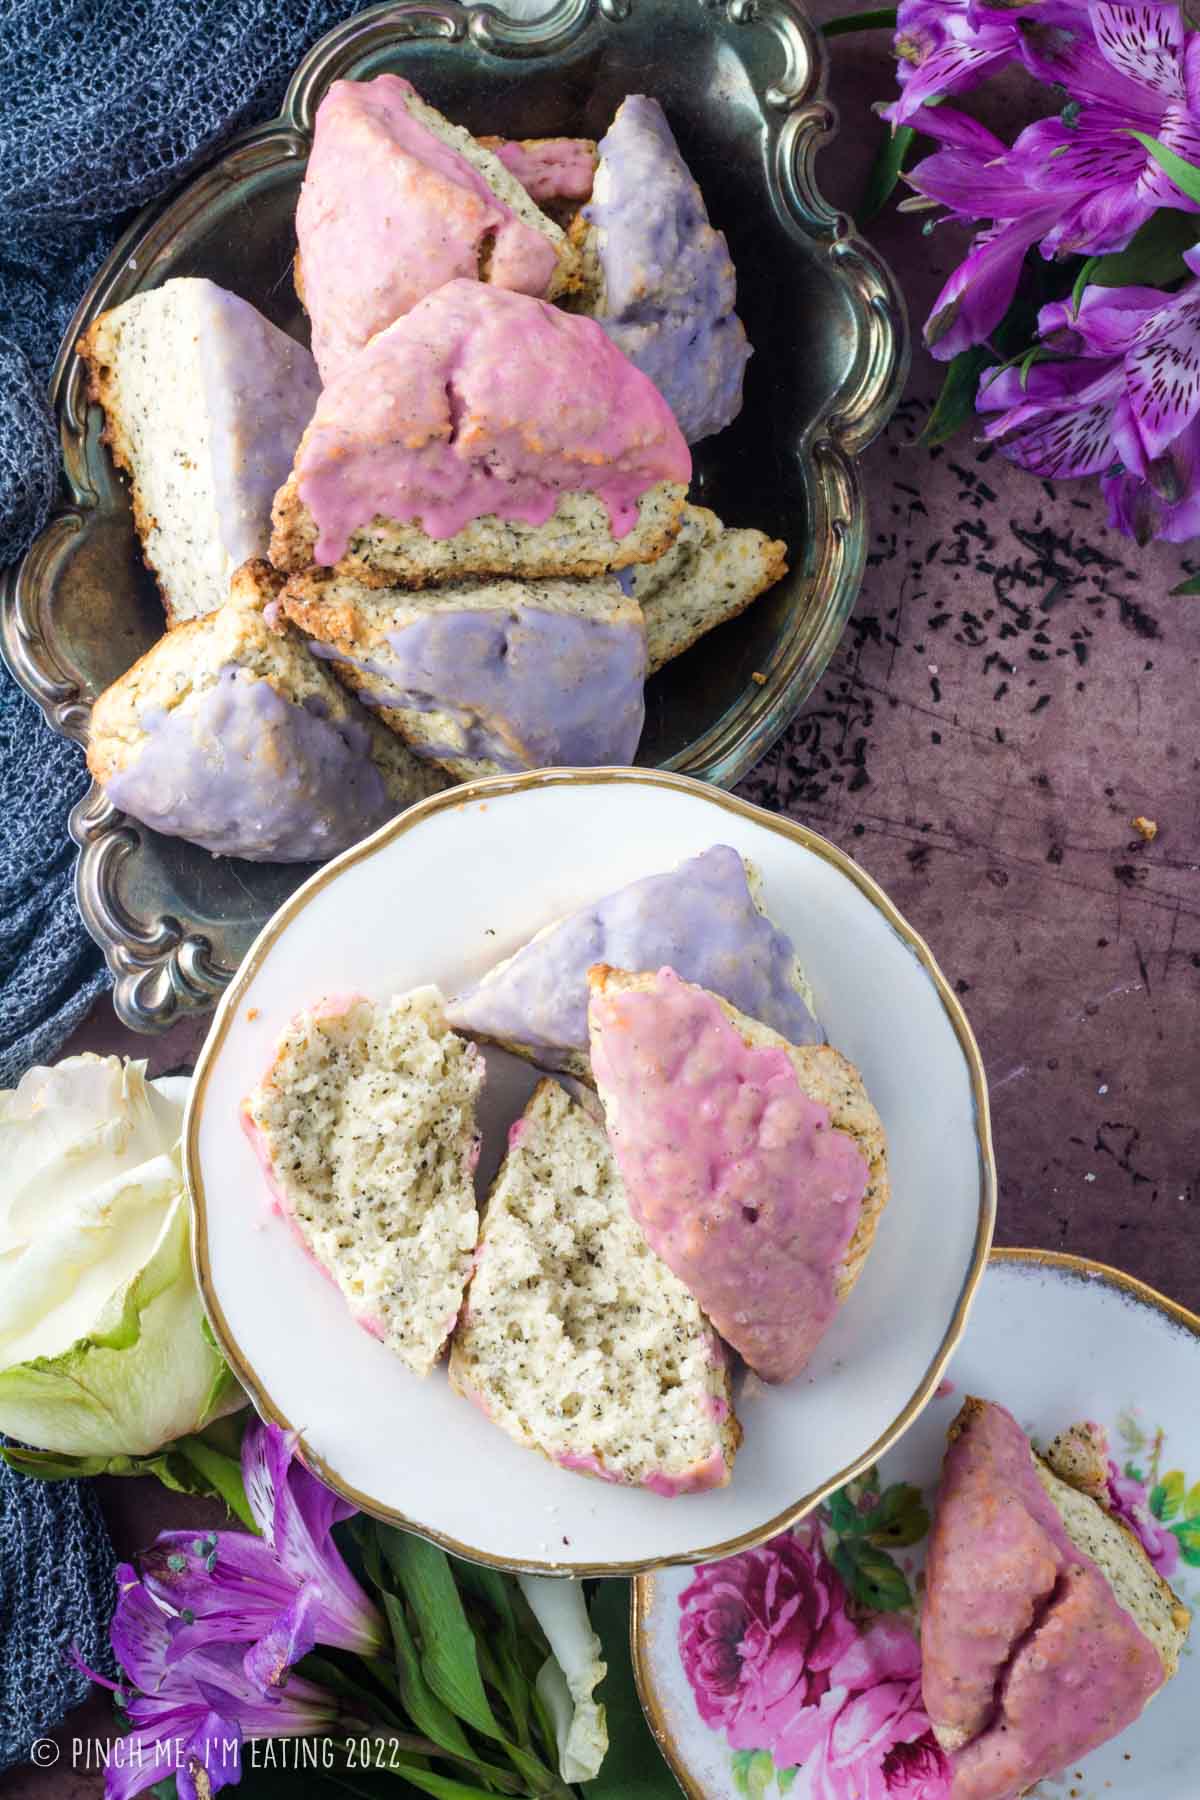
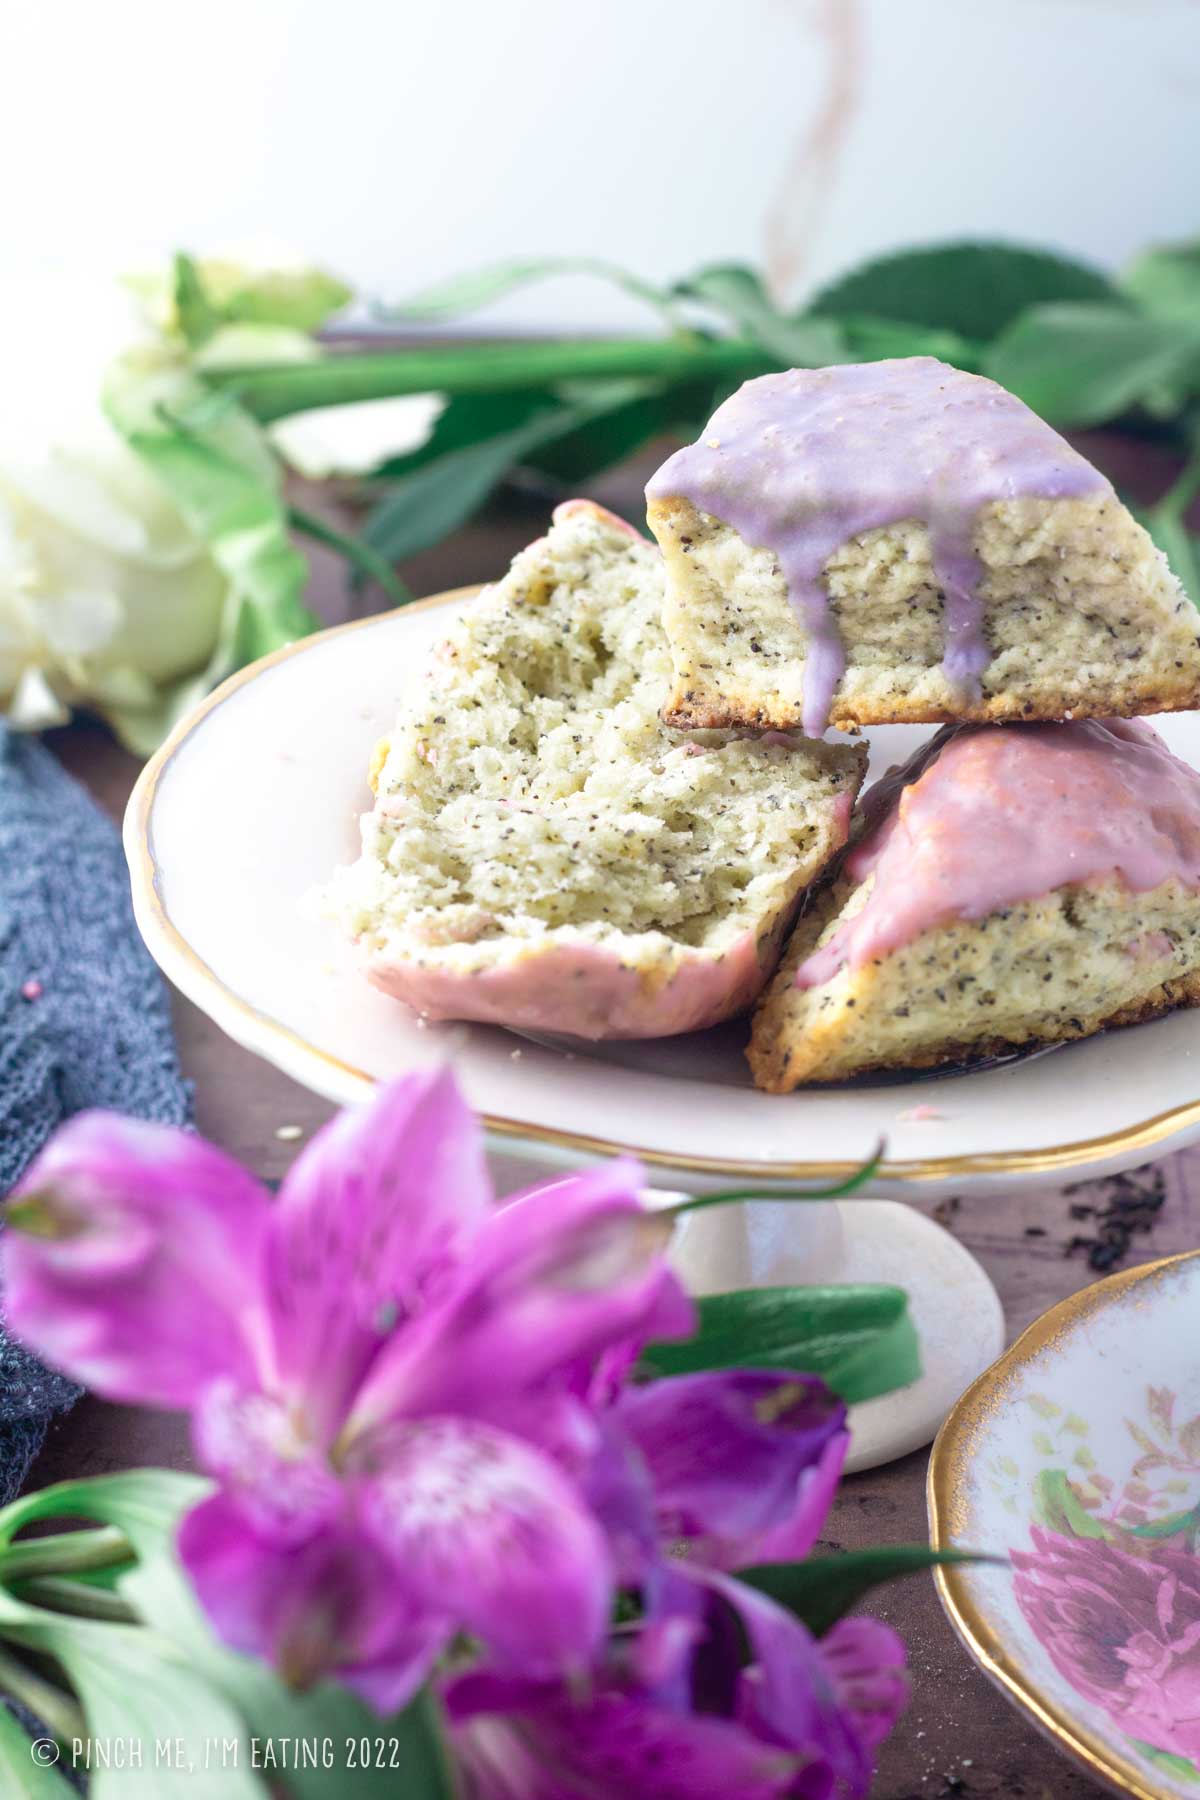
In this recipe, actual tea leaves are incorporated into the scone dough itself, giving a subtle bergamot-black-tea flavor to these moist, flaky mini pastries. The scones are dipped in an aromatic lavender-vanilla glaze for a nostalgic floral element.
What you’ll need
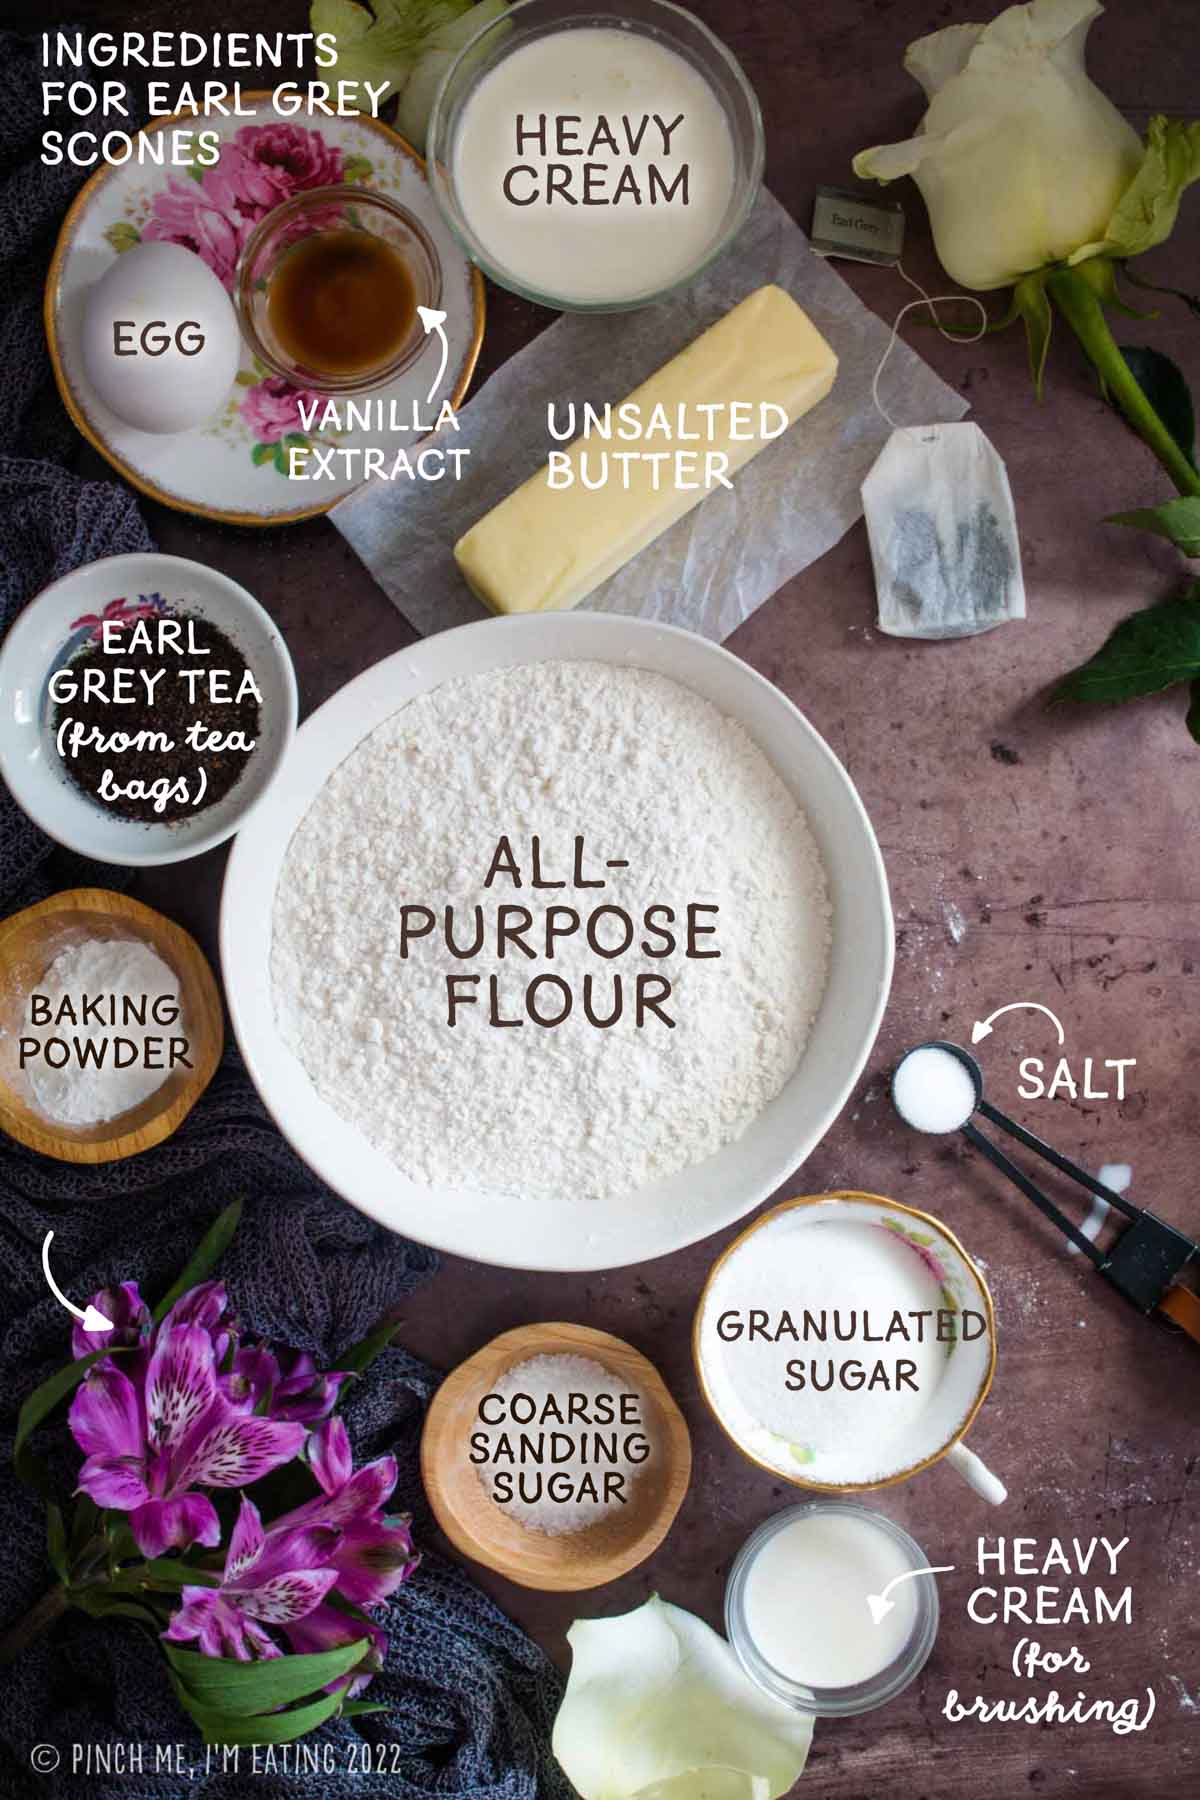
Ingredients for the Earl Grey Scones
Most of these ingredients are ones you probably already have, especially if you’re a tea drinker!
Ingredients for the Lavender Glaze
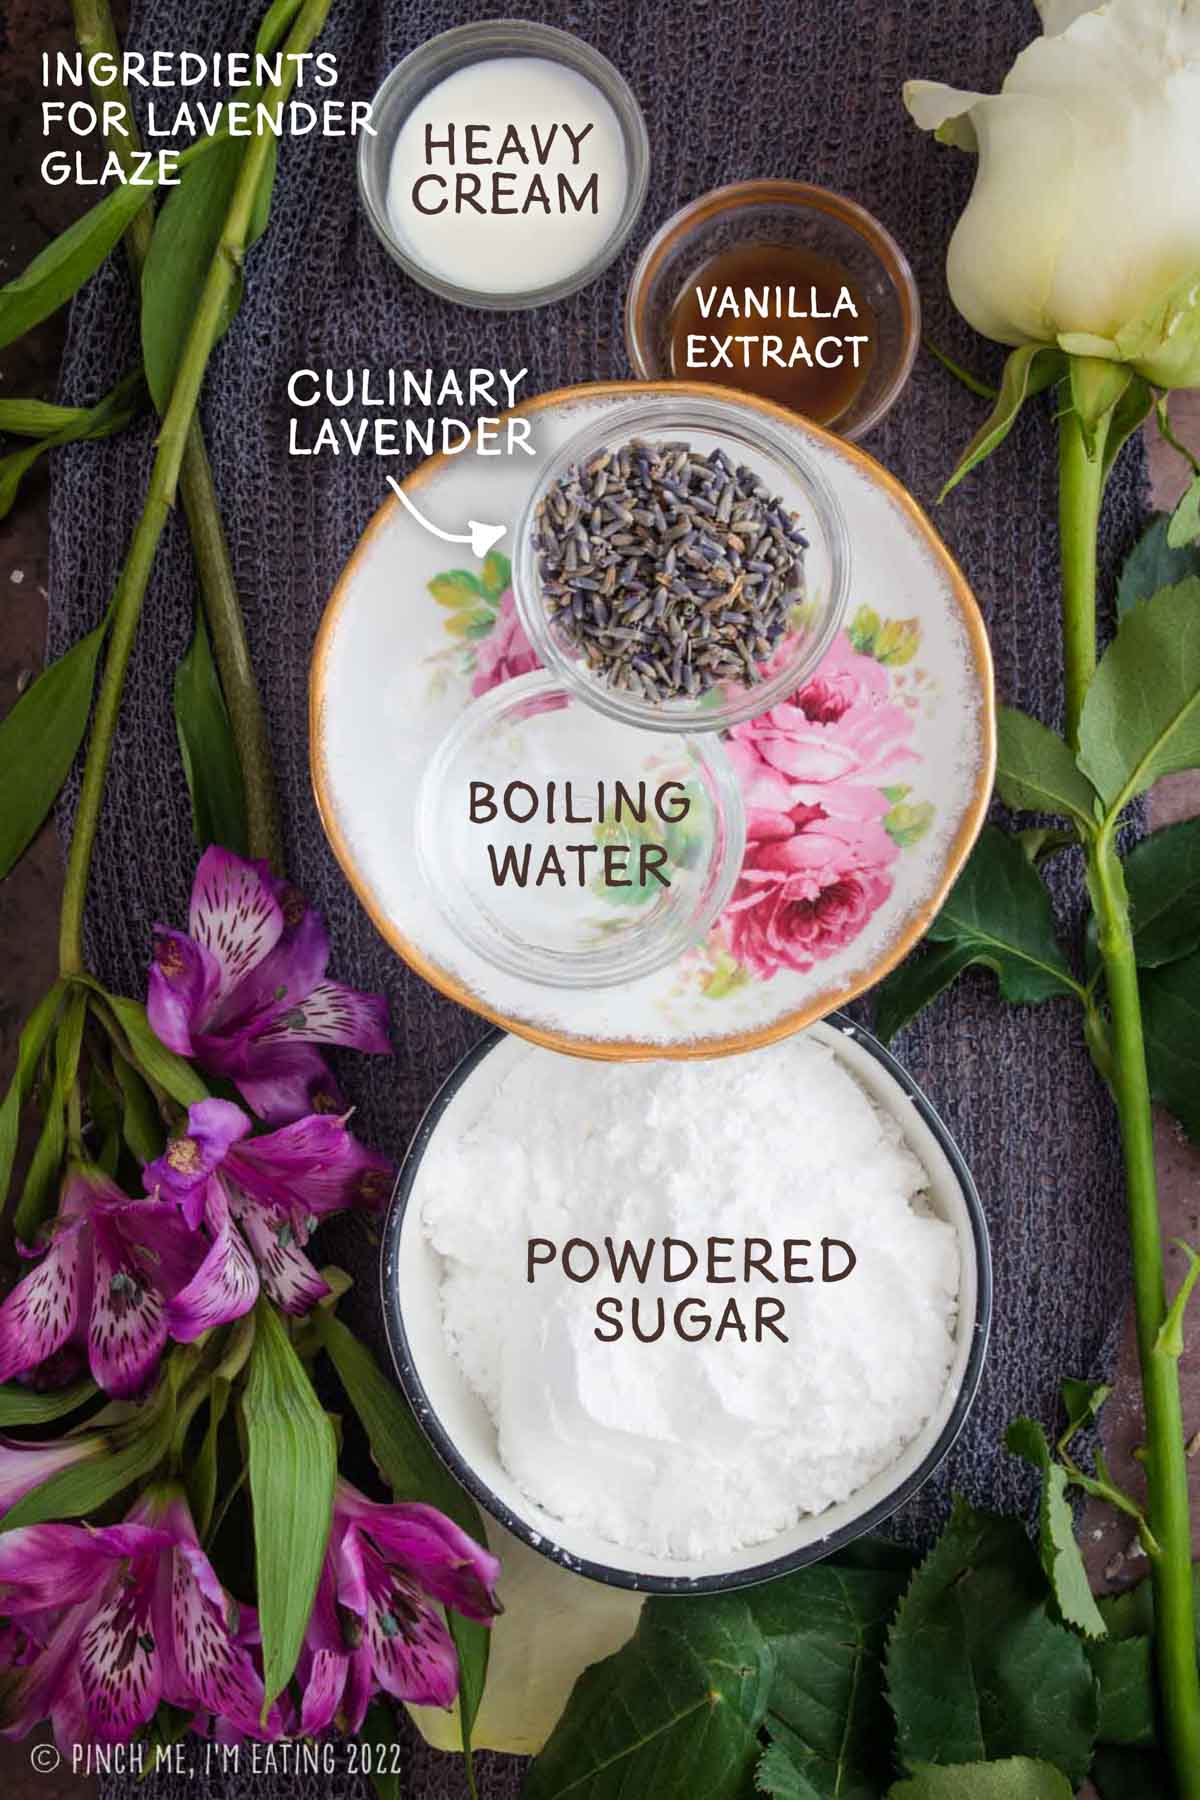
Substitutions for Culinary Lavender
For lavender glaze, you can use culinary lavender as instructed, swap it out for a lavender tea blend, or substitute 1/2 to 1 tsp lavender extract.
You can also leave out the lavender for a vanilla icing, or substitute a teaspoon of rose water for rose flavored glaze (another one of my favorites!). Rose water can sometimes be found in the International or Mediterranean section of a grocery store, or you can purchase rose water online.
Instructions and Step-by-Step Photos
The full recipe, including ingredients and quantities, is included in the recipe card at the bottom of the post.
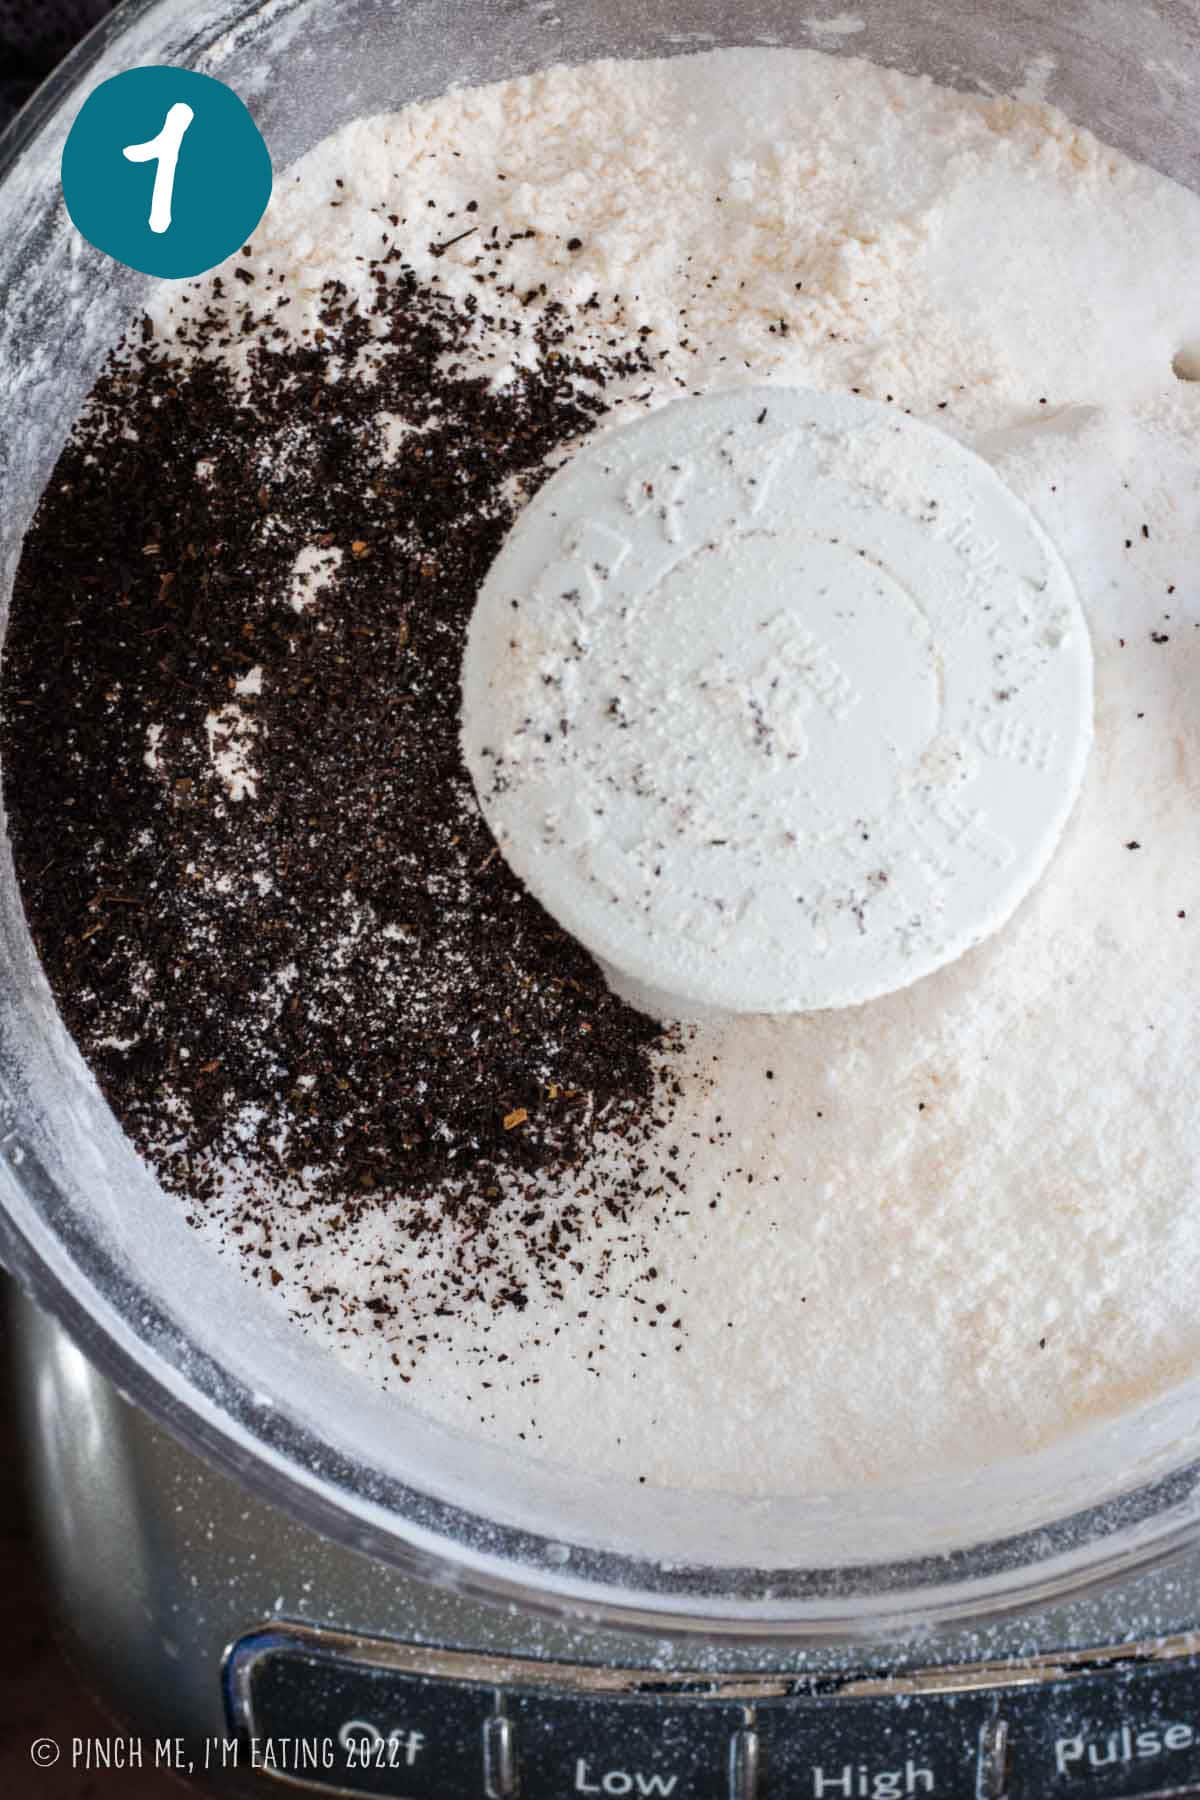
- Mix the dry ingredients. Add all dry ingredients, including tea leaves from a tea bag, to the bowl of a food processor. If using loose tea leaves, or if your bagged tea leaves aren’t fairly fine, they will need to be finely ground before adding. Give the food processor a couple pulses to combine the dry ingredients.
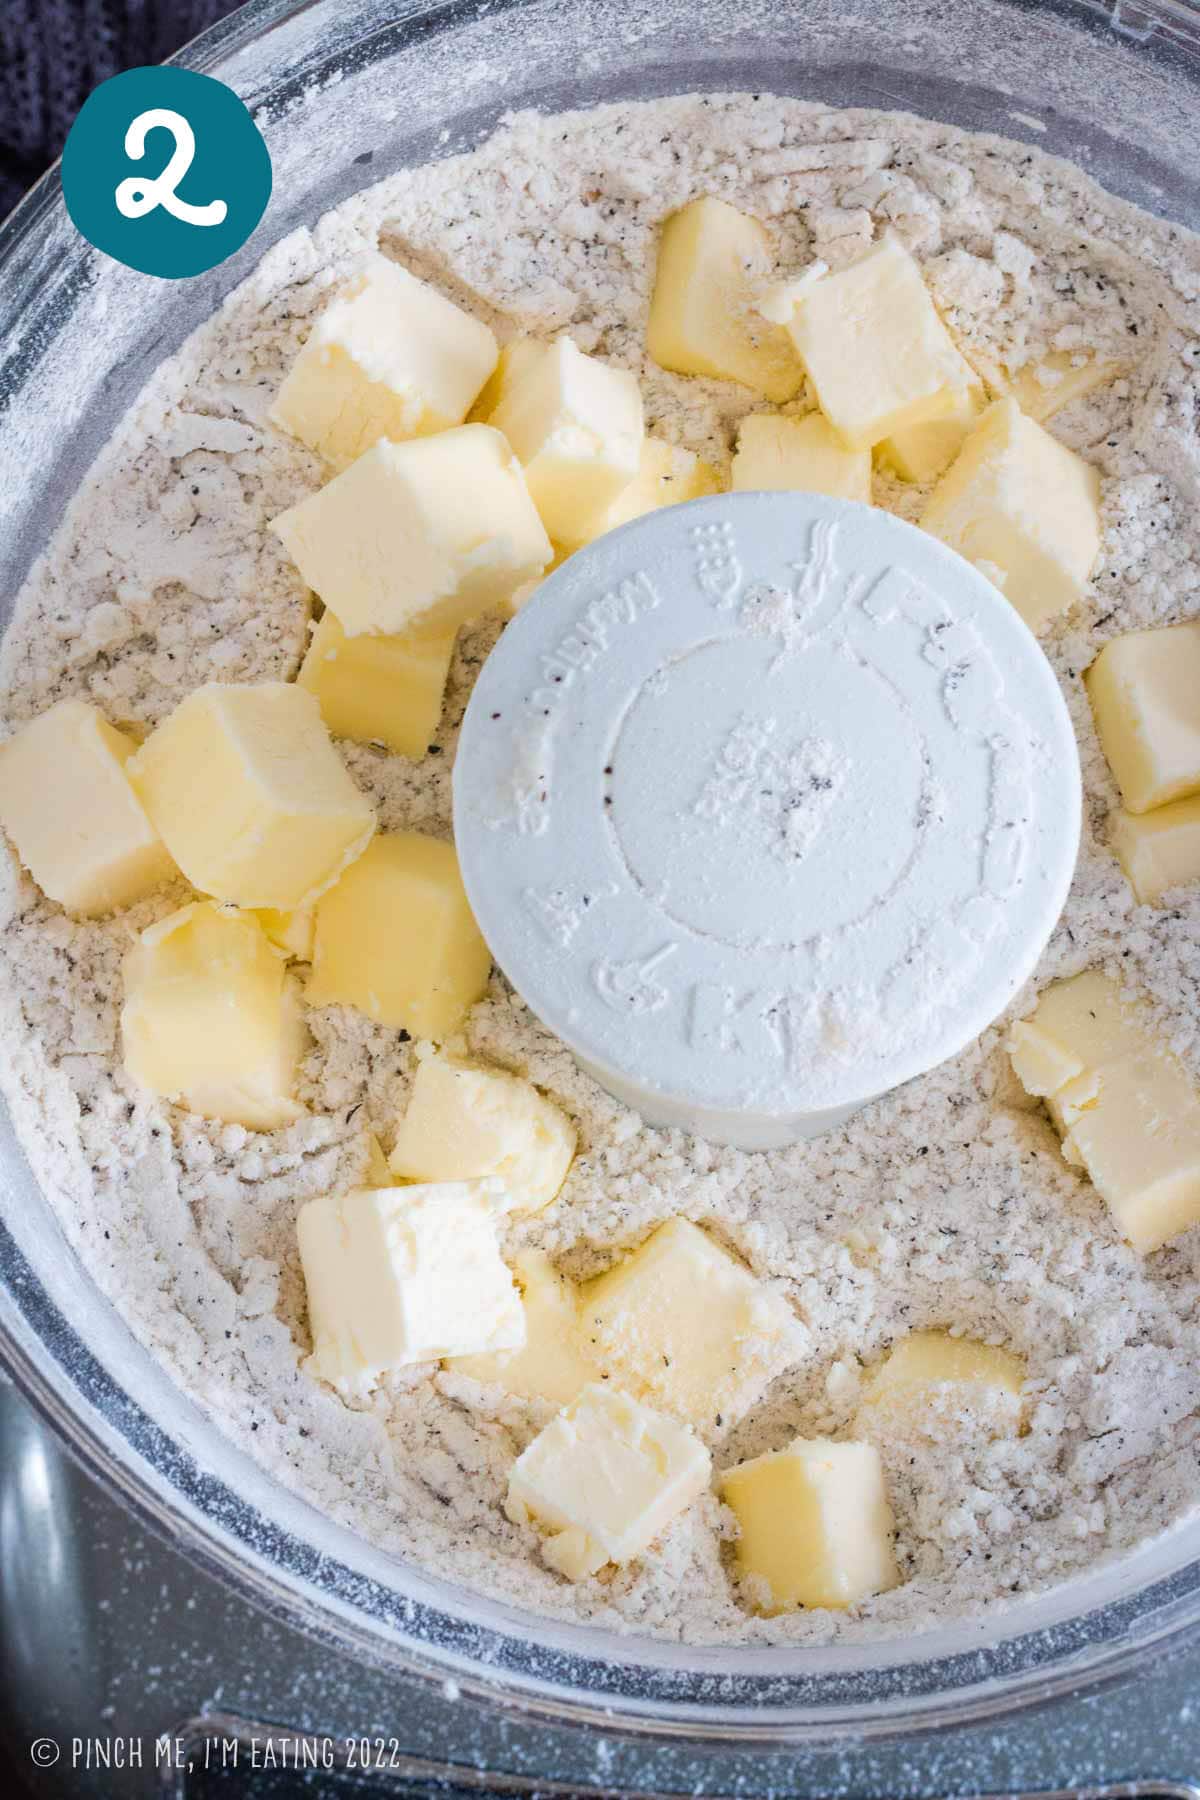
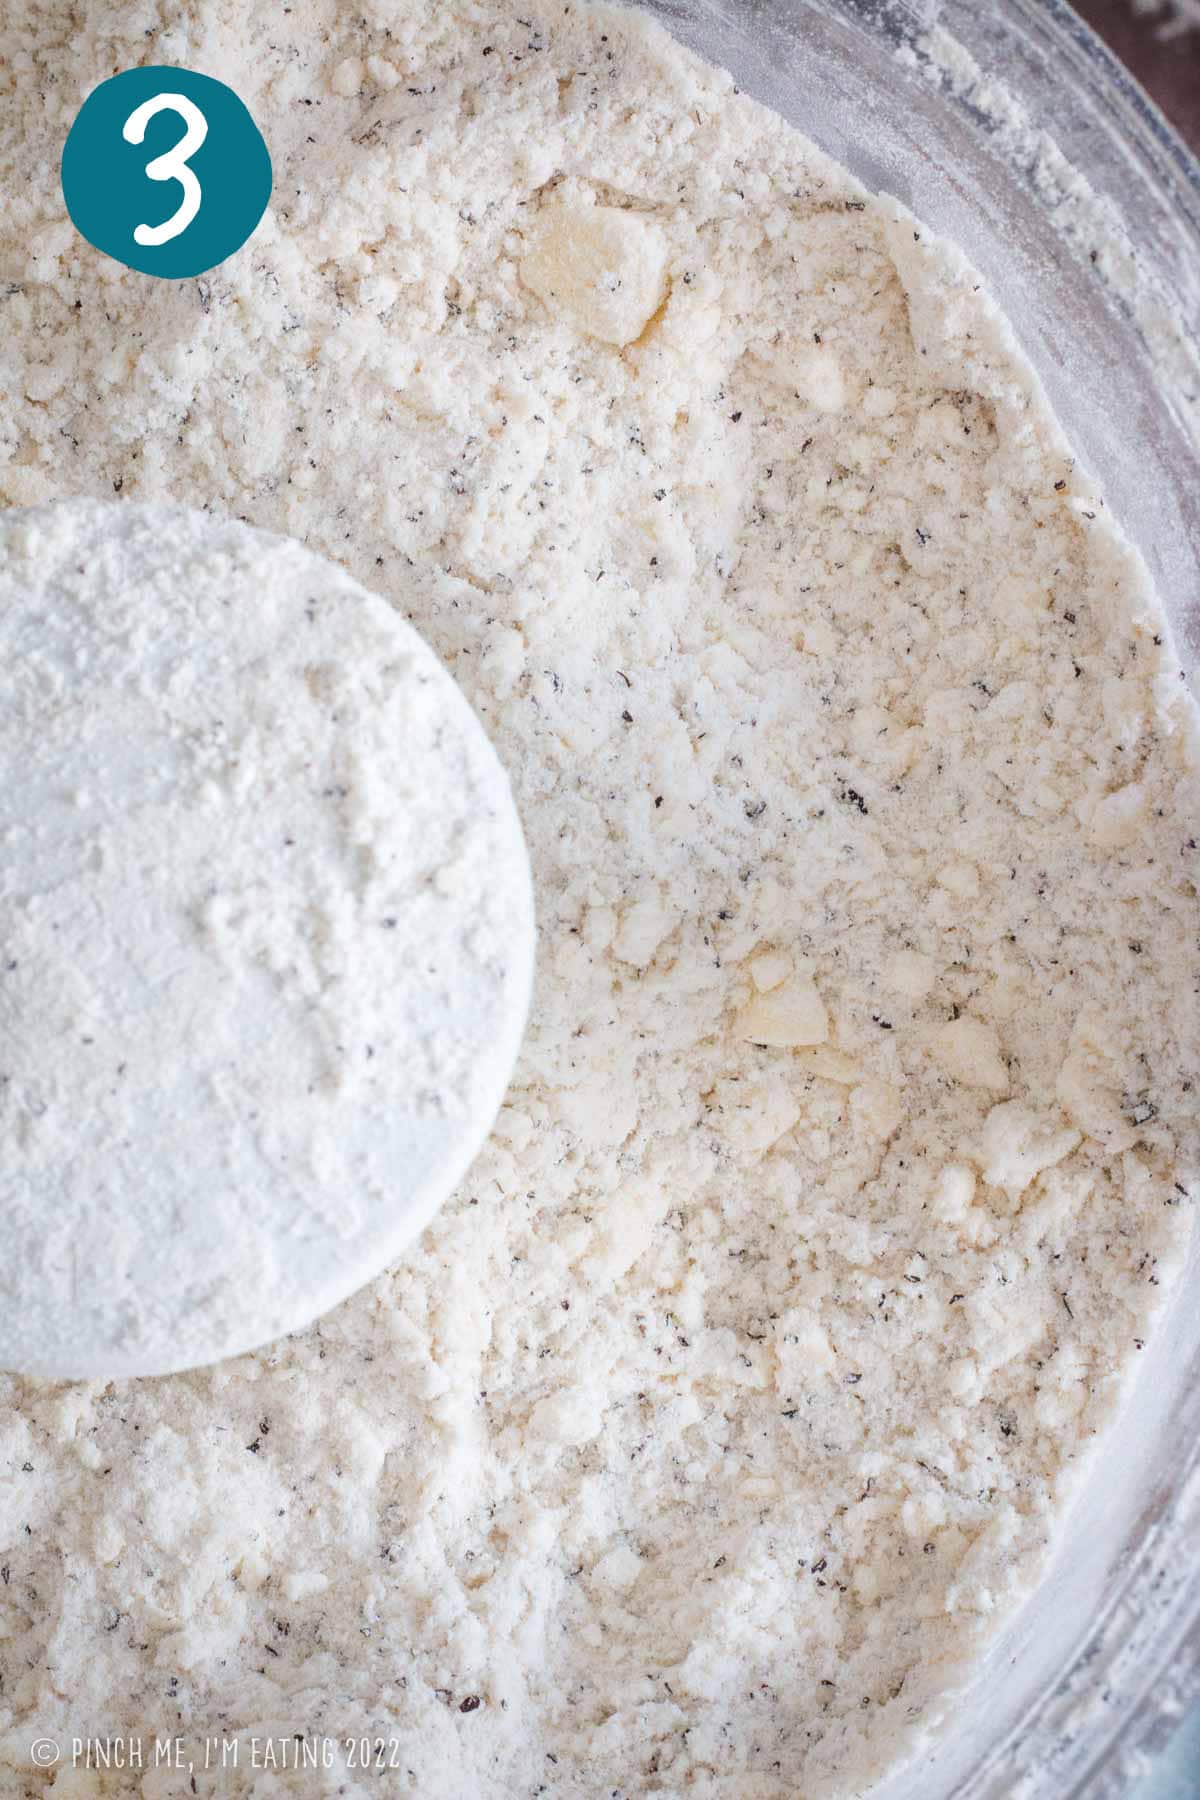
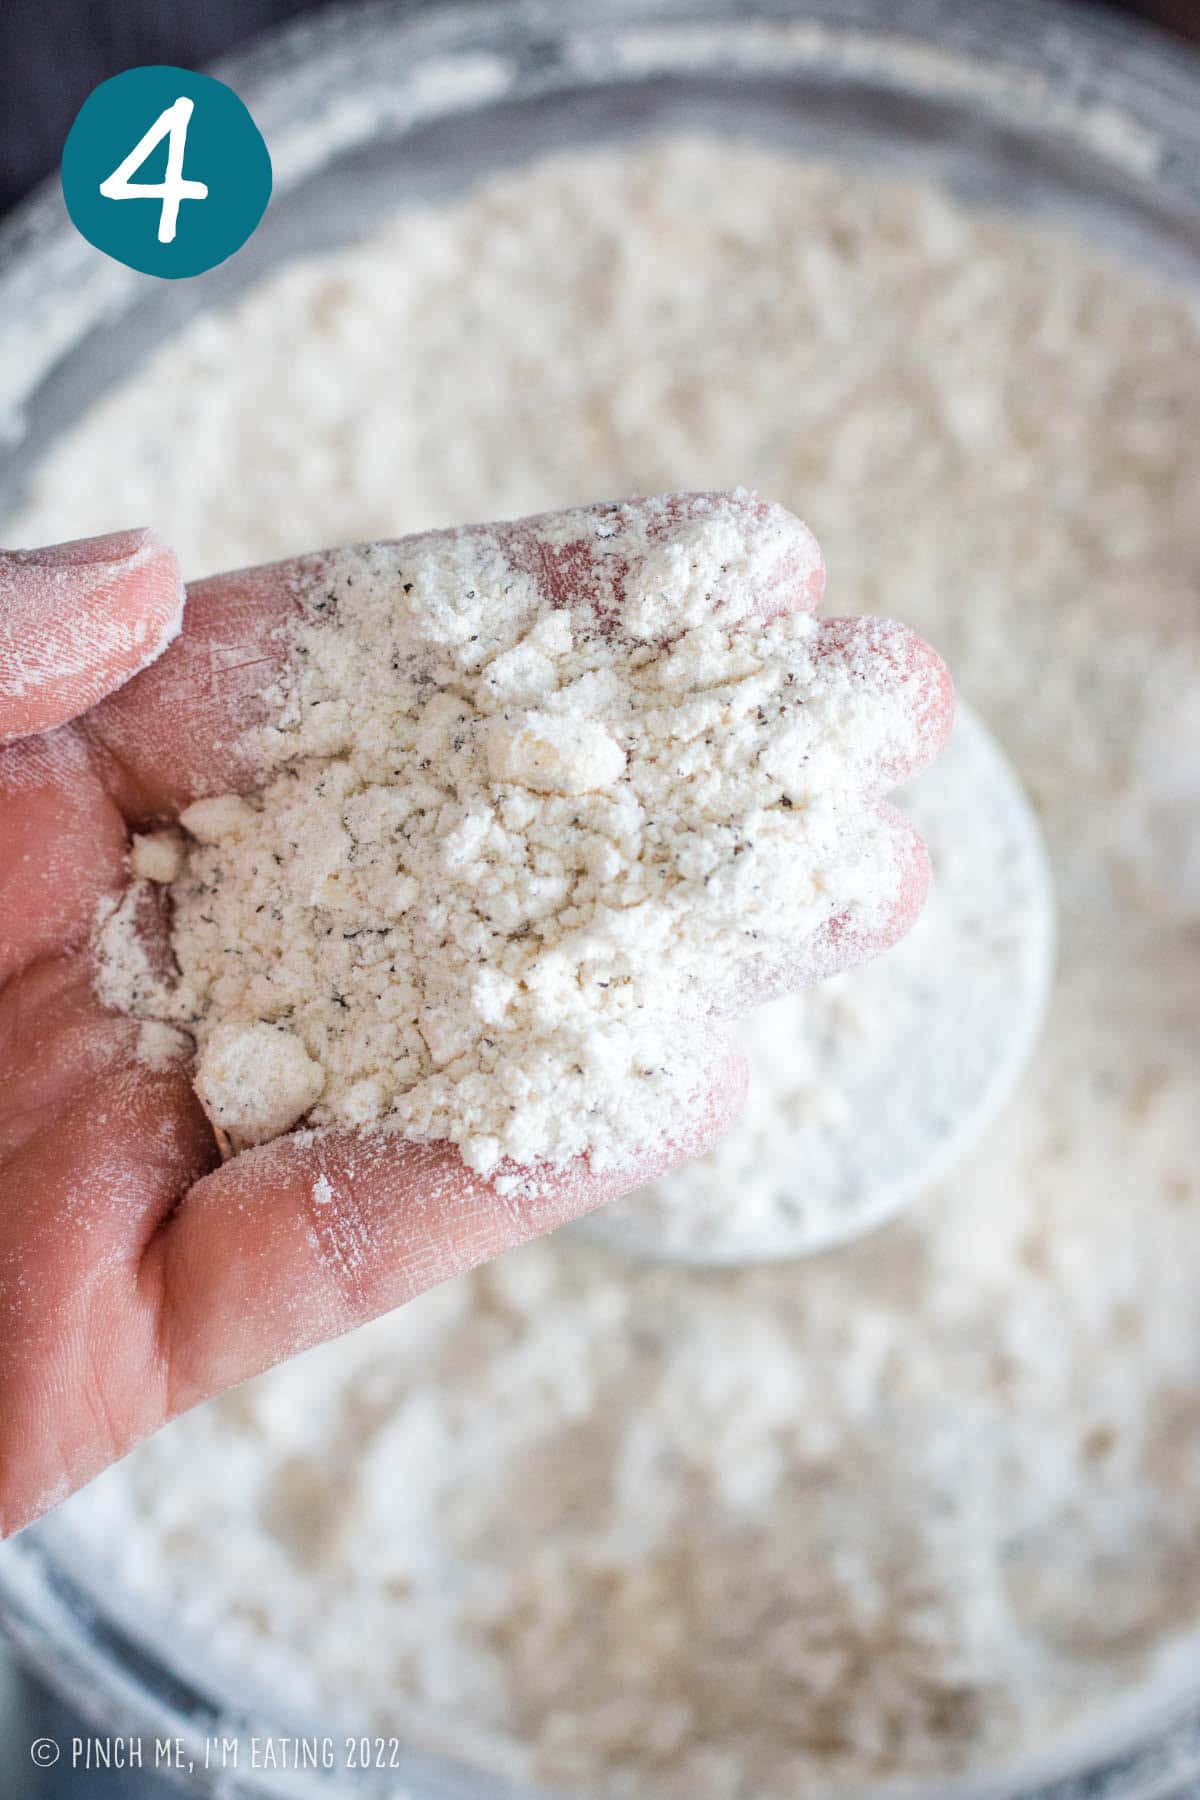
- Cut in the butter. Add the cold cubed butter and pulse again until the mixture resembles damp sand. There should be a few larger bits of butter in the mix up to about the size of a pea.
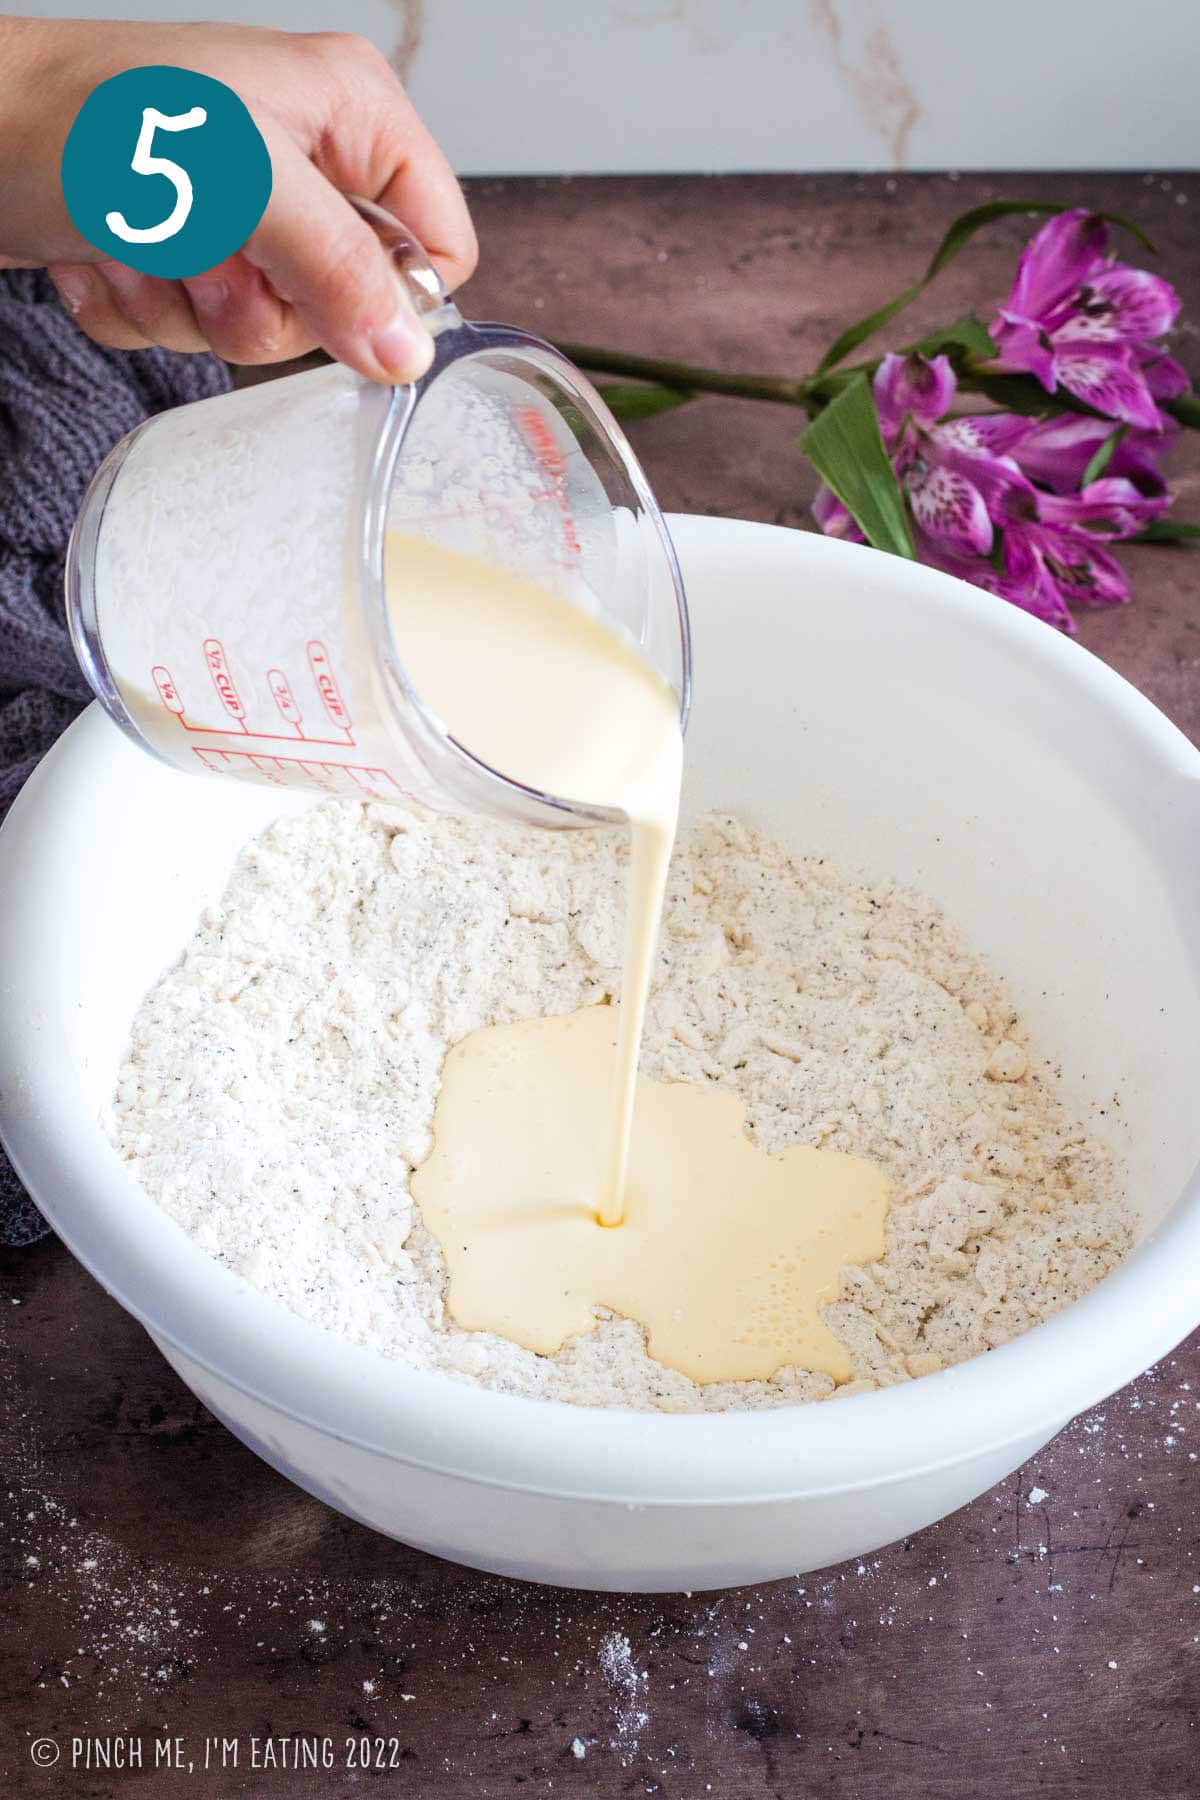
- Add the wet ingredients. Mix the wet ingredients separately and pour them into the flour mixture. This is important because you want to work the dough as little as possible after adding the wet ingredients, so you want to have them pre-mixed in another bowl or measuring cup. You can add the wet ingredients straight to the food processor and then pulse again to just combine, or transfer the flour mixture to a separate bowl and then add the wet ingredients.
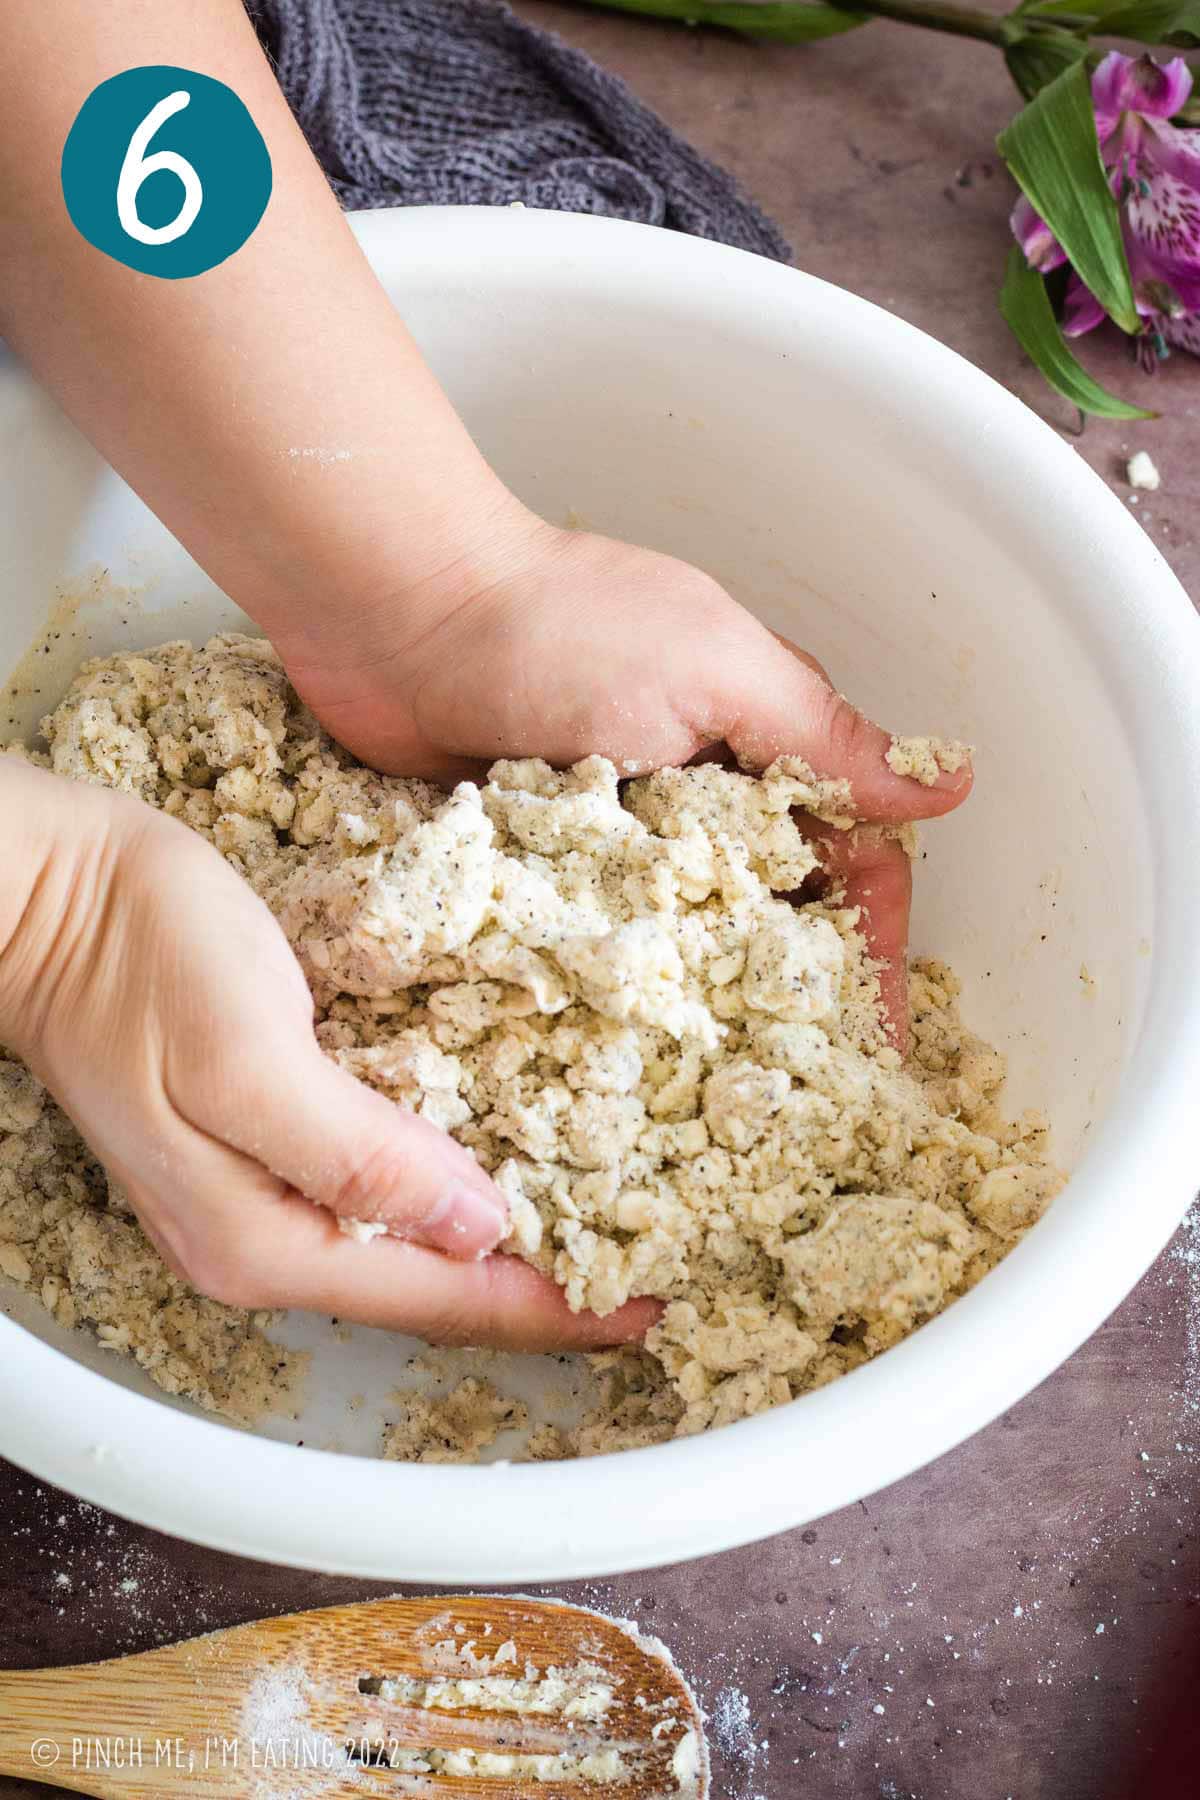
- Pat the dough into a ball. The dough will be pretty crumbly, but you will be able to pat the pieces together until it holds in a single ball. Don’t knead the dough or otherwise overwork it, just do this until it holds together.
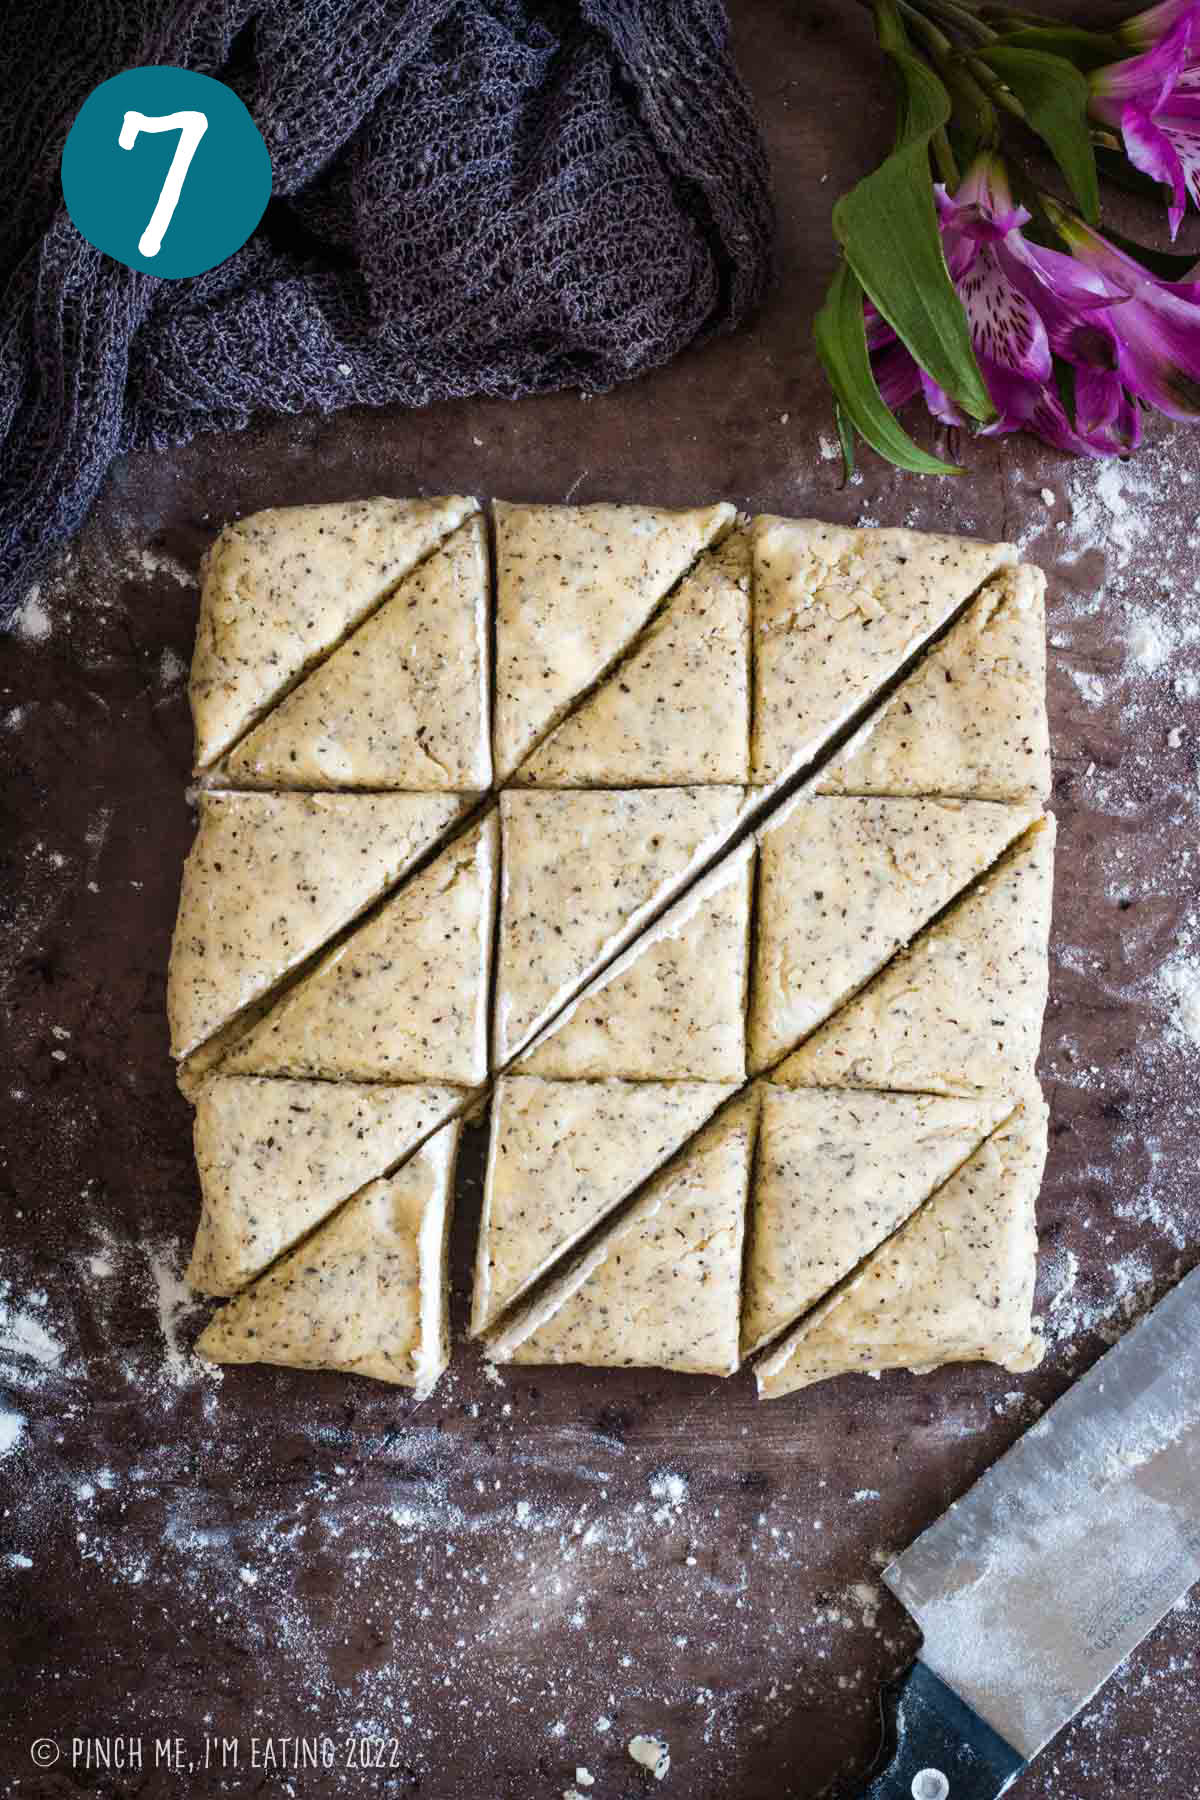
- Cut the scones. Form the dough into a 7-inch square, giving it the best corners you can. Then, using a floured knife, cut the dough into a grid of 9 squares, and each small square in half diagonally to create 18 mini scones.
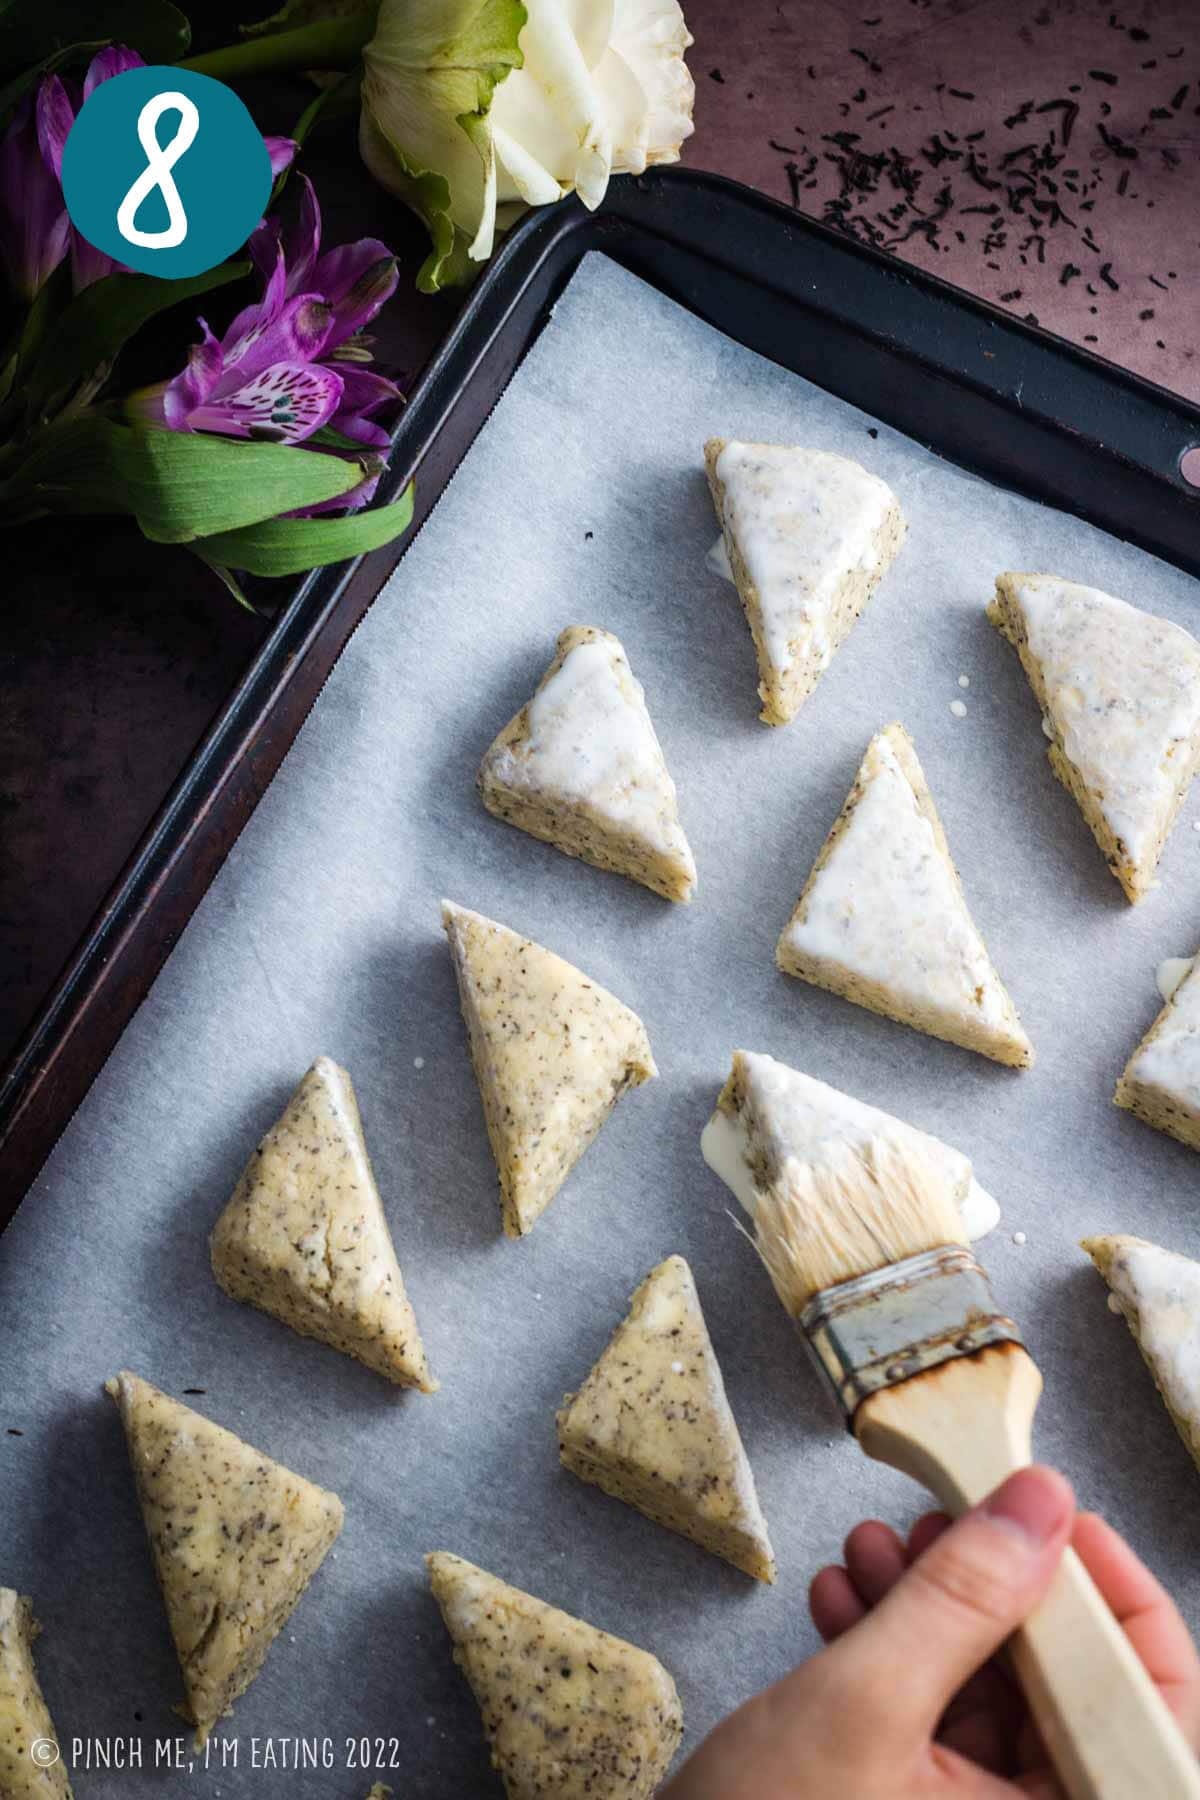
- Brush and bake the scones. Space out the scones on a parchment-lined baking sheet, brush with heavy cream, and sprinkle with coarse sanding sugar before baking until the top edges are golden brown.

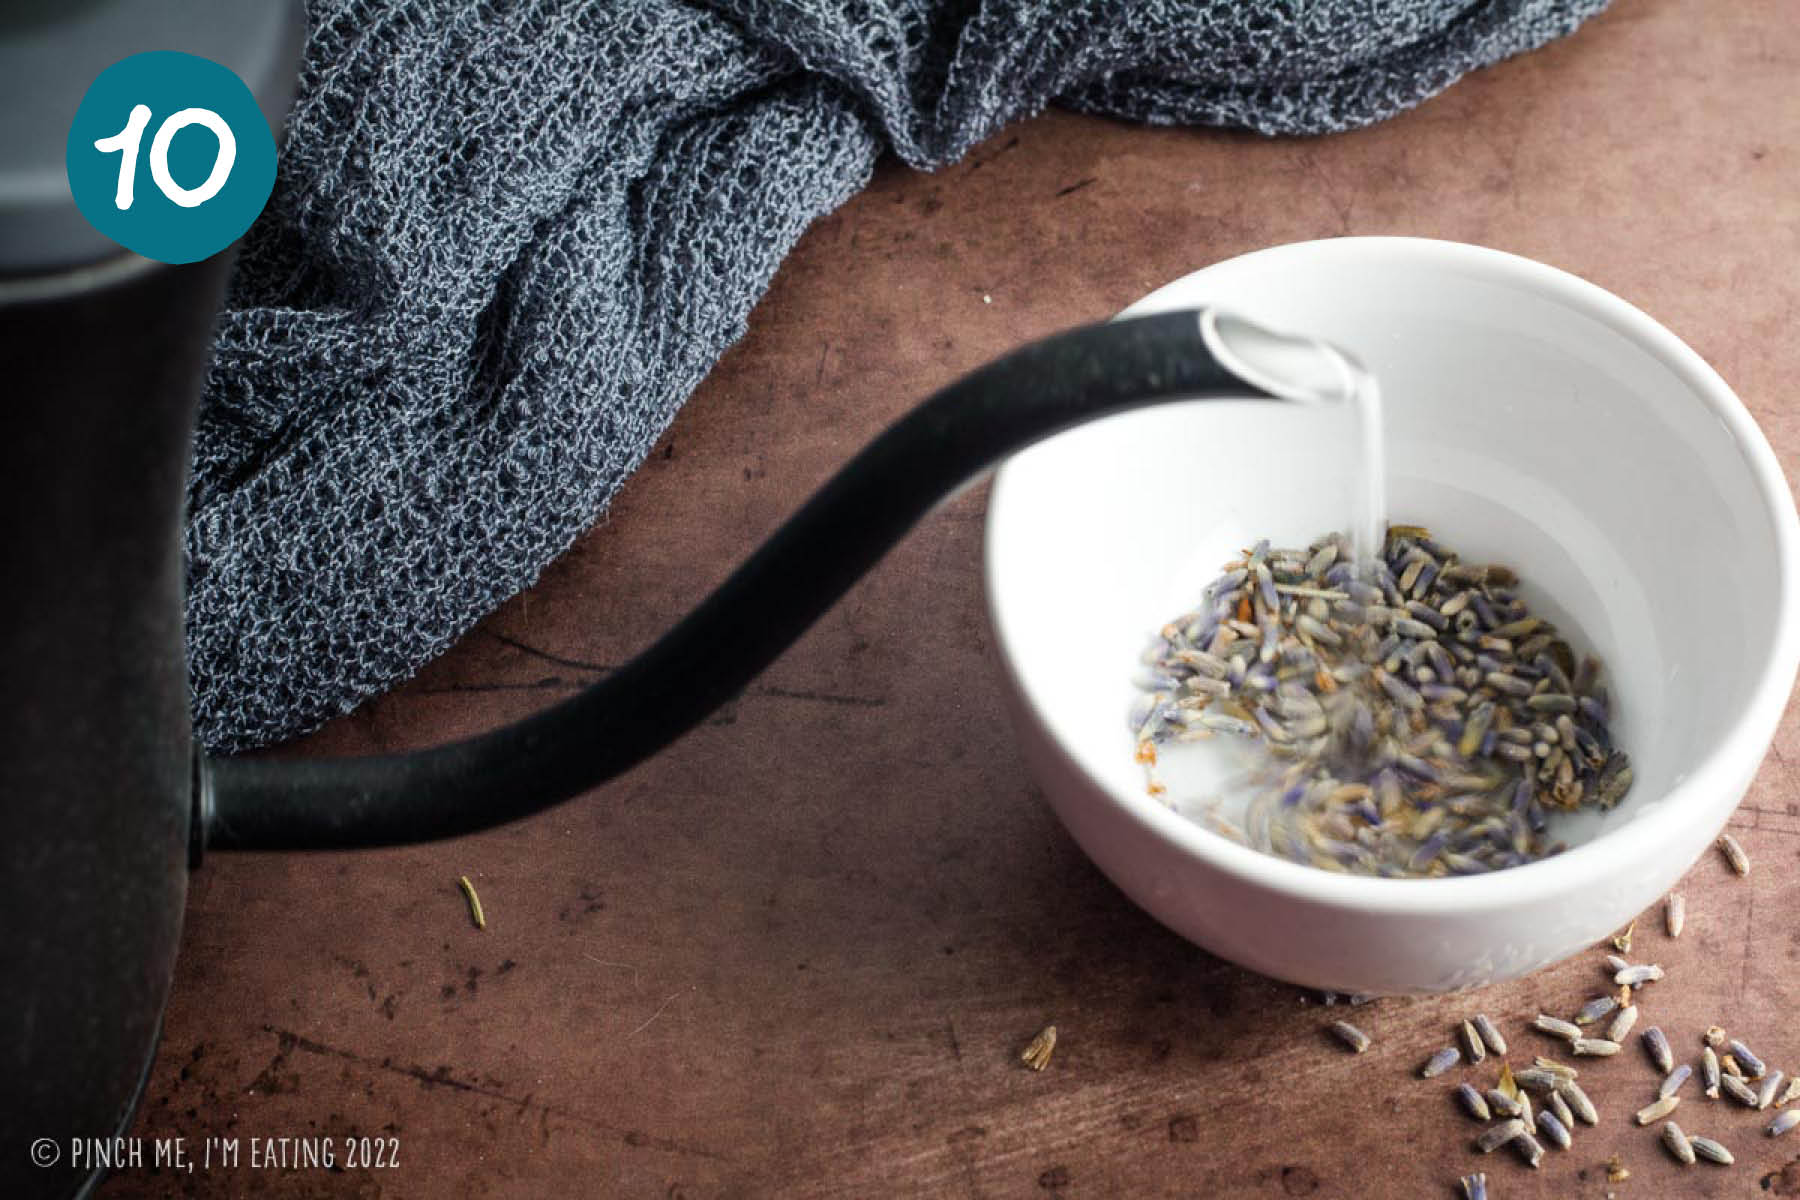
- Steep the lavender. While the scones are baking, pour boiling water over the culinary lavender and let steep for about 10 minutes. Strain through a fine mesh sieve.
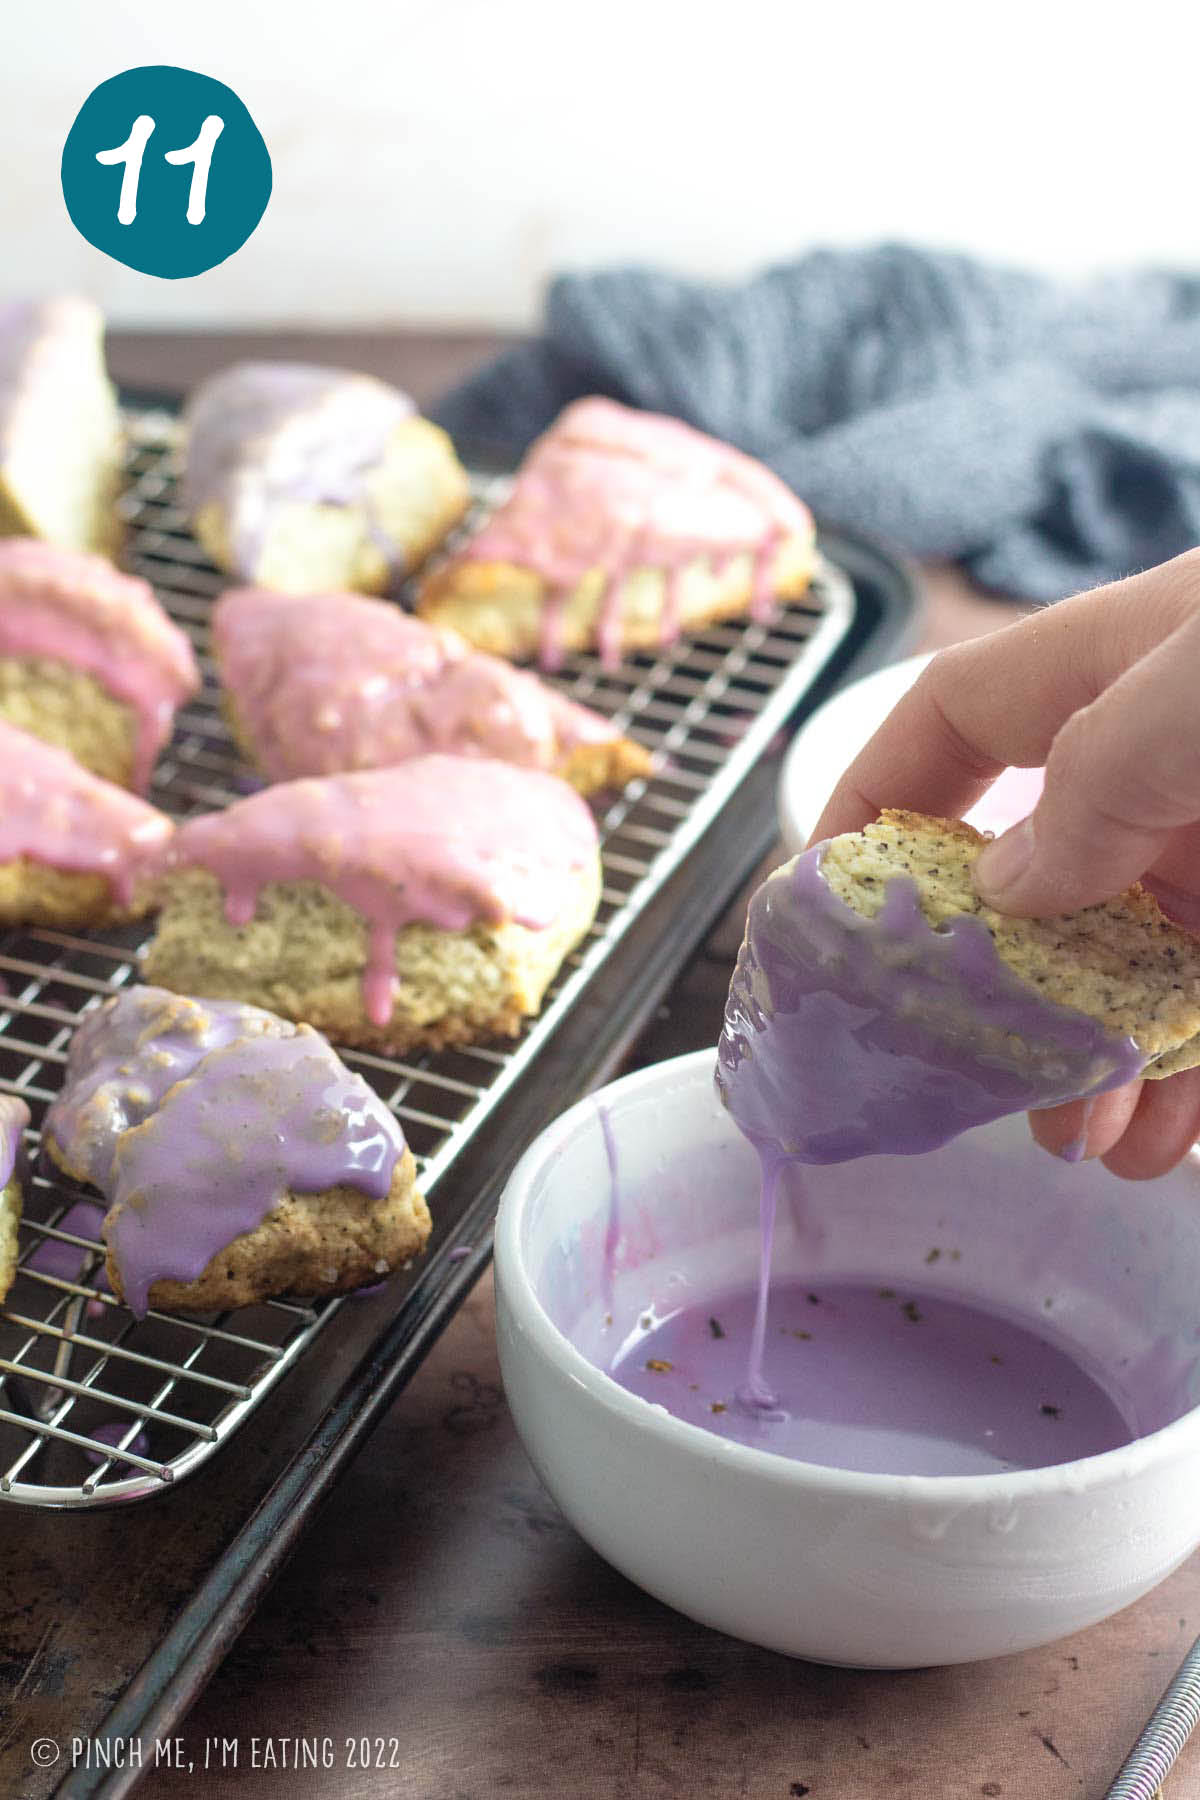
- Make the glaze and dip the scones. Mix the rest of the glaze ingredients, and add food coloring if desired. Dip the tops of the scones into the glaze, let the excess drip off, and let them dry completely before serving or storing.
Expert Tips for Making Perfect Scones
- Make sure to use an aluminum-free baking powder like Rumford. Some popular brands like Clabber Girl contain sodium aluminum sulfate, which can make your baked goods taste bitter or metallic. Your baking powder should be free from lumps and not older than 6 months to a year.
- Keep your butter in the fridge until you’re ready to add it. Steam created during baking from the cold butter helps create the flaky layers of your scones. Leaving some larger pieces of butter up to the size of a pea when you cut it into the dry ingredients will make your scones extra flaky and delicious.
- Don’t overwork the dough after you add your wet ingredients. This will develop a gluten network, which is great for sturdier baked goods like bread or pizza dough, but will make your scones tough. The dough will be pretty dry but minimize handling it — just enough for the dough to come together into a disk.
- When cutting your dough into wedges or using a cookie cutter, use a straight down and up motion rather than sliding the knife across or twisting the cutter. Twisting or sliding will interfere with the way the scones rise on the edges.
- Be sure to let the glaze harden completely before storing your scones, otherwise they will stay tacky forever.
Troubleshooting and FAQs
What goes well with Earl Grey scones?
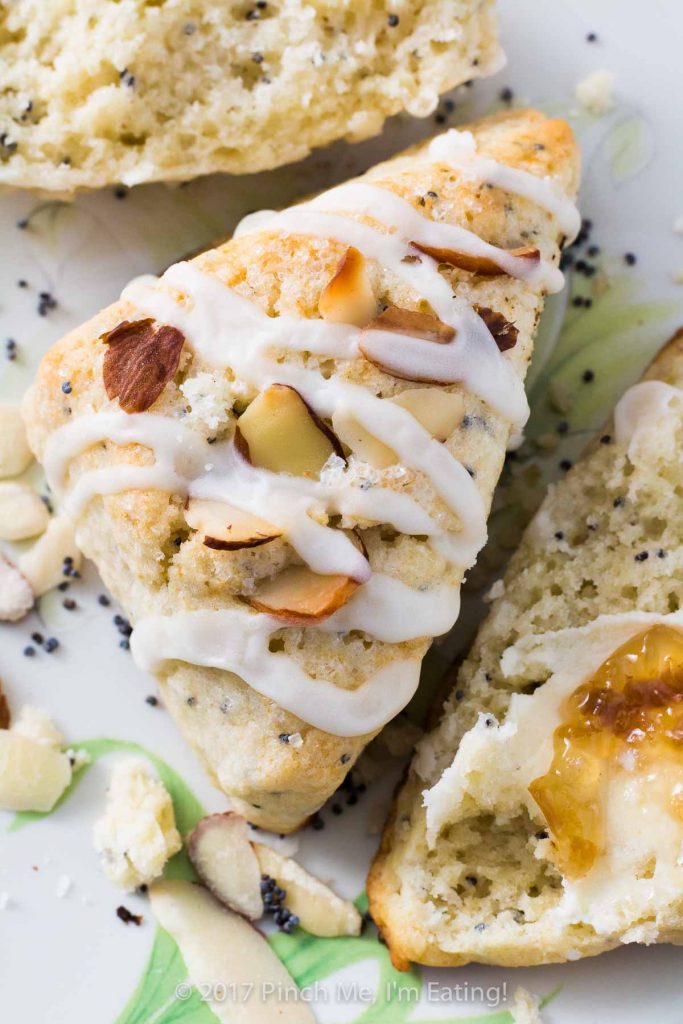
Here are some toppings that go great with lavender glazed Earl Grey scones:
- Clotted cream
- Lemon curd
- Meyer lemon curd
- Rose jelly
- Orange or Kumquat preserves
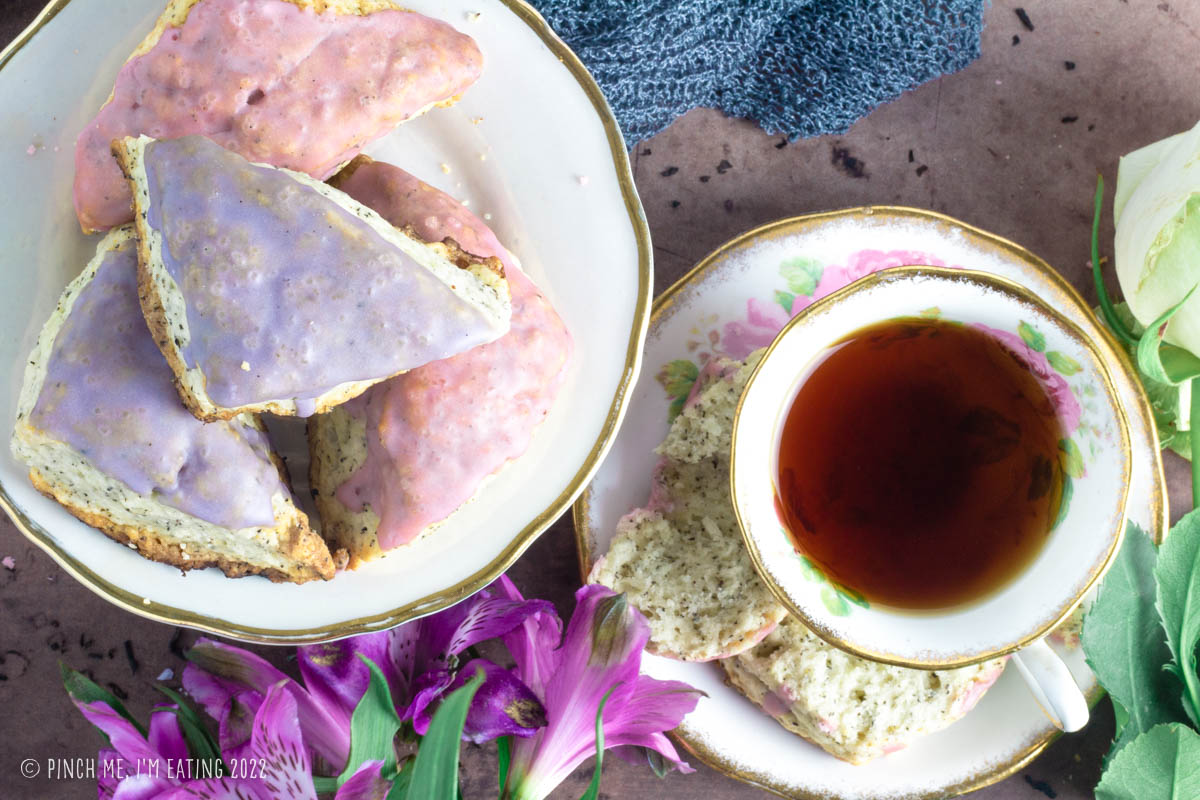
And these would go perfectly alongside simple cup of Earl Grey tea or a London Fog tea latte, which is Earl Grey and vanilla!
More Scone Recipes You’ll Love


Be sure to FOLLOW ME on FACEBOOK, PINTEREST, INSTAGRAM, and TWITTER for more great recipe ideas! Or SIGN UP for my EMAIL NEWSLETTER to get updates and recipes straight to your inbox!
Earl Grey Scones with Lavender Glaze
Ingredients
- 2 cups flour
- 1/3 cup sugar
- 2 1/2 teaspoons baking powder
- 1/2 teaspoon salt
- 1/2 cup heavy cream
- 1 egg
- 1 teaspoon vanilla extract
- 8 tablespoons cold unsalted butter diced
- 3 bags Earl Grey tea leaves about 1 tbsp
Lavender glaze
- 2 teaspoons culinary lavender
- 2 tablespoons boiling water
- 1 cup powdered sugar
- 1 teaspoon vanilla extract
- 2 teaspoons heavy cream
- 2 drops red and 1 drops blue food coloring optional
Instructions
- Preheat oven to 400 degrees Fahrenheit.
- In the bowl of a food processor, mix flour, sugar, baking powder, salt, and tea leaves. Pulse until blended.
- Add cold butter cubes to the food processor and pulse until mixture has the texture of damp sand. There should still be some butter pieces up to about the size of a pea. If you don't have a food processor, you can use a handheld pastry blender or your fingertips (not palms) to cut in the butter.
- Beat egg, cream, and vanilla extract in a separate bowl or liquid measuring cup. Mix into flour mixture until just combined. Do not overwork the dough or your scones will be tough!
- Pat mixture into a ball and shape into a 7 inch square on a lightly floured surface. Cut into a 9-square grid, then cut each square diagonally to make 18 triangle-shaped mini scones. Arrange on a baking sheet lined with parchment paper.
- Brush the tops of the scones with a bit more heavy cream and sprinkle liberally with coarse sanding sugar.
- Bake for 12-17 minutes, or until you can see golden brown around the bottoms of the scones.
For the glaze
- While scones are baking, cover culinary lavender flowers with 2 tbsp boiling water. Let steep for 10 minutes. Strain.
- Mix the strained lavender water with the rest of the glaze ingredients in a medium bowl until smooth. Adjust food coloring as desired.
- While scones are still warm out of the oven, flip the scones top-side down and dip the tops into the icing. Let excess icing drip off before putting right-side up on a wire rack. For easier cleanup, put wire rack on top of a baking sheet to catch drips.
- Let dry completely before storing in an airtight container. (if they are not completely cool and dry when you store them, the icing will be gooey instead of hard and shiny tomorrow!)
- Store at room temperature for up to 3 days or in the refrigerator for up to a week.


I’m about to make these scones for the second time, the first batch I made was so good!
100% LOVE this recipe!!! I have made it dozens of times for family, work, and friends over the past few years. Folks request these scones ALL the time for special occasions and they always deliver. People in my life talk about eating them and always make the same wistful sigh of utter delight upon remembering them. I make the lavender, rose, and orange water versions (referring to a question asked above). Since first making these, I have gone to a plant-based diet. Using plant-based substitutions for the recipe, they still stand up beautifully. Thank you SO SO much for an absolute favorite recipe. Hope this finds you well after all this time. (Always).
Thanks so much for the great review, Kristin! I’m so glad these have made such an impression on your and your friends and family!
Absolutely loved them! Definitely going to make them again,thank you for inspiring our weekend with your recipes!
Kieren, thank you so much! I’m glad to have contributed to your weekend recipe inspiration!
I feel for you, I am now in the same situation with a dead PC. But what a wonderful idea those early grey scones. If the weather is mild I work in the garden, and being in the South of France even have lavender. I have some meeting set up next week with some English ladies, tea with scones is a perfect idea. I have some orange flower water left over from Easter Pastiera and I will try to use it for the icing. Thanks for the idea
I bet the orange flower water would make an amazing icing for these! Good luck with your dead computer, that is never fun! I hope you didn’t lose too much when your computer crashed.
saw this gorge recipe on the request for lavender recipes on FBC on Facebook and had to check it out! I love every single thing here! What I wouldn;t give to have one magically appear in front of me…
Thanks so much! I hope you give them a try. They’re my and my husband’s favorites!
Lovely photos – it’s really too bad you lost the first batch! That has happened to me before, and it is so frustrating! These flavours sound really delicate and delicious.
Sorry you’ve had a similar photo loss experience! Isnt it just the worst? I’m just glad I didn’t lose any irreplaceable family photos or anything. I do love the florals with the Earl Grey flavor! It is so calming and really makes you stop and savor every bite. Thanks so much for stopping by my blog!
Well, I am glad to see you back (if this even goes through!). The scones sound wonderful and the photos are lovely, even if not the originals. I have not yet had this happen, although I have thought I took a great shot and didn’t take my usual 5-7, only to find that when downloaded, it was completely out of focus. Sigh. Ahhh… The trials and tribulations of blogging! Hope you and Mike have a great Christmas!
Thank you, David! We did have a very nice Christmas and got to see both of our families, but I am looking forward to relaxing more and doing less this month! Hope you had a great Christmas and happy new year!