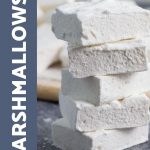
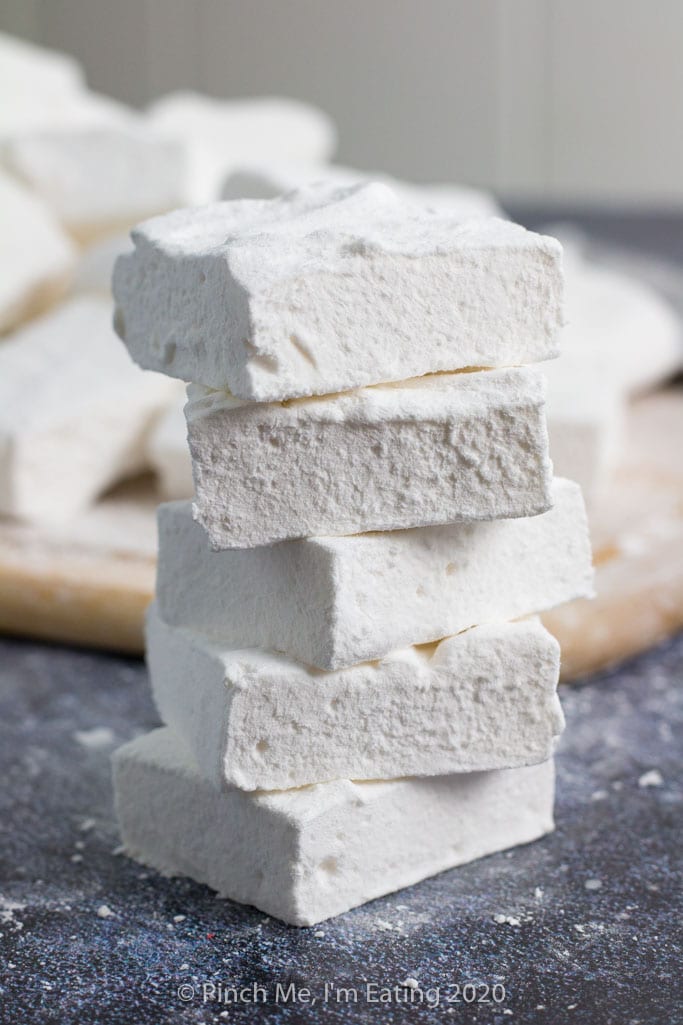
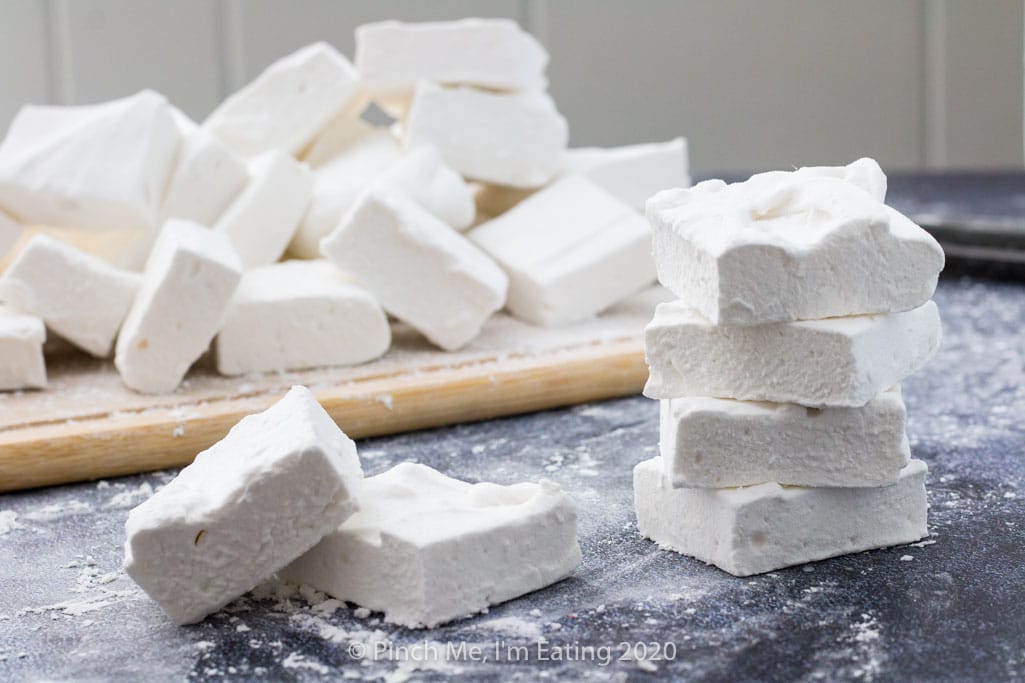
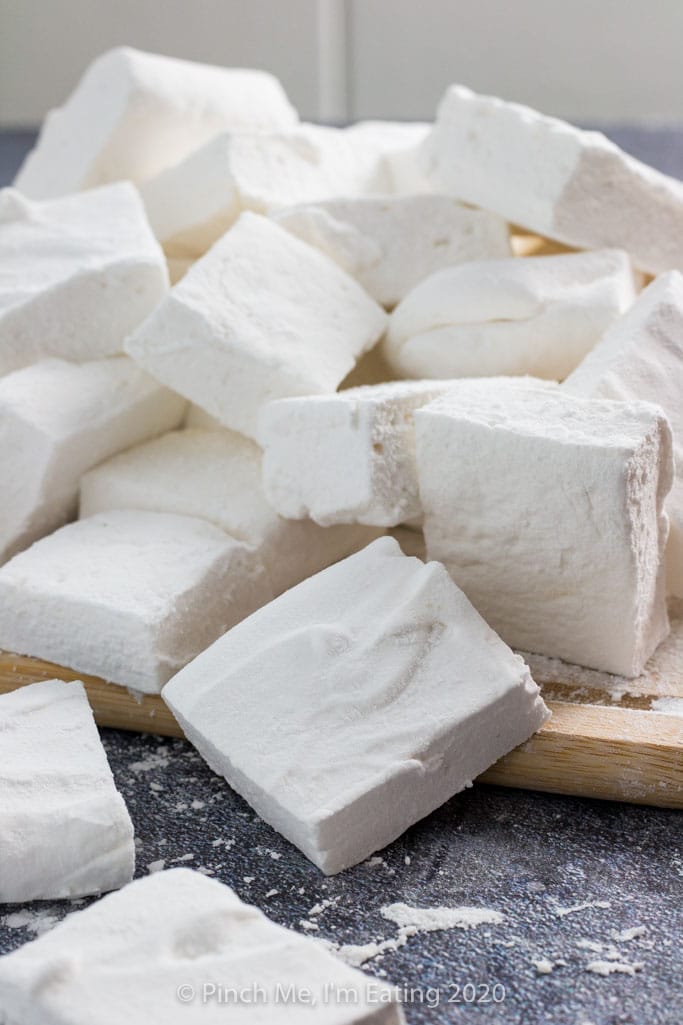
How to Make Homemade Marshmallows
Marshmallows are one thing you may not have thought of making from scratch, but once you know how to make homemade marshmallows you won’t want to go back to buying storebought! They are deceptively simple and the flavor is out of this world!
This post contains affiliate links.
A common misconception I run into with people I know is that, because I’m a food blogger, I’m a pro at everything cooking. But I’m a self-taught cook, so I’m always learning — even after five years of food blogging.
Before you go running off to consult a real pro’s website, hear me out. I think that works to my — and your — benefit at times. It means that with a new, challenging recipe, I get to make all the mistakes for you and you get to make it perfectly the first time because it’s fresh in my memory.
This homemade marshmallow recipe is one of those cases.
I’m a huge marshmallow fan — I love anything s’mores and my favorite Easter treat is a chocolate covered marshmallow egg. And honestly it seemed completely weird to me that they could be made from scratch. Somehow I didn’t quite believe that a homemade marshmallow would actually taste like a marshmallow. So I ignored homemade marshmallow recipes for the longest time.
Cupcakes with marshmallow frosting? Ehhhh it had to just be basically meringue, right? I mean, it LOOKS like meringue. Or whipped cream. But whipped… gelatin? I mean, it sounds weird. And to be honest, it smells weird. Hot sugar whipping with gelatin smells like a room someone has sneezed in too many times. Not that I knew this before I tried making them.
But since I love chocolate covered marshmallow eggs so much and they cost like a dollar apiece at the drugstore, I figured I should try to make my own last Easter. Luckily for me, they came out amazingly well the first time. When my husband and I tasted it, the whole world started dancing. I had no. idea. that marshmallows could be so flippin’ delicious. We toasted a few without covering them in chocolate and they were seriously mind-blowing.
My mistakes
I decided to make them again for the blog. Pretty much from the get-go I messed things up. Life happened.
I thought you were just supposed to sprinkle the gelatin on top of the cold water and let it sit, so when there were some dry bits on top that hadn’t bloomed after ten minutes, I sprinkled a little more water on top. Don’t do that, y’all. Just mix the gelatin with the cold water. Stir it with a fork or whatever. Don’t add extra water. Extra water makes marshmallows unpleasantly moist and weird. Will explain more later.
The second thing that happened was that there was a bug in the kitchen. I was freaking out dealing with the situation and my sugar mixture boiled over. I moved it to another burner and tried again. Wary of another boiling-over sugar-burning-onto-the-stove incident, I only let it get to about 230 degrees (instead of 240) before I decided that’s as high as it was going to go, and I used the sugar syrup like that. I mean, how much of a difference could it make?
What went wrong
The marshmallows came out… fine. They were not mind-blowing. My husband said they tasted like “diet” marshmallows. I figured it was just because I had lost some of the sugar to the stovetop.
Then I tried broiling a couple to see if they were as life-changing as before. And the weirdest thing happened — instead of turning a lovely golden brown on the top, they started melting, from the bottom.
It all came down to too much water. Too much water in the gelatin, too much water in the sugar syrup.
Not being an experienced candy maker, I didn’t understand that sugar has different stages it goes through as it heats. Turns out, the temperature is VERY important. 230 degrees is basically just syrup. 240 degrees is the upper edge of “soft ball stage.” After that, you get to firm ball stage and beyond.
About the stages of cooking sugar
Get ready, I’m about to go a little sciencey on you.
There are seven stages of cooking sugar, related to the temperature it gets to and how it acts when it cools. It’s also related to how much water content is in the sugar syrup.
This makes total sense because when you heat water, it starts boiling at 212 degrees Fahrenheit. Water doesn’t get hotter than that if you boil it longer; it just evaporates. So the way your sugar syrup gets hotter in order to reach the various stages listed below is that the water content evaporates out of it, leaving a higher percentage of sugar in the mixture and a higher boiling point.
The stages of cooking sugar are as follows:
| Stage | Temperature | Sugar concentration |
| thread | 230 to 235 °F | 80% |
| soft ball | 235 to 240 °F | 85% |
| firm ball | 245 to 250 °F | 87% |
| hard ball | 250 to 265 °F | 90% |
| soft crack | 270 to 290 °F | 95% |
| hard crack | 300 to 310 °F | 99% |
| caramel | 320 to 338 °F | 100% |
You can see helpful little videos of how each stage reacts when dropped into cold water on this website here.
Back to my mistake.
My mistake was I had only cooked my sugar to thread stage instead of soft ball stage. In cold water, the sugar kind of dissolves between your fingers at thread stage instead of clumping together like it does at soft ball stage.
When whipping the gelatin and sugar syrup, the peaks it formed weren’t quite as stiff as the version at soft ball stage. And there’s just too much water content in the mixture.
That means soggy marshmallows. Even after coating them in cornstarch and powdered sugar to keep them from being sticky, within a day it had all absorbed and the marshmallows were soggy again. And they melted from the bottom instead of toasting on top. Gross. Nobody wants a soggy marshmallow. (Although when I covered them in chocolate they weren’t bad.)
Long story short, make sure your sugar actually reaches 240 degrees. Once it hits 225 or so it takes a while to creep up degree by degree, but then once it hits maybe 235 it started increasing at a pretty good rate, so keep your eye on it!
You’ll definitely need a candy thermometer for this if you don’t have one already. I’d recommend a digital one like this that has a pot clip so you can keep a constant eye on your sugar’s temperature.
Making your homemade marshmallows
Once you realize the importance of having an accurate temperature for your sugar, making homemade marshmallows is really very easy.
It basically comes down to this:
- Bloom the gelatin
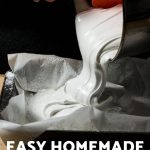
- Heat the sugar mixture (to 240 degrees!)
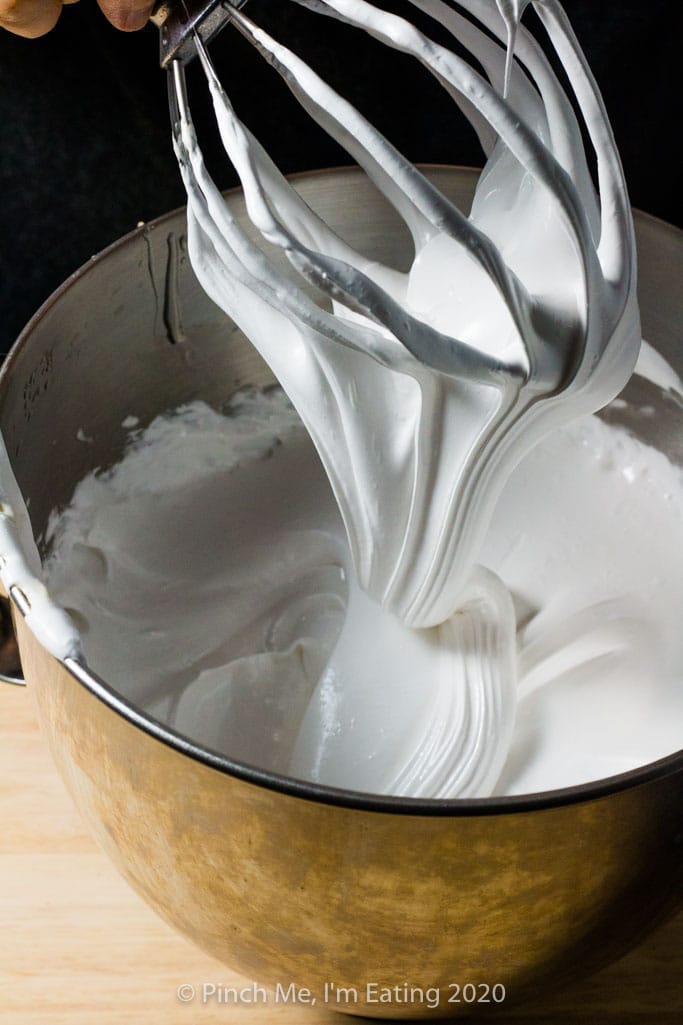
- Whip the gelatin and hot sugar together until it is super fluffy
- Add vanilla
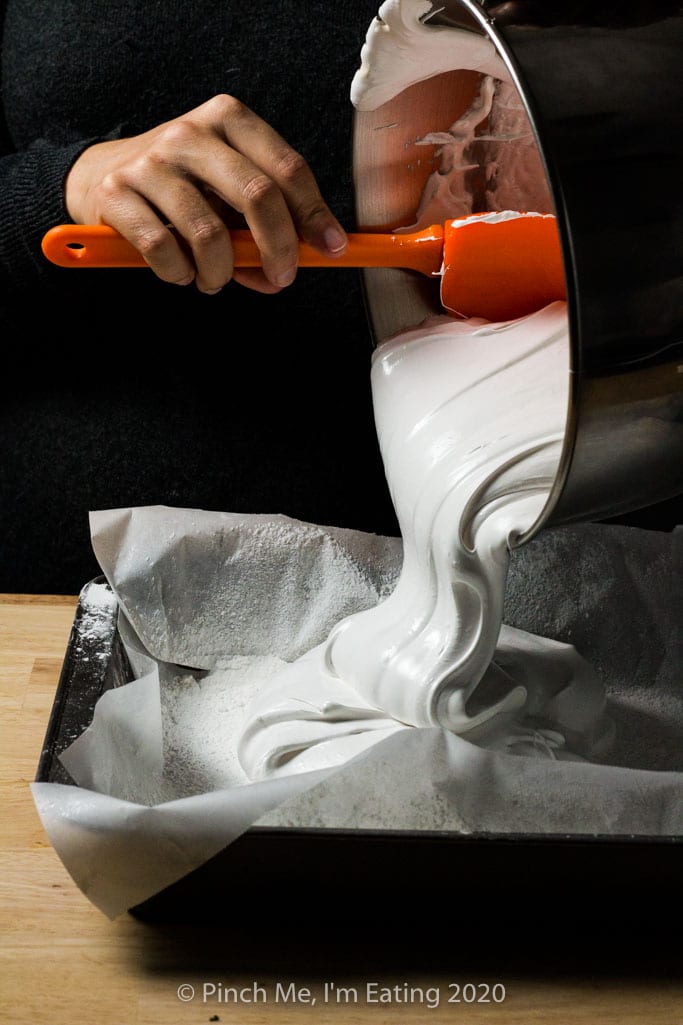
- Pour into coated pan
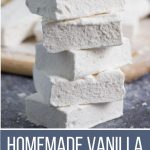
So what makes a mind-blowing marshmallow? Good vanilla.
Use the best vanilla extract you can find, or better yet, make your own. The quality of your marshmallows comes down to the quality of your ingredients, and since gelatin, granulated sugar, and corn syrup are fairly standard in my experience, that means you need good vanilla.
What to do with homemade marshmallows
What you plan to do with your homemade marshmallows will determine how you may want to prepare them. Here are a few ideas of what to do with them.
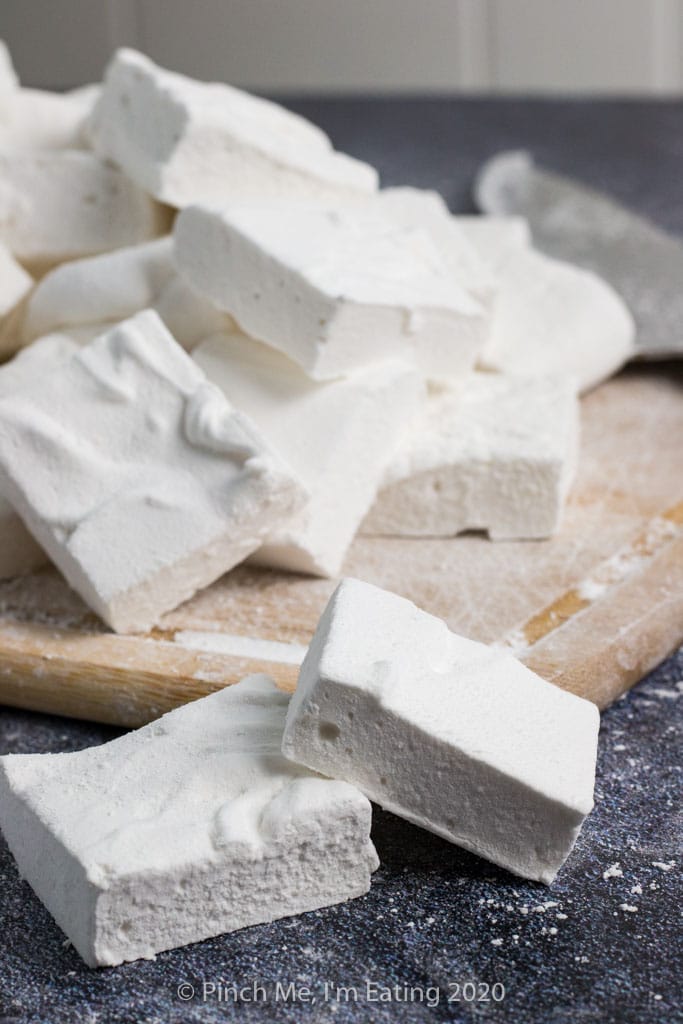
- Eat them plain
- Roast them over a fire
- Make s’mores
- Cover them in chocolate
- Cut them into shapes
- Put them in hot chocolate
- Make Rice Krispie treats
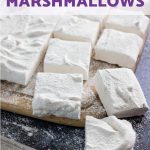
Most of these suggestions will work best by making your marshmallows in a 9×13 pan. Since they are flatter, they’re a little easier to cut with cookie cutters, and they make great little squares for topping a graham cracker. However, if you plan to roast them over a fire (or if you just like a taller marshmallow) I would suggest making them in a 9×9 pan instead. That will give your roasting stick more marshmallow to go through since you can cut them basically into big cubes rather than flatter squares.
For Rice Krispie treats, you don’t even have to put it in a mold to set — you can just pour the freshly-whipped marshmallow straight from your mixing bowl into your melting butter on the stove and then add the rice cereal.
Making s’mores in your oven
There’s nothing like a s’more made by roasting a marshmallow over a campfire or fire pit. But let’s be honest — sometimes you might have a craving for a s’more and no fire handy. And unless you’re really dedicated, you’re not going to go build a fire just to make a single s’more for yourself.
A microwave will do in a pinch but I tell you those s’mores are sub-par, due to the lack of crispy browning of the marshmallow.
Enter the broiler.
A little square of homemade marshmallow cut slightly smaller than your graham cracker is just perfect for s’mores. Making the marshmallows in a 9×13 pan is perfect for this — they’re flatter and make little squares rather than cubes.
I break a graham cracker in half, top one half with a square of chocolate and the other half with a marshmallow. Put it on a small baking sheet in the oven about 4″ under the broiler.
I take out the chocolate half when it starts looking a little glossy. Don’t leave it in too long or it will get a weird texture to it. The marshmallow half takes a little longer to broil but it will puff up and get that perfect toasted golden top! ALMOST as good as roasting over a fire, and a lot less work if you don’t already have the fire built. Smoosh together and enjoy!
Main things to remember about how to make homemade marshmallows
In short, here are the most important things I’ve learned about how to make homemade marshmallows.
- Never turn your back on boiling sugar. It WILL boil over and make a mess on your stove.
- Make sure your sugar actually gets to 240 degrees. Not 235. Not 245. 240 degrees if you want good marshmallows that aren’t too soggy or too dense.
- Don’t add any extra water besides the 1/2 cup called for to bloom your gelatin. You can mix it with a fork, but don’t add extra water.
- Use the best vanilla extract you can get, and homemade if possible.
- Work quickly. Marshmallow sets fast once you stop whipping it, so have your pan already prepared when you turn off your mixer.
- Lick the whisk and bowl. You deserve it.
And one final note I didn’t cover in this post, but just in case you were thinking about it:
- Be cautious of substituting other types of liquid sweetener for the corn syrup. They act differently and will affect the final result of your marshmallows.
Don’t be intimidated! If you keep these tips in mind, you’ll soon be addicted to making marshmallows at home! Make and enjoy!
Did you make this recipe?
Tag me in a photo on Instagram @pinchmeimeating and I may feature you in my IG stories! I’d love to see how yours came out!
How to Make Homemade Marshmallows
Ingredients
- 3 packets unflavored gelatin
- 1/2 cup cold water
- 1 1/2 cups granulated sugar
- 1 cup light corn syrup
- 1/2 cup water
- 1/4 tsp salt
- 1 tbsp vanilla extract good quality
- nonstick cooking spray
- 1/2 cup powdered sugar
- 1/3 cup cornstarch
Instructions
- In the bowl of a stand mixer fitted with a whisk attachment, sprinkle gelatin over cold water and let it sit for about 10 minutes to bloom.
- Meanwhile, in a small saucepan, mix granulated sugar, corn syrup, water, and salt. Bring to a boil over medium high heat and measure with a candy thermometer until it reaches 240 degrees. Do not turn your back on the sugar as it starts getting hot! It boils over very easily if you're not watching!
- With mixer on low speed, slowly drizzle in the hot syrup mixture. Gradually increase the speed to medium high and whip the mixture for 11-14 minutes, until mixture is lukewarm, and thick and fluffy like meringue. Add vanilla extract and mix just until incorporated, no more than a minute.
- While the marshmallow is whipping, mix together powdered sugar and cornstarch. Prepare a 9×13 or 9×9 inch pan by spraying with nonstick cooking spray and then dusting with half the powdered sugar mixture. Marshmallows are super sticky so make sure the pan is well coated!
- Spray a rubber spatula with cooking spray and use it to quickly scrape the marshmallow into the prepared pan. The marshmallow sets pretty quickly so you will need to smooth out the top immediately! Lightly dust the top with more powdered sugar mixture and let sit at room temperature for at least 4 hours, and up to overnight, to set. Save any remaining powdered sugar mixture.
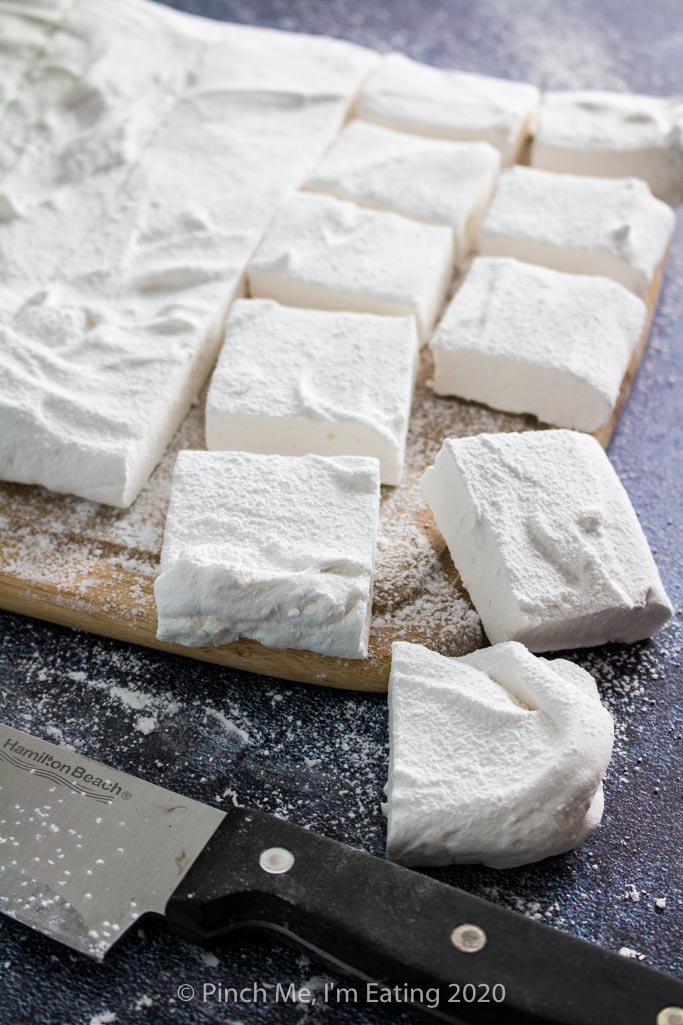
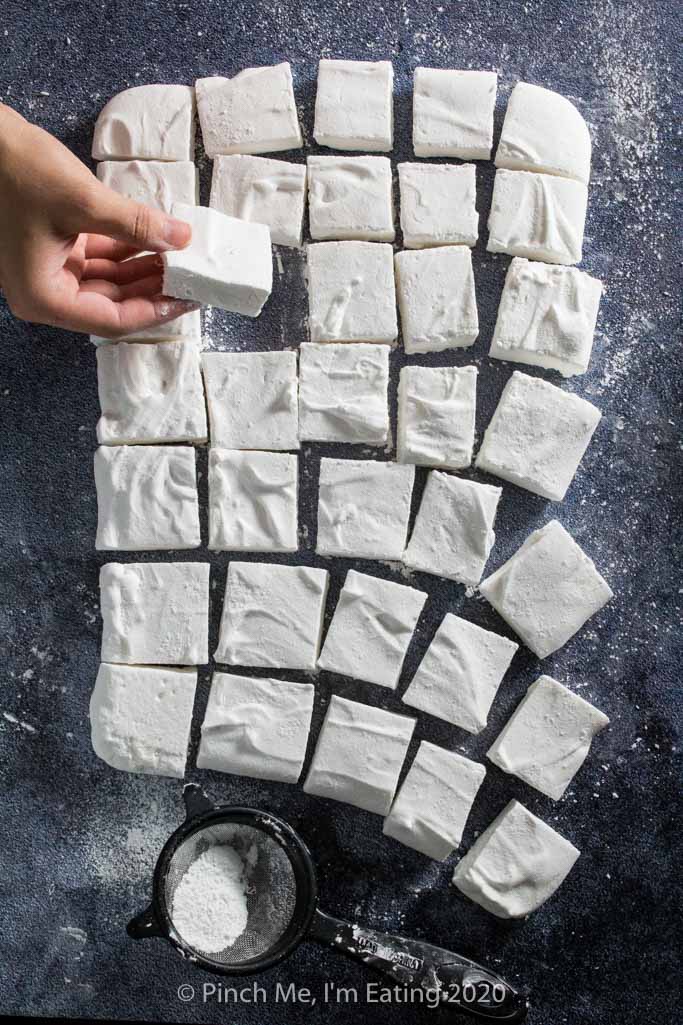
- Flip out the marshmallow slab onto a large cutting board and use a large oiled knife or pizza cutter to cut the marshmallows into 1 1/2-inch squares. You can also use an oiled cookie cutter for fun-shaped marshmallows!
- Once cut, toss the marshmallows a few at a time in powdered sugar/cornstarch mix to keep them from sticking.
- Store in an airtight container at room temperature for up to 3-4 weeks.